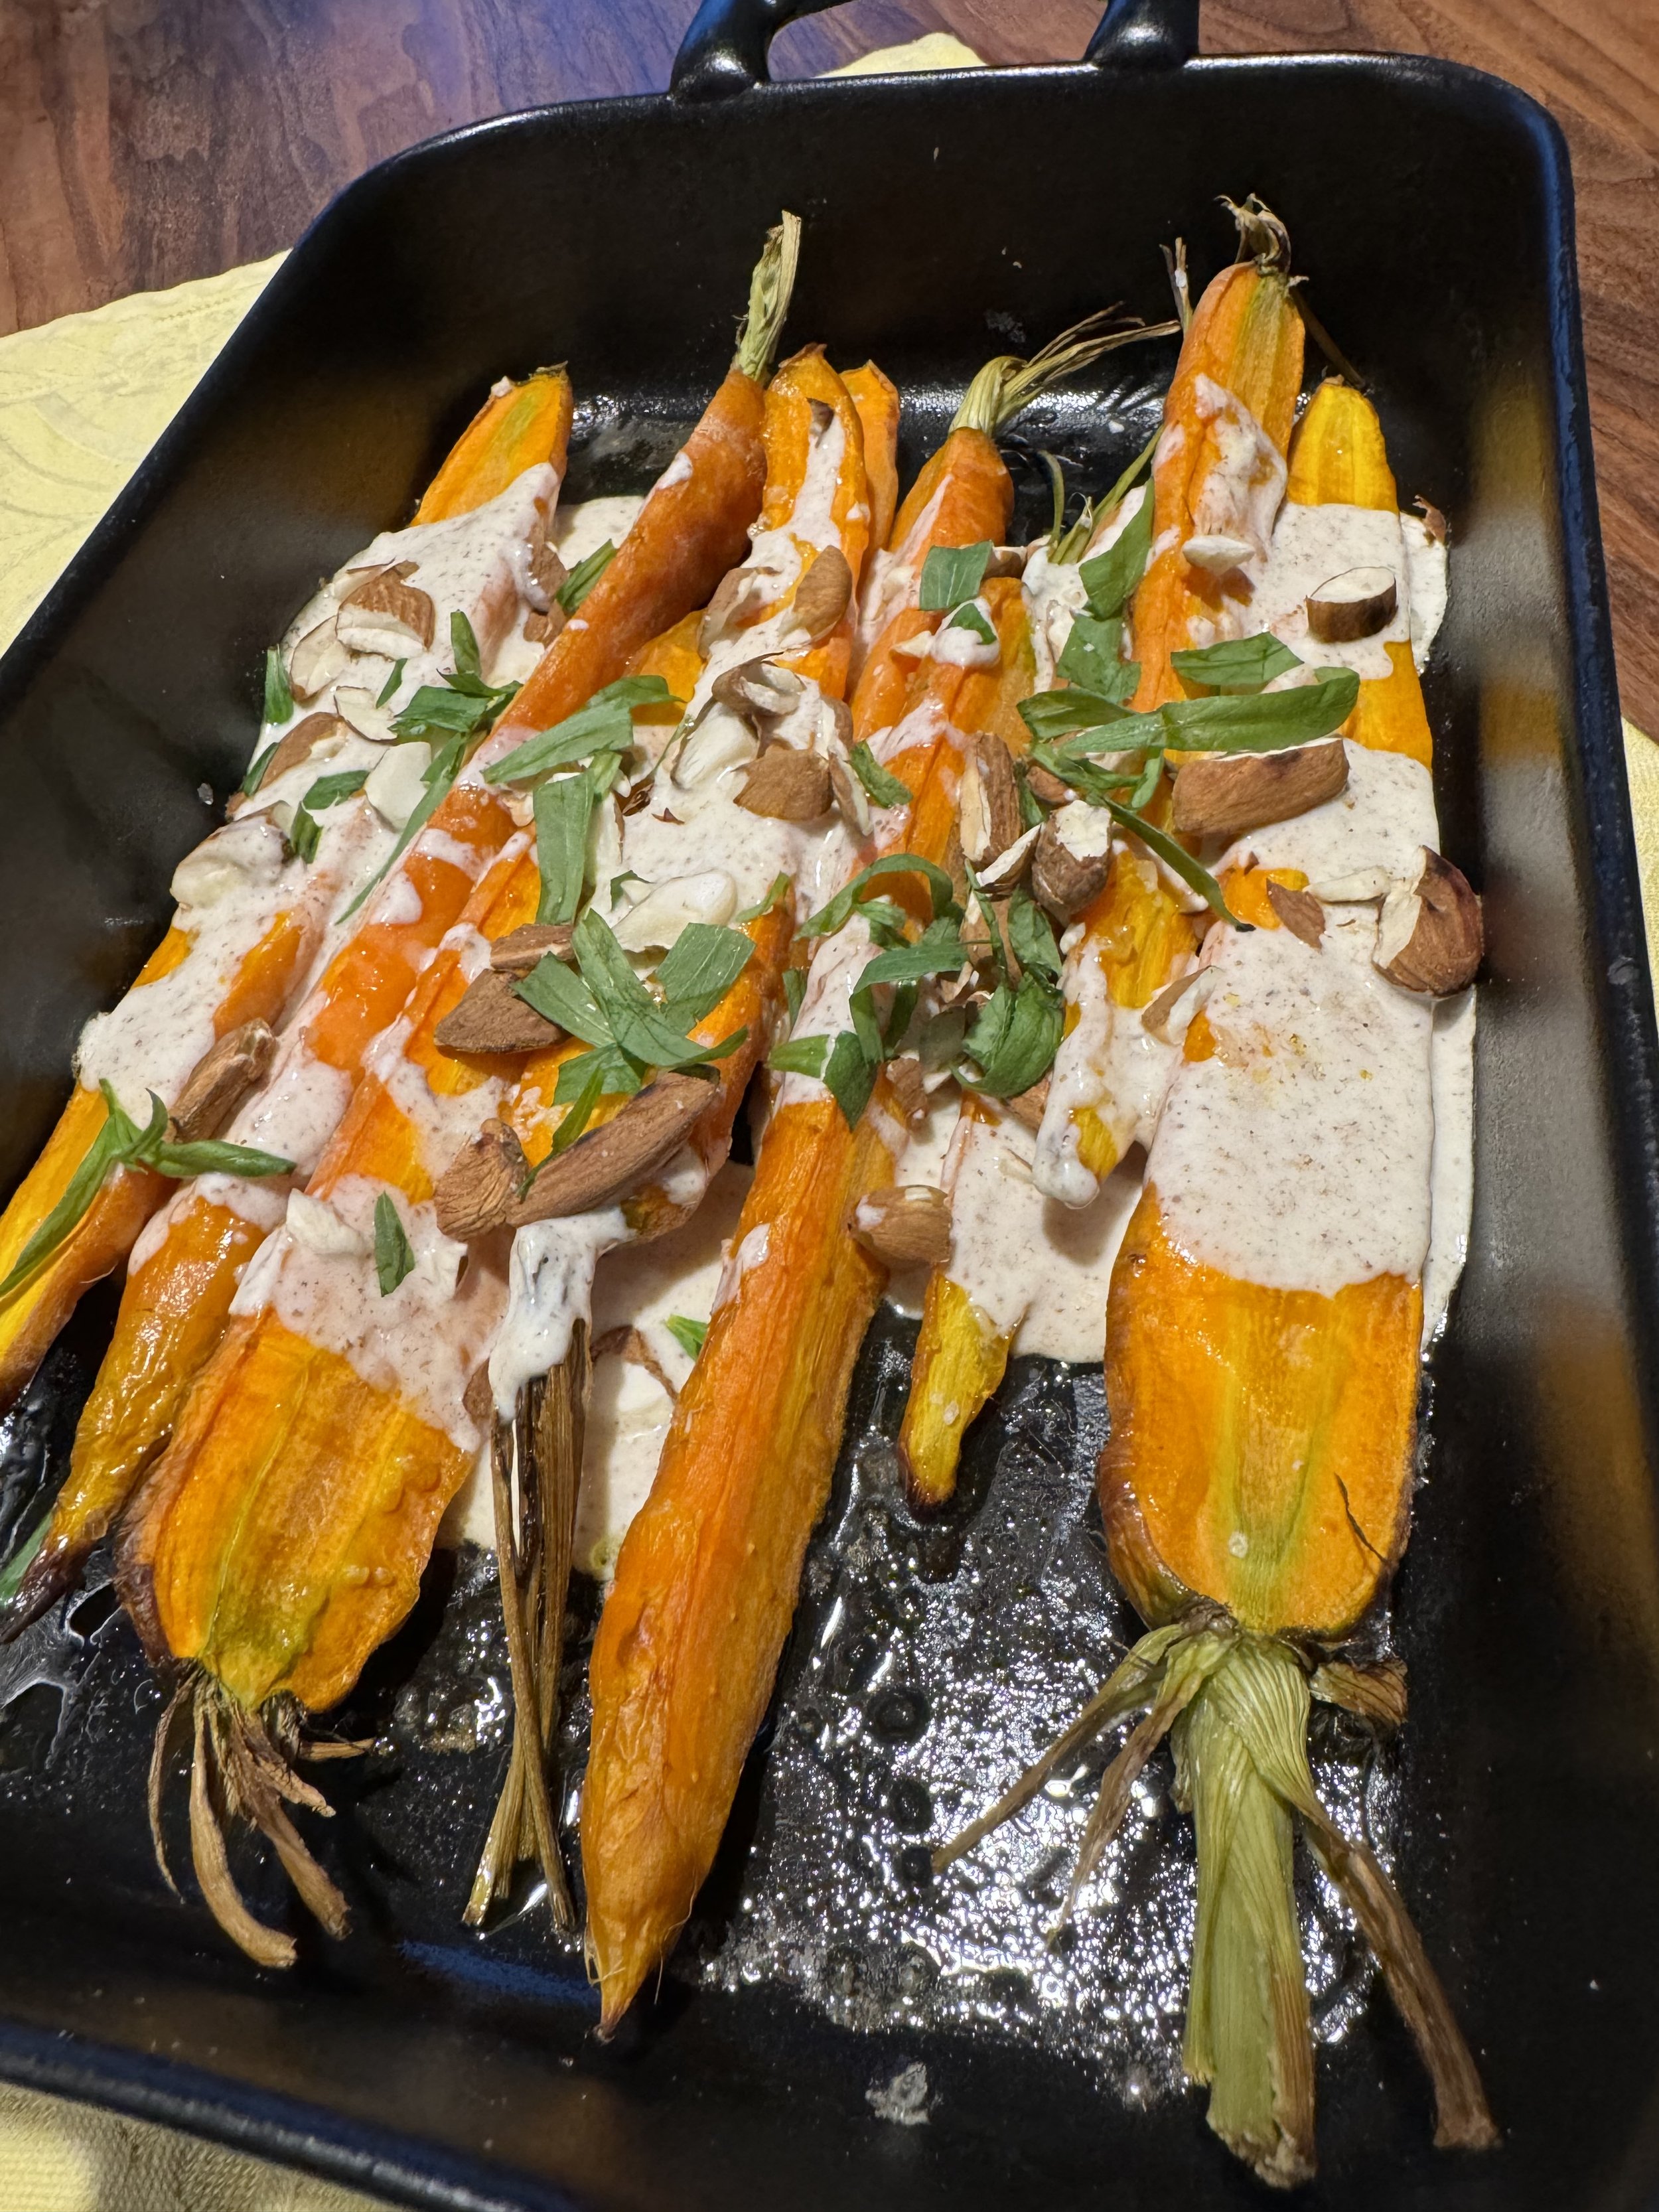
Moroccan Style Roasted Carrots
I have been looking for more interesting ways to serve vegetables. Especially in the early spring, before all the summer vegetables gets in the stores.
The combination of flavors and textures from the dressing and topping really elevate the humble carrot into something special. These carrots are a new favorite, so I recommend to make plenty.
We had these carrots as a part of a Moroccan themed dinner, with roasted leg of lamb seasoned with ras el hanout, roasted cauliflower with tahini dressing and couscous.
The recipe is adapted from Julie Bruun.
Serves 2-3.
Ingredients:
10-12 carrots (the small ones with the top or thin snack carrots
Oil for the baking
A sprinkle of salt
Dressing:
100 ml Greek style yogurt
½ teaspoon cumin
½ teaspoon ground coriander
¼ teaspoon cinnamon
½ teaspoon salt
Topping:
Fresh tarragon, chopped
Almonds, roasted and coarsely chopped
Directions:
Preheat the oven for 425℉ / 220℃.
Wash the carrots, and trim off most of green top part. Place the carrots in an ovenproof dish, and toss them with oil and a sprinkle of salt.
Roast the carrots for 15-20 minutes. Let the carrots cool for a minute, before adding dressing and topping.
Serve the carrots immediately.
Enjoy!


