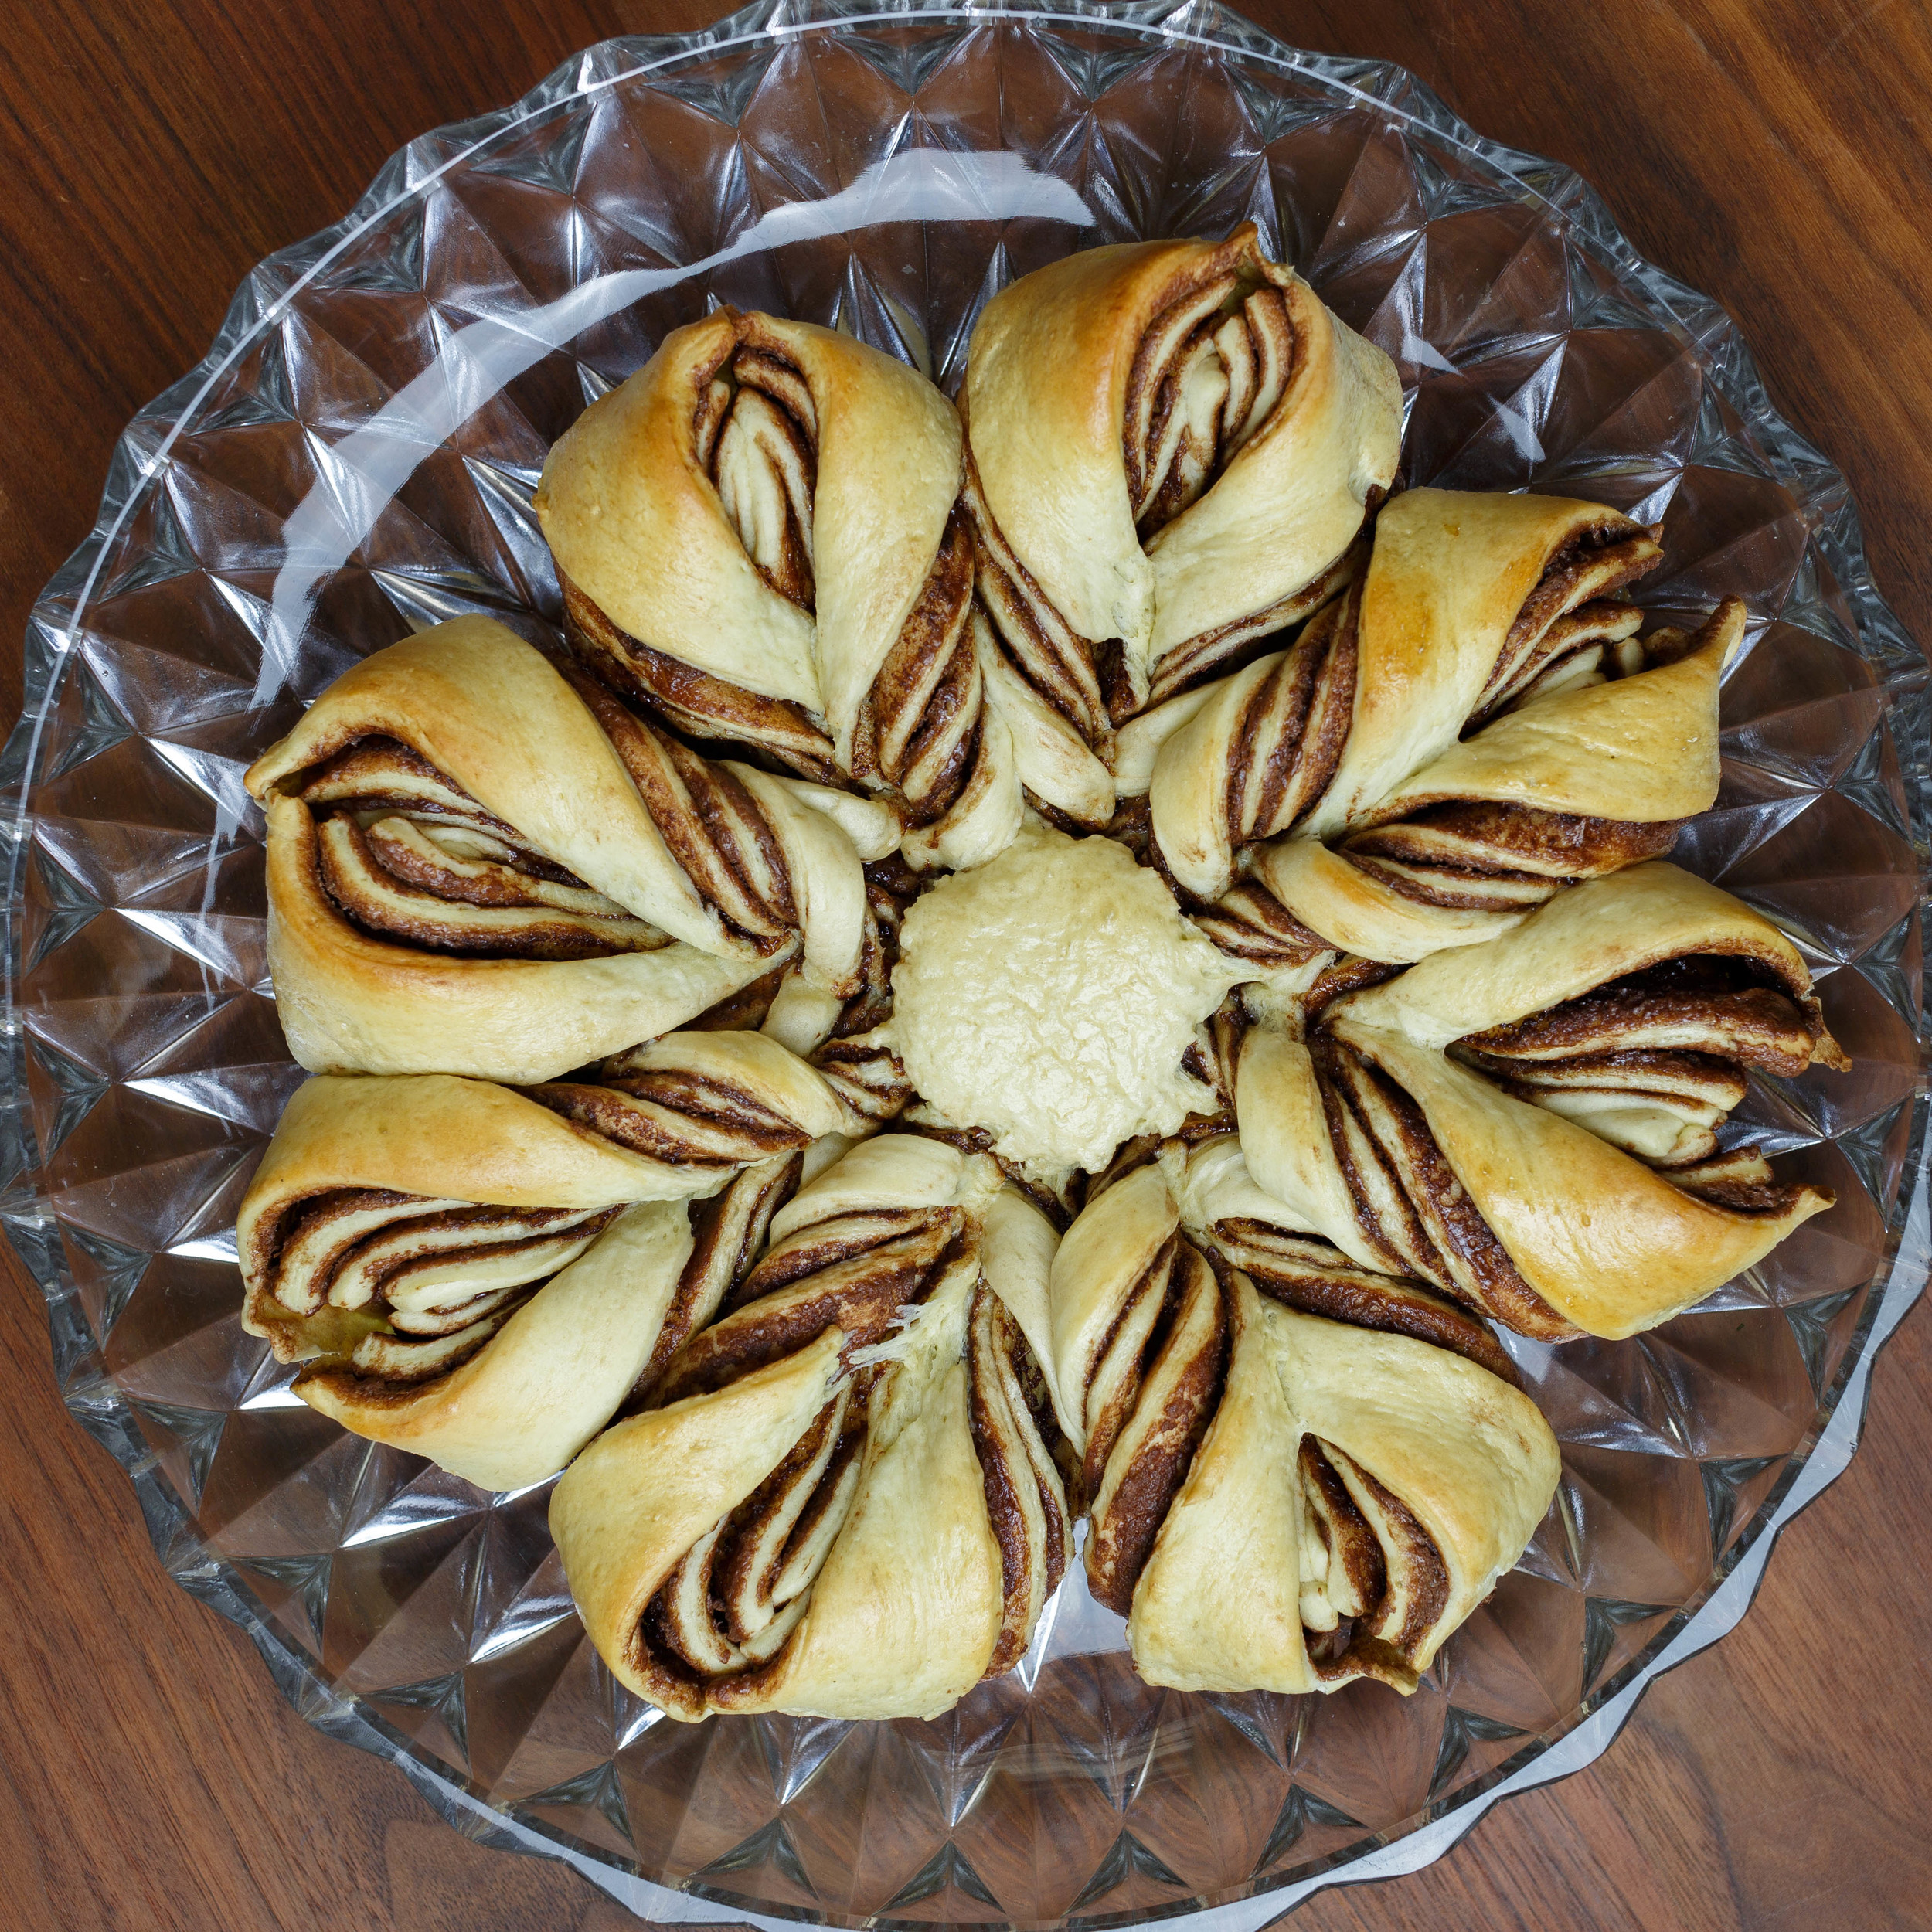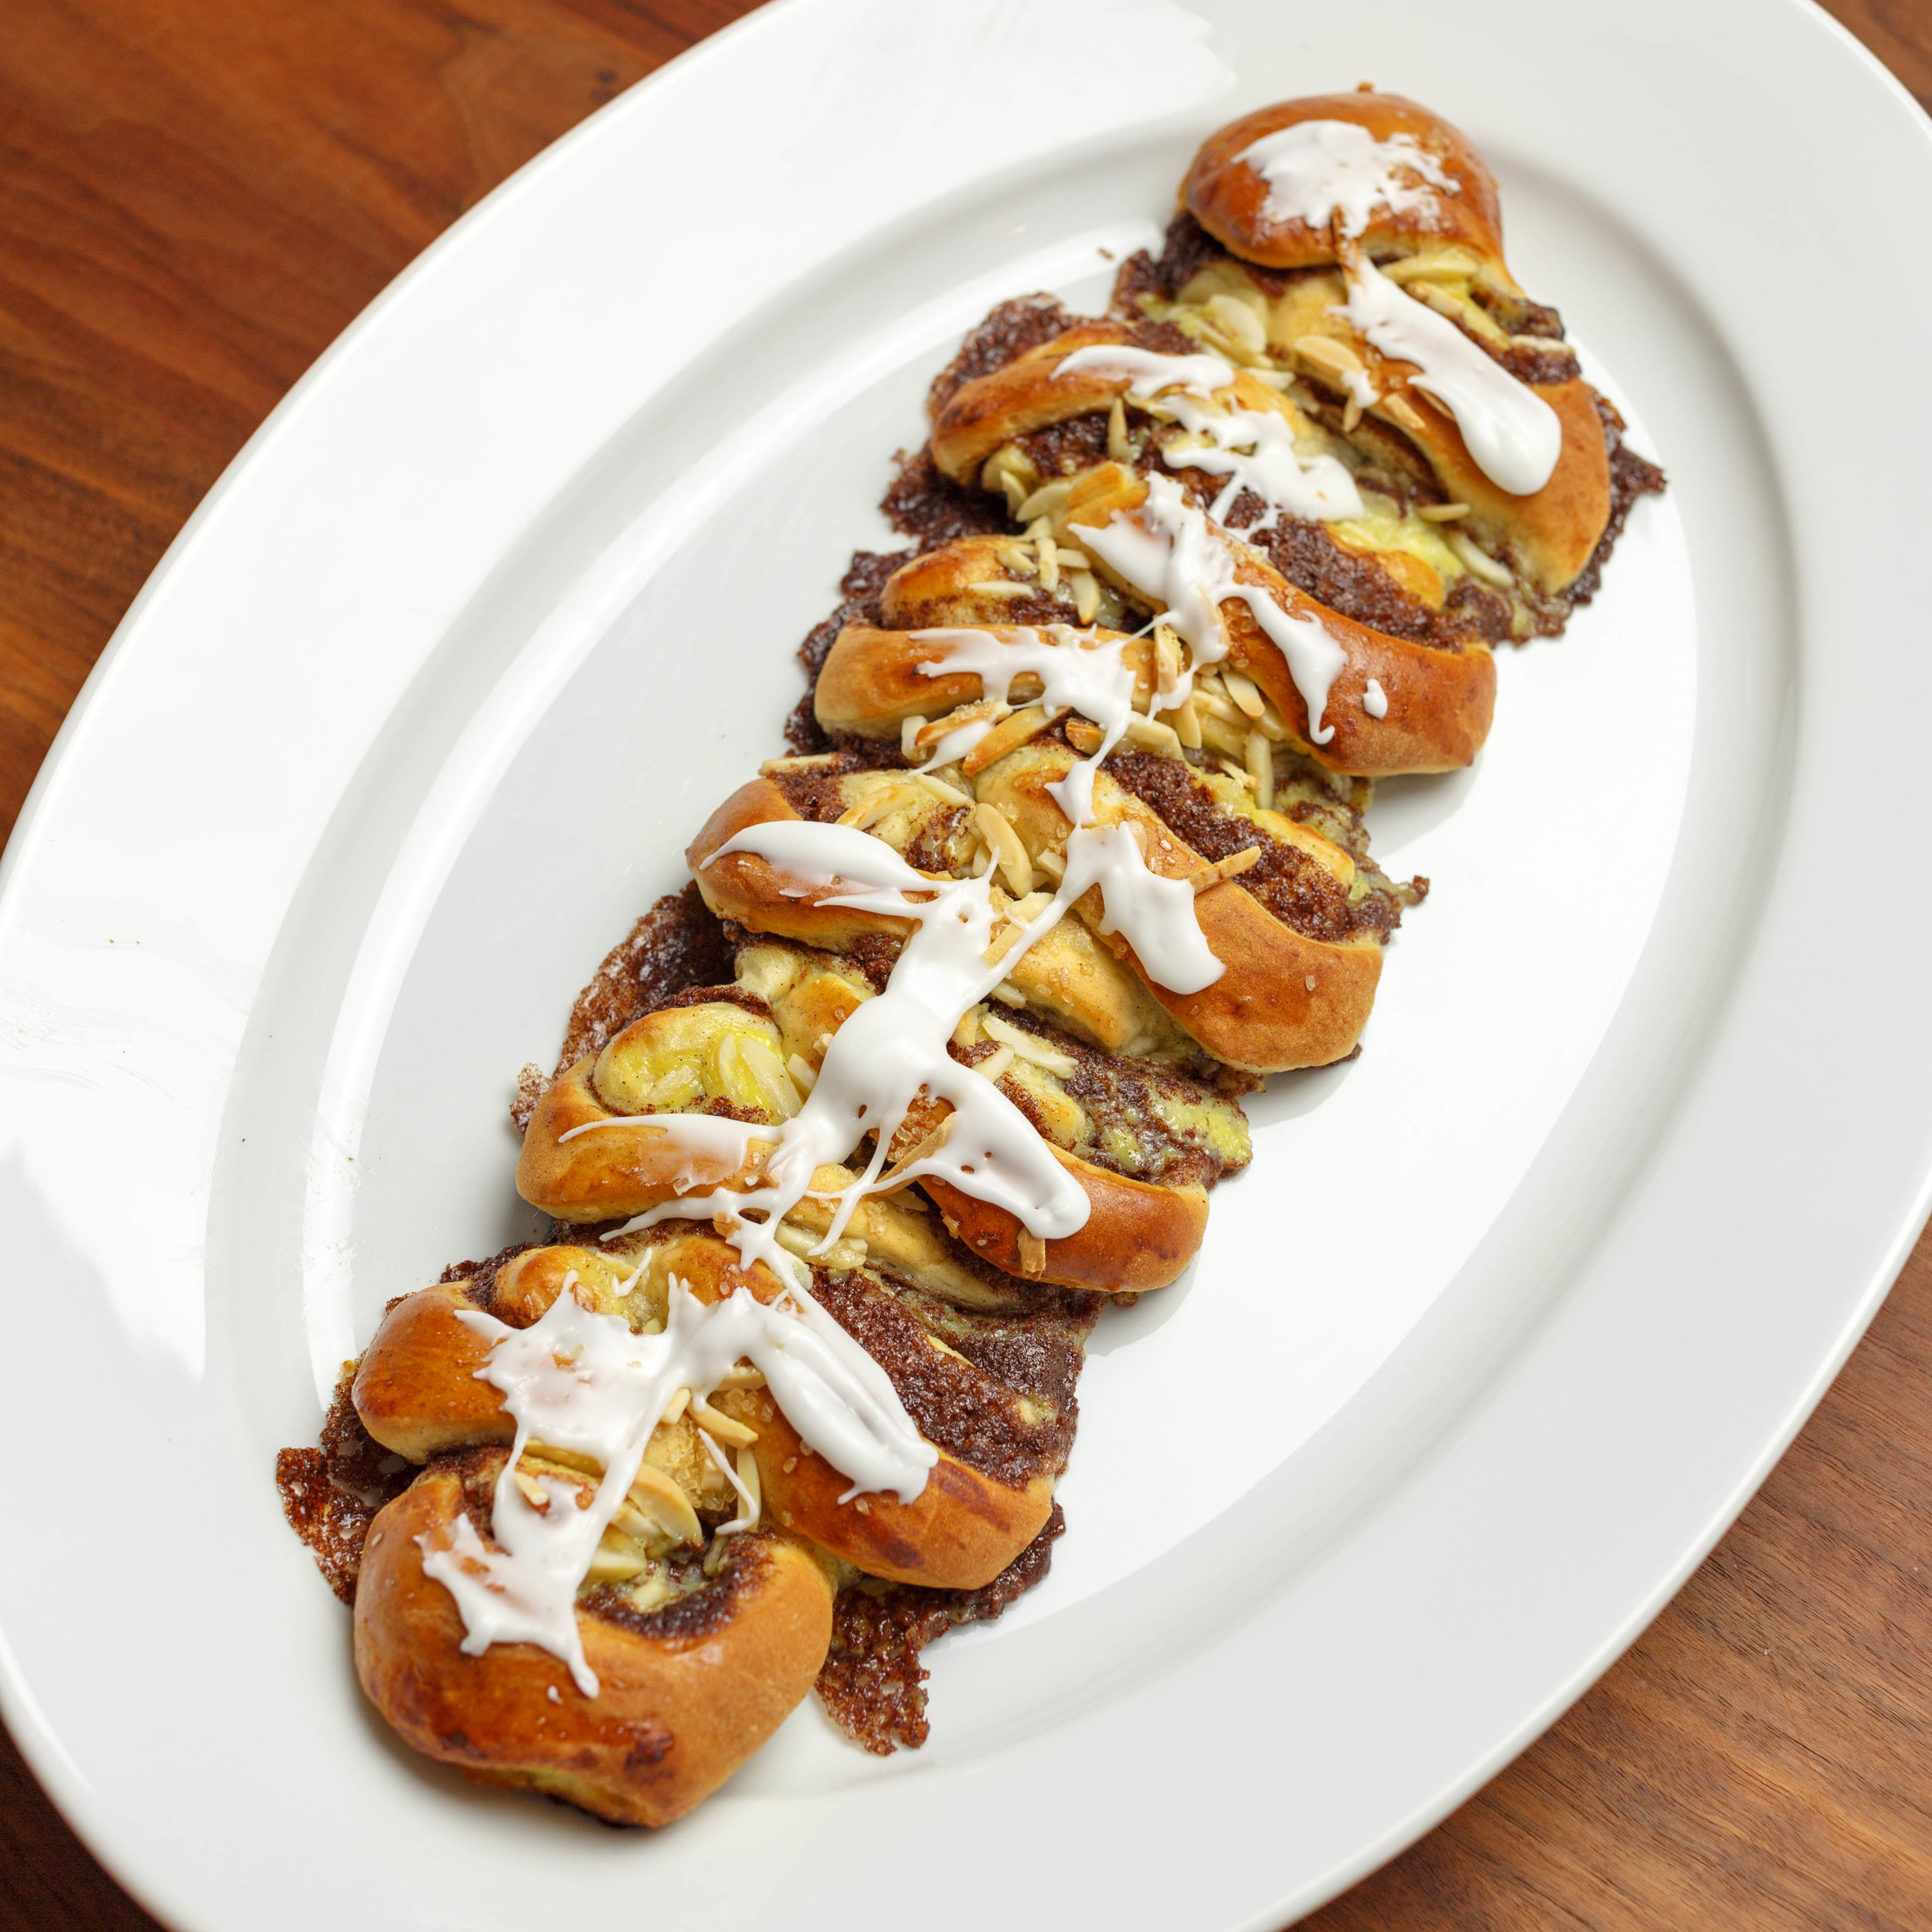
Kanelstænger - Cinnamon Danish
Kanelstænger, or Cinnamon danish, is one of the more common pastries in Denmark. They are kinda like a large cinnamon roll cut up. Compared with real pastry, where you roll layers of butter into a dough, this recipe is really easy to make. The worst part is the custard, and when you have made that a few times, its easy too.
Ingredients:
Custard:
- 3 Egg Yolks
- 3 tablespoons Sugar
- 2 tablespoon Cornstarch
- 5 dl (2 cups) Milk
- 1 teaspoon Vanilla Paste
Dough:
- 40 g live yeast or 3½ teaspoons dry yeast
- 1¾ dl (¾ cup) water
- 35 g sugar
- 4 g salt
- 4 g cardamom
- 1 egg
- 35 g butter, salted & room temperature
- 400 g all-purpose flour
Remonce:
- 200 g butter, salted & room temperature
- 200 g sugar
- 35 g cinnamon
Directions:
Custard:
Beat the egg yolks and sugar until pale in color. Whisk in the cornstarch and vanilla paste.
Heat the milk to a slow boil, set aside.
While whisking vigorously drizzle the warm milk into the egg yolk mixture, just a tiny bit at a time at first. Once you’ve added about ¼ of the milk, you can add the rest in a thin stream, whisking constantly.
Pour the mixture back in the saucepan and reheat it over medium heat. Whisk constantly until it thickens. Remove from heat an chill the custard in a bowl in the refrigerator. Sprinkle with sugar or press a film of plastic wrap against custard so it doesn’t form a pudding skin.
Remonce:
Mix the ingredients to a brown paste, set aside.
Dough:
Dissolve the yeast in the finger-warm water, add the sugar and let it sit for a few minutes. Add the egg. Mix flour salt, cardamom and pour it into the yeast-mixture with the butter. Knead the dough until it's elastic and shinny. Let the dough rest in a bowl covered with a tea towel for about 30 minutes.
Divide the dough into 3 pieces, and roll them to 15x25 cm (6x8 inch) rectangles.
Spread ⅓ of the remonce on the dough, leave a little piece along the long side clear. Put ⅓ of the custard in a line on top of the remonce covered long side. Fold the dough over the custard and roll the rest like you would a cinnamon roll. Place the roll on a parchment lined baking sheet.
Using a scissor cut slits at an angle almost all the way through with 2 cm (¾ inch) apart. Flip the dough pieces to the side. The first right the other left, alternating all the way to the end.
Repeat with the last two pieces of dough.
Let the pastry sit to rise for about 45 minutes. Brush with egg-wash and sprinkle with chopped almonds and raw sugar. Bake for about 15-18 minutes at 400℉ (210℃).
If you want to freeze some of the kanelstænger, do that after making the slits in the dough, and freeze them on a baking sheet and wrap them in when frozen.
Source: Lagkagehuset.