Sweet • Sour • Savory

Food blog on scandinavian style food done right.

Mrs. Hobbs's Italian Rosemary Cookies

Cake, Christmas, Cookies, HolidayTove Balle-Pedersen2 Comments
Italian Rosemary Cookies

Italian Rosemary Cookies

These cookies are to die for!!!

How my friend and the whole world kept this recipe away from me, for so many years, it’s beyond my understanding.

If you only are baking one cookie this year, make it this one!

Makes 60-70.

Ingredients:

  • 250 g butter, salted and room temperature

  • 400 g sugar

  • 2 eggs

  • 30 g raw pistachios, finely chopped

  • 10 g (3 tablespoons) fresh rosemary leaves, finely chopped

  • 450 g all-purpose flour

  • ½ teaspoon salt

  • 3 teaspoons baking powder

  • 1 orange, the zest

Directions:

Cream butter and sugar until light and fluffy. add 1 egg at a time, making sure it’s fully incorporated, befor adding the next. Mix in orange zest, rosemary, and pistachios. Sift flour, sant and baking powder and incorporate it in the dough.

Divide the dough into 3 pieces. Roll each part into a log (2 inch in diameter), wrap in Glad wrap, shape the log into a square, by pressing the log onto the kitchen counter. Refrigerate overnight. Try to make a smooth surface to get an even look on the finished cookies. Well, the dough were very soft, so I didn’t get the smooth surface on my logs. 🙃

Cut the logs into thin cookies and put them on a baking sheet lined with parchment paper. Spacing about 1-inch apart. Bake until golden around the edges, about 5-7 minutes at 350°F. Cool cookies on the pan on wire racks. Store in an airtight container at room temperature for up to 2 weeks.

Enjoy!

Caramelized Root Vegetables

Dinner, Vegetables, Vegetarian, SidesTove Balle-PedersenComment
Caramelized Root Vegetables

Caramelized Root Vegetables

Serves 4.

Ingredients:

  • 3 large carrots

  • 4 parsnips

  • 3 sun chokes (Israeli artichokes)

  • 1 small root celery

  • 3 small beets

  • salt

  • a splash of oil for the baking

  • sugar and butter for the caramelizing

Direction:

Preheat the oven for 400℉ (200℃). Peel the root vegetables and cut them into bite-sized pieces. Keep the beets separate even during baking, to prevent all the vegetables from turning red. Dress the vegetables in oil and season with salt. Bake the vegetables in ovenproof dishes for about 30 minutes until tender, but not soft. Cool the vegetables. Just before you are ready to serve, heat a large skillet over high heat, pour in the sugar and melt it. When the sugar has turned the color of light amber, add the butter and stir with a wooden spoon. Carefully pour the vegetables into the hot caramel. Lower the heat and make sure the vegetables get covered in the caramel and get heated through. Serve immediately, otherwise the vegetables looses the shine.

Enjoy!

Mrs. Child's Cheese Crackers

Appetizer, Brunch, cheese, Holiday, SnacksTove Balle-PedersenComment
Southern Cheese Crackers

Southern Cheese Crackers

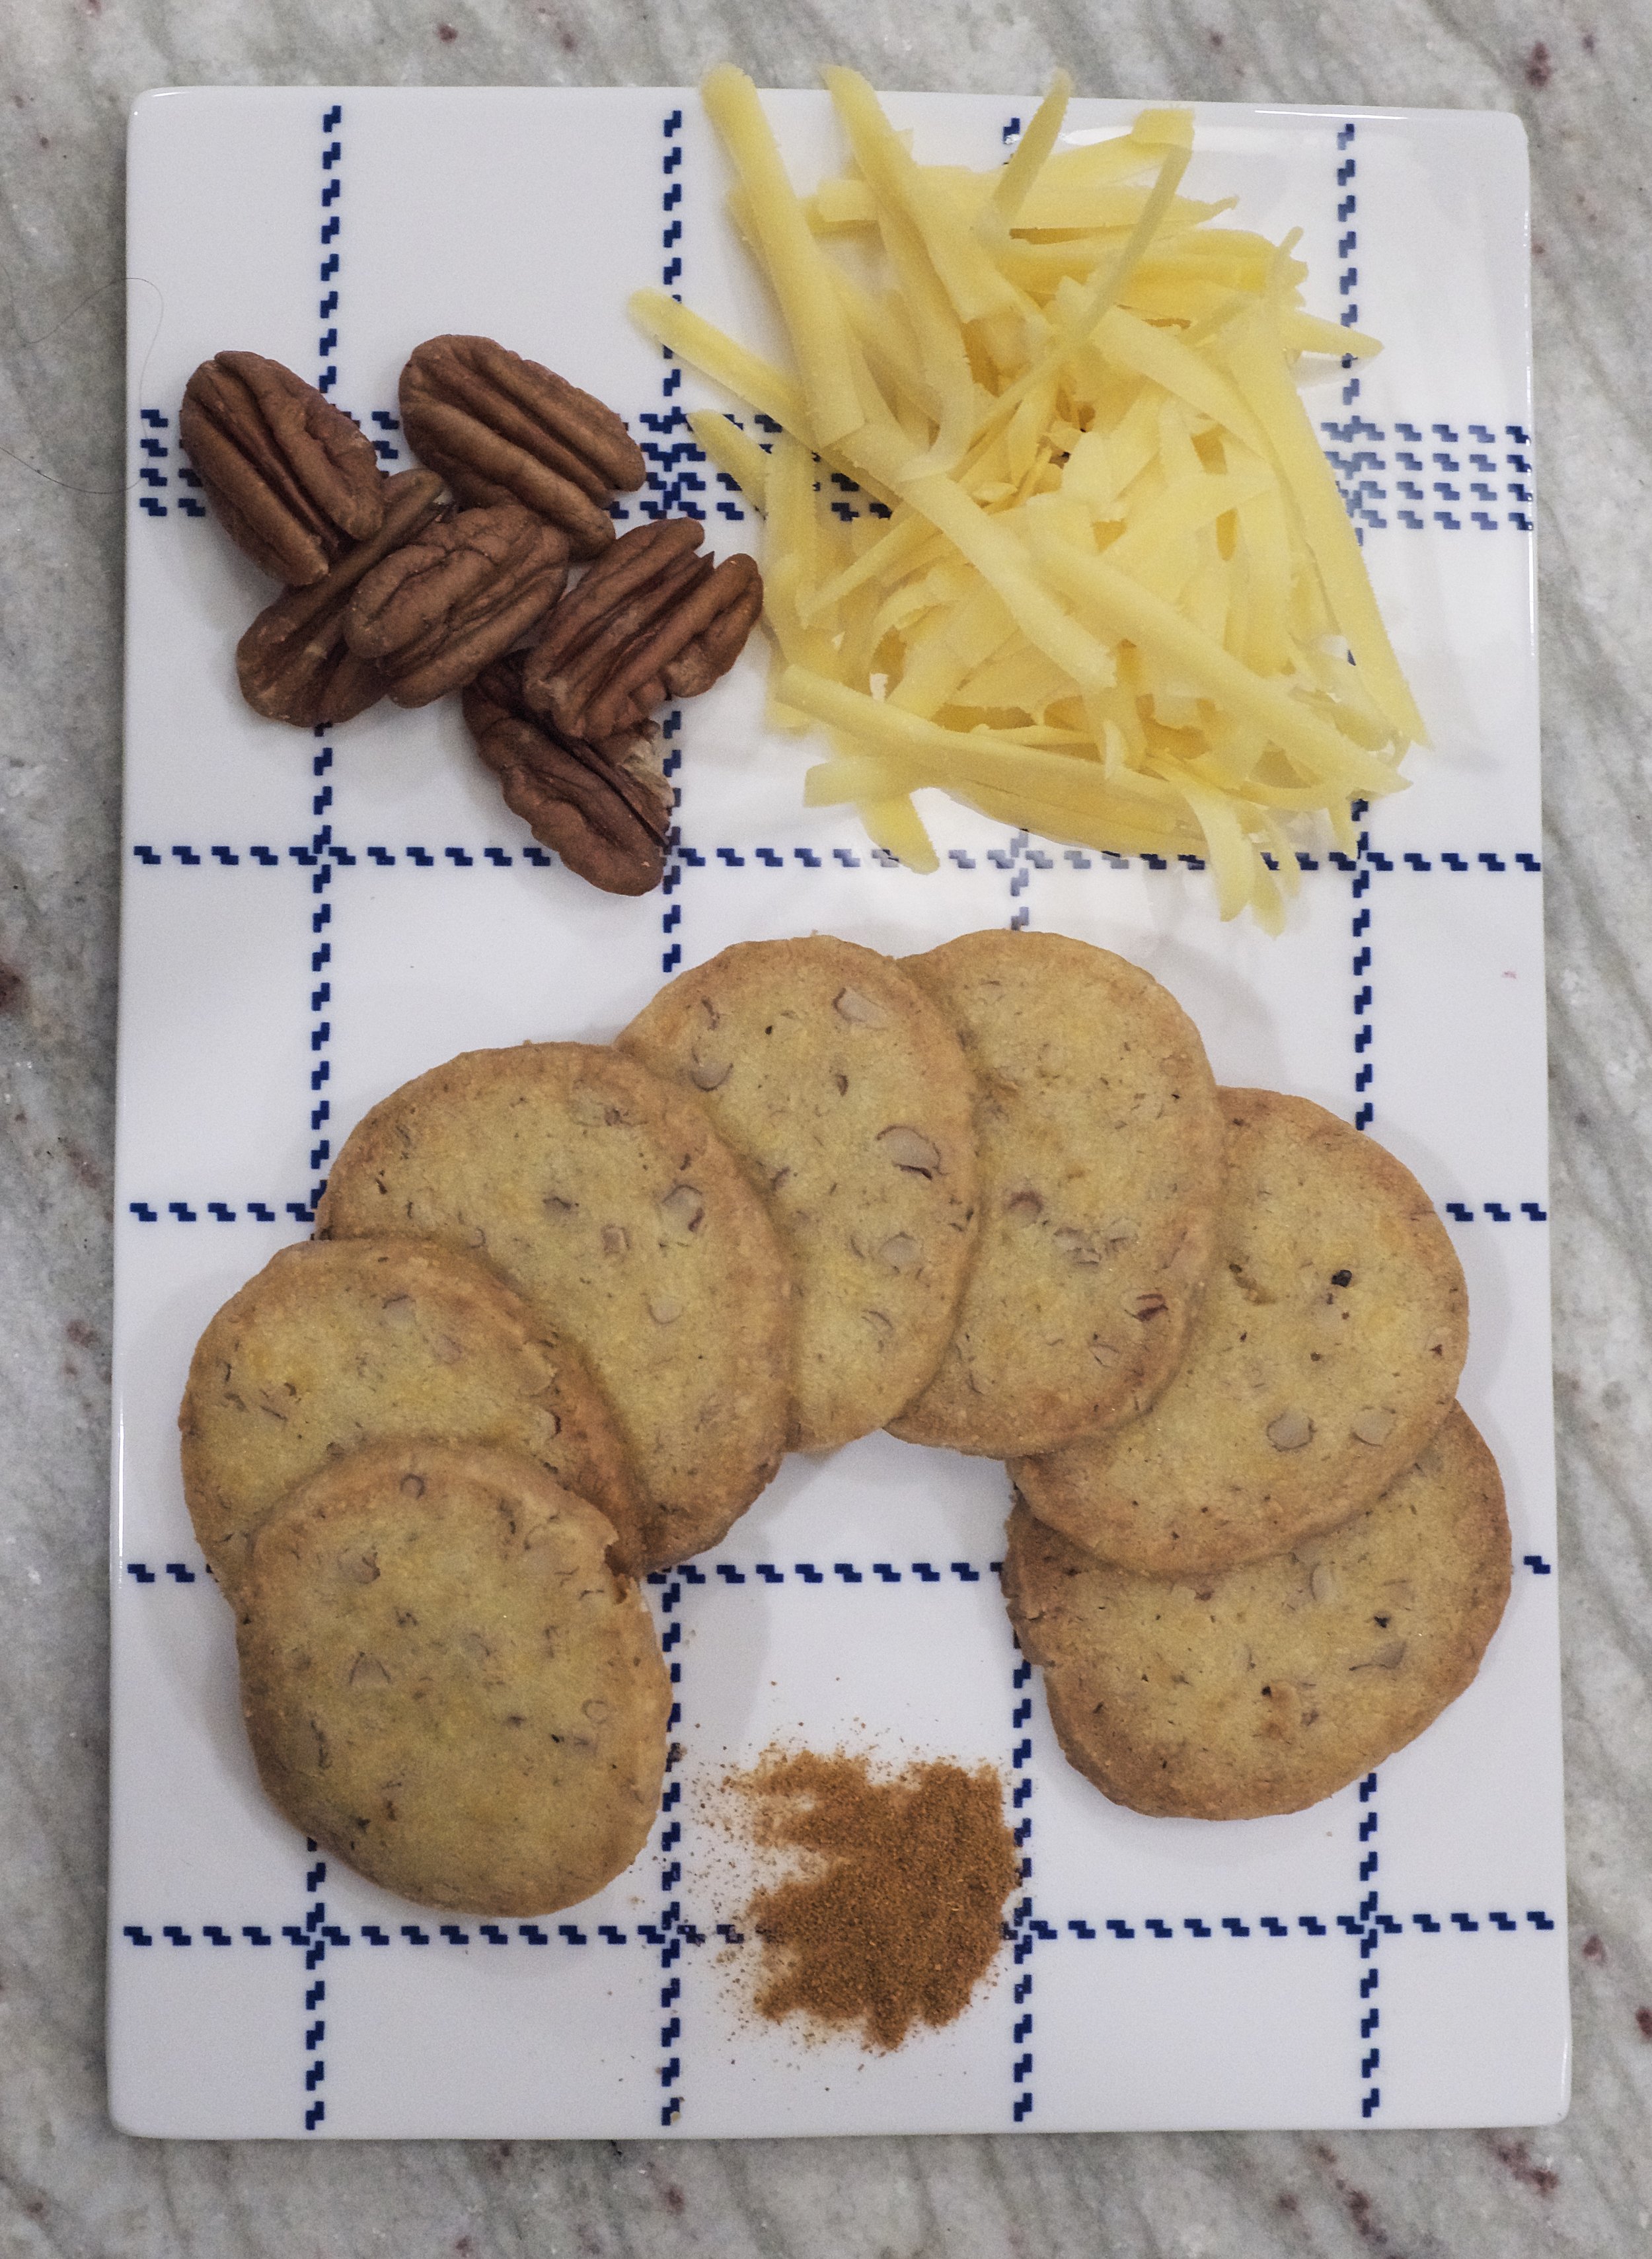
It’s no secret I LOVE cheese. So when a friend of mine told me about these cheese cracker, it was a no-brainer, I had to make them. The most surprising was, that it took me almost a month to do so.
These crackers a very addictive, and pair well with a cold beer or a nice glass of wine. If you’re not into the spiciness, then drop the cayenne.

Recipe by Robyn Stone.

Makes 40-60 crackers.

Ingredients:

  • 200 g (2 cups) freshly shredded sharp cheddar cheese

  • 112 g (1 stick) salted butter, softened

  • 1 teaspoon salt

  • ½ teaspoon cayenne pepper

  • ¼ teaspoon freshly ground black pepper

  • ⅛ teaspoon garlic powder

  • 60 g (½ cup) pecans, finely chopped

  • 145 g (1½ cups) all-purpose flour

Directions:

Cream the butter with the grated cheese for about 3 minutes. Mix in the salt, cayenne, black pepper, and garlic powder. Add the flour a little at a time, stirring after each addition until the ingredients are well combined and a dough forms. If the dough seems a little dry, ad 1 or 2 tablespoons of water.

Shape the dough into two 1-inch (2½ cm) diameter logs. Wrap in parchment or plastic wrap. Twist the ends and refrigerate 30 minutes or overnight.

Preheat oven to 375℉ (190℃). Line 2-3 baking sheets with parchment paper.

Cut the logs into ⅛-inch (⅓ cm) thick slices and place ¼-inch (1 cm) apart on the prepared sheet.

Bake until light golden brown, about 12-15 minutes. Transfer to a cooling rack to cool completely. The crackers will keep in an airtight container for up to 1 week. This is theoretical because they evaporate faster in my house.

I can recommend making some extra dough, and freeze it, for an easy snack for when you have guests.

Enjoy!

Beetroot Gravad Lax

Appetizer, Christmas, Fish & seafood, HolidayTove Balle-PedersenComment
DSCF1666_PM.jpg

Thanksgiving and December really sneaked up un me this year. As many others in California, we were living in unhealthy air due to the big wild fires. We tried to escape to the Sierras, and this threw my schedule way off. But now, over halfway to Christmas, I’am getting back into the game.
We are going to the annual Danish Christmas lunch, and I alway make gravlax. This year I decided to make 2 different versions, the regular and a pretty red beetroot and gin version.

The pretty pink gravlax is delicious too. I serve it with a dill and creme fraiche sauce.

Ingredients:

  • 800 g side of salmon, skin on, scaled, pin-boned, from sustainable sources

Beet cure:

  • 200 g raw beets (2 beets)

  • 2 lemons, the zest of

  • 100 g coarse sea salt 

  • 50 g sugar 

  • 50 ml gin (I used Hendricks)

Herb cure:

  • 1 big bunch of fresh dill, finely chopped

  • 6 sprigs, tarragon, the leaves, finely chopped

  • 50 g fresh grated horseradish 

  • 50 ml gin (I used Hendricks)

Directions:

In a food processor or mini chopper, blitz together the beets , gin, and lemon zest until they become a smooth paste. Transfer the beet mixture to a small bowl and mix in the rock salt, and sugar.

Rub a little mixture on to the salmon skin, then place the salmon, skin side down, in a large zip lock bag in a dish or baking tray. Pat the remaining mixture all over it so that the salmon is completely covered. Remove as much of the air from the zip lock bag as possible. Pace a little cutting board on top of the salmon, and place some weight on top to have an even pressure on it. Place in the fridge for 24 hours.

After 24 hours, gently unwrap the salmon and remove the beet mixture. Gently splash the salmon with a bit of water to rinse off any remaining cure and rinse the dish too.

Mix together the herb cure ingredients in a small bowl, place the salmon (skin side down) in a new zip lock bag in the dish. Cover the salmon evenly with the herb cure. Remove air and put the weight on back onto the salmon. Refrigerate for another 24 hours.

The next day, your cured salmon will be ready to enjoy. The herb mixture does not need to be rinsed off- just thinly slice the salmon and serve it as an open faced sandwich, with a creme fraiche (or sour cream) with dill.

Enjoy!

Ciabatta Bread Rolls

Breakfast, Bread, BrunchTove Balle-PedersenComment
Ciabatta Bread Rolls

Ciabatta Bread Rolls

Ciabatta is one of the best breads for sandwiches, and I wonder why it took me so long to bake them. This recipe is made with a preferment (poolish), that you preferably can start the day before you bake the bread, it will give your rolls more flavor. But to be honest starting the poolish in the morning, worked fine today.

Makes 8-10 rolls.

Ingredients:

Poolish:

  • 200 g all-purpose flour

  • 200 g water, room temperature

  • 1 g dry yeast

Ciabatta:

  • Poolish from above

  • 200 g water, room temperature

  • 200 g all-purpose flour

  • 100 g manitoba flour (high protein flour)

  • 8 g salt

Directions:

Poolish:

Stir all ingredients together in a mixing bowl. The dough should be very soft and sticky, looking like a thick batter. Cover the bowl with plastic wrap and let sit at room temperature for 3-4 hours, until the poolish is bubbly. Refrigerate the poolish. The slow fermenting at low temperature will help develop flavor and texture. The poolish will keep up to 3 days in the refrigerator. Remove the poolish from the refrigerator prior to making the ciabatta dough.

I didn’t make my poolish in advance, so I only fermented my poolish for 4 hour on the kitchen counter at about 20℃ (68℉).

Ciabatta:

Dilute the poolish with the rest of the water, and transfer it all to the bowl of the stand mixer. Add flour and salt.

Using the paddle attachment knead the dough for about 5 minutes, starting on low for the first 60-90 seconds. The kneading is complete when the dough pulls away from the sides of the bowl. Wet your hands when handling the dough, because it’s very sticky.

Oil a wide bowl with some olive oil. Place the dough into the oiled bowl, and let it rise covered for 3 x 45 minutes.

With wet hands fold the dough for 5-6 times, and let the dough rise another 45 minutes and repeat the fold. Let the dough rise for the last 45 minutes.

Gently flour a bakers couche (or a clean flour sac) and the work surface.

Turn the dough out onto the well floured surface, be careful not to deflate it. A simple way to do this is turning the bowl upside down just over the counter and letting gravity help you. Sprinkle a fair amount of flour on the dough, and gently form the dough into an rectangle.

Making the rolls: Divide the into 2 logs using a bench scraper, and divide each into 4-5 pieces/rolls. Sprinkle with additional flour, so you have no bare dough visible. Use the bench scraper to get under the roll and carefully lifting it onto the couche with generous spacing between them. Bunch the cloth in between rolls to make a small wall. Sprinkle with more flour, and cover the rolls with a clean tea towel. Let the rolls rise for about 20 minutes.

Heat the oven with a pizza/baking stone to 445℉ (230℃), Have a jelly roll pan at the lower shelve, so you can pour some hot water into it, to make steam in the oven.

Use a baking peel and parchment paper to transfer the rolls into the oven. Pour about 1 cup water in the jelly roll pan, and quickly close the oven door. Bake 4-5 rolls at a time for about 18 minutes until done and deep golden brown.

Let the rolls cool on a wire rack before serving.

Enjoy!