Sweet • Sour • Savory

Food blog on scandinavian style food done right.

Brunch,Appetizer

Grove Hveder - Grove Hvedeknopper

Bread, Breakfast, Brunch, DinnerTove Balle-PedersenComment
Grove Hveder - Grove Hvedeknopper

Grove Hveder - Grove Hvedeknopper

Hveder is a white cardamom roll eaten before the Bededag aka Prayers Day in Denmark. This year I wanted to add a little fibers to the roll, while still keeping the roll nice and sweet. I think I hit the mark with this recipe. I didn't come up with a heathy version, but 1.6 grams dietary fiber per roll is a little better than 0.

Ingredients:

  • 50 g live yeast or 4 teaspoons dry yeast
  • 200 ml water, finger warm
  • 75 g butter
  • 150 ml buttermilk
  • 1 egg
  • 10 g (1¾ teaspoon) salt
  • 5-10 g (3 teaspoons) cardamom
  • 25 g buckwheat 
  • 50 g quick oats (quaker oats)
  • 100 g whole wheat flour
  • 450 g all-purpose flour

Directions:

In a large bowl dissolve the yeast in the water. (Add a teaspoon sugar if you are using dry yeast, and wait until it starts to foam.) Mix in the butter, sugar, buttermilk and egg. Mix salt and cardamom with the flours, oats and buckwheat, and add that to the water-mixture. Hold some of the all-purpose flour back, because you want a soft smooth dough, and might not need it all. Knead the dough for about 7-10 minutes until the dough is shinny and elastic. Let the dough rise covered for about 20- 30 minutes.  

Pour the dough onto a lightly floured workspace, fold the dough over 3-4 times and divide the dough into 12-18 small balls. Place the balls only about 1 cm (about ⅓-½ inch) apart on a parchment paper lined baking sheet. Cover the dough balls with a dampen kitchen towel, and let them rise for another 60 minutes. They are meant to grow into each other, you want the soft sides on your rolls, when you pull them apart.

Preheat the oven to 400℉ (200℃). (375℉ /190℃ for convection oven). 

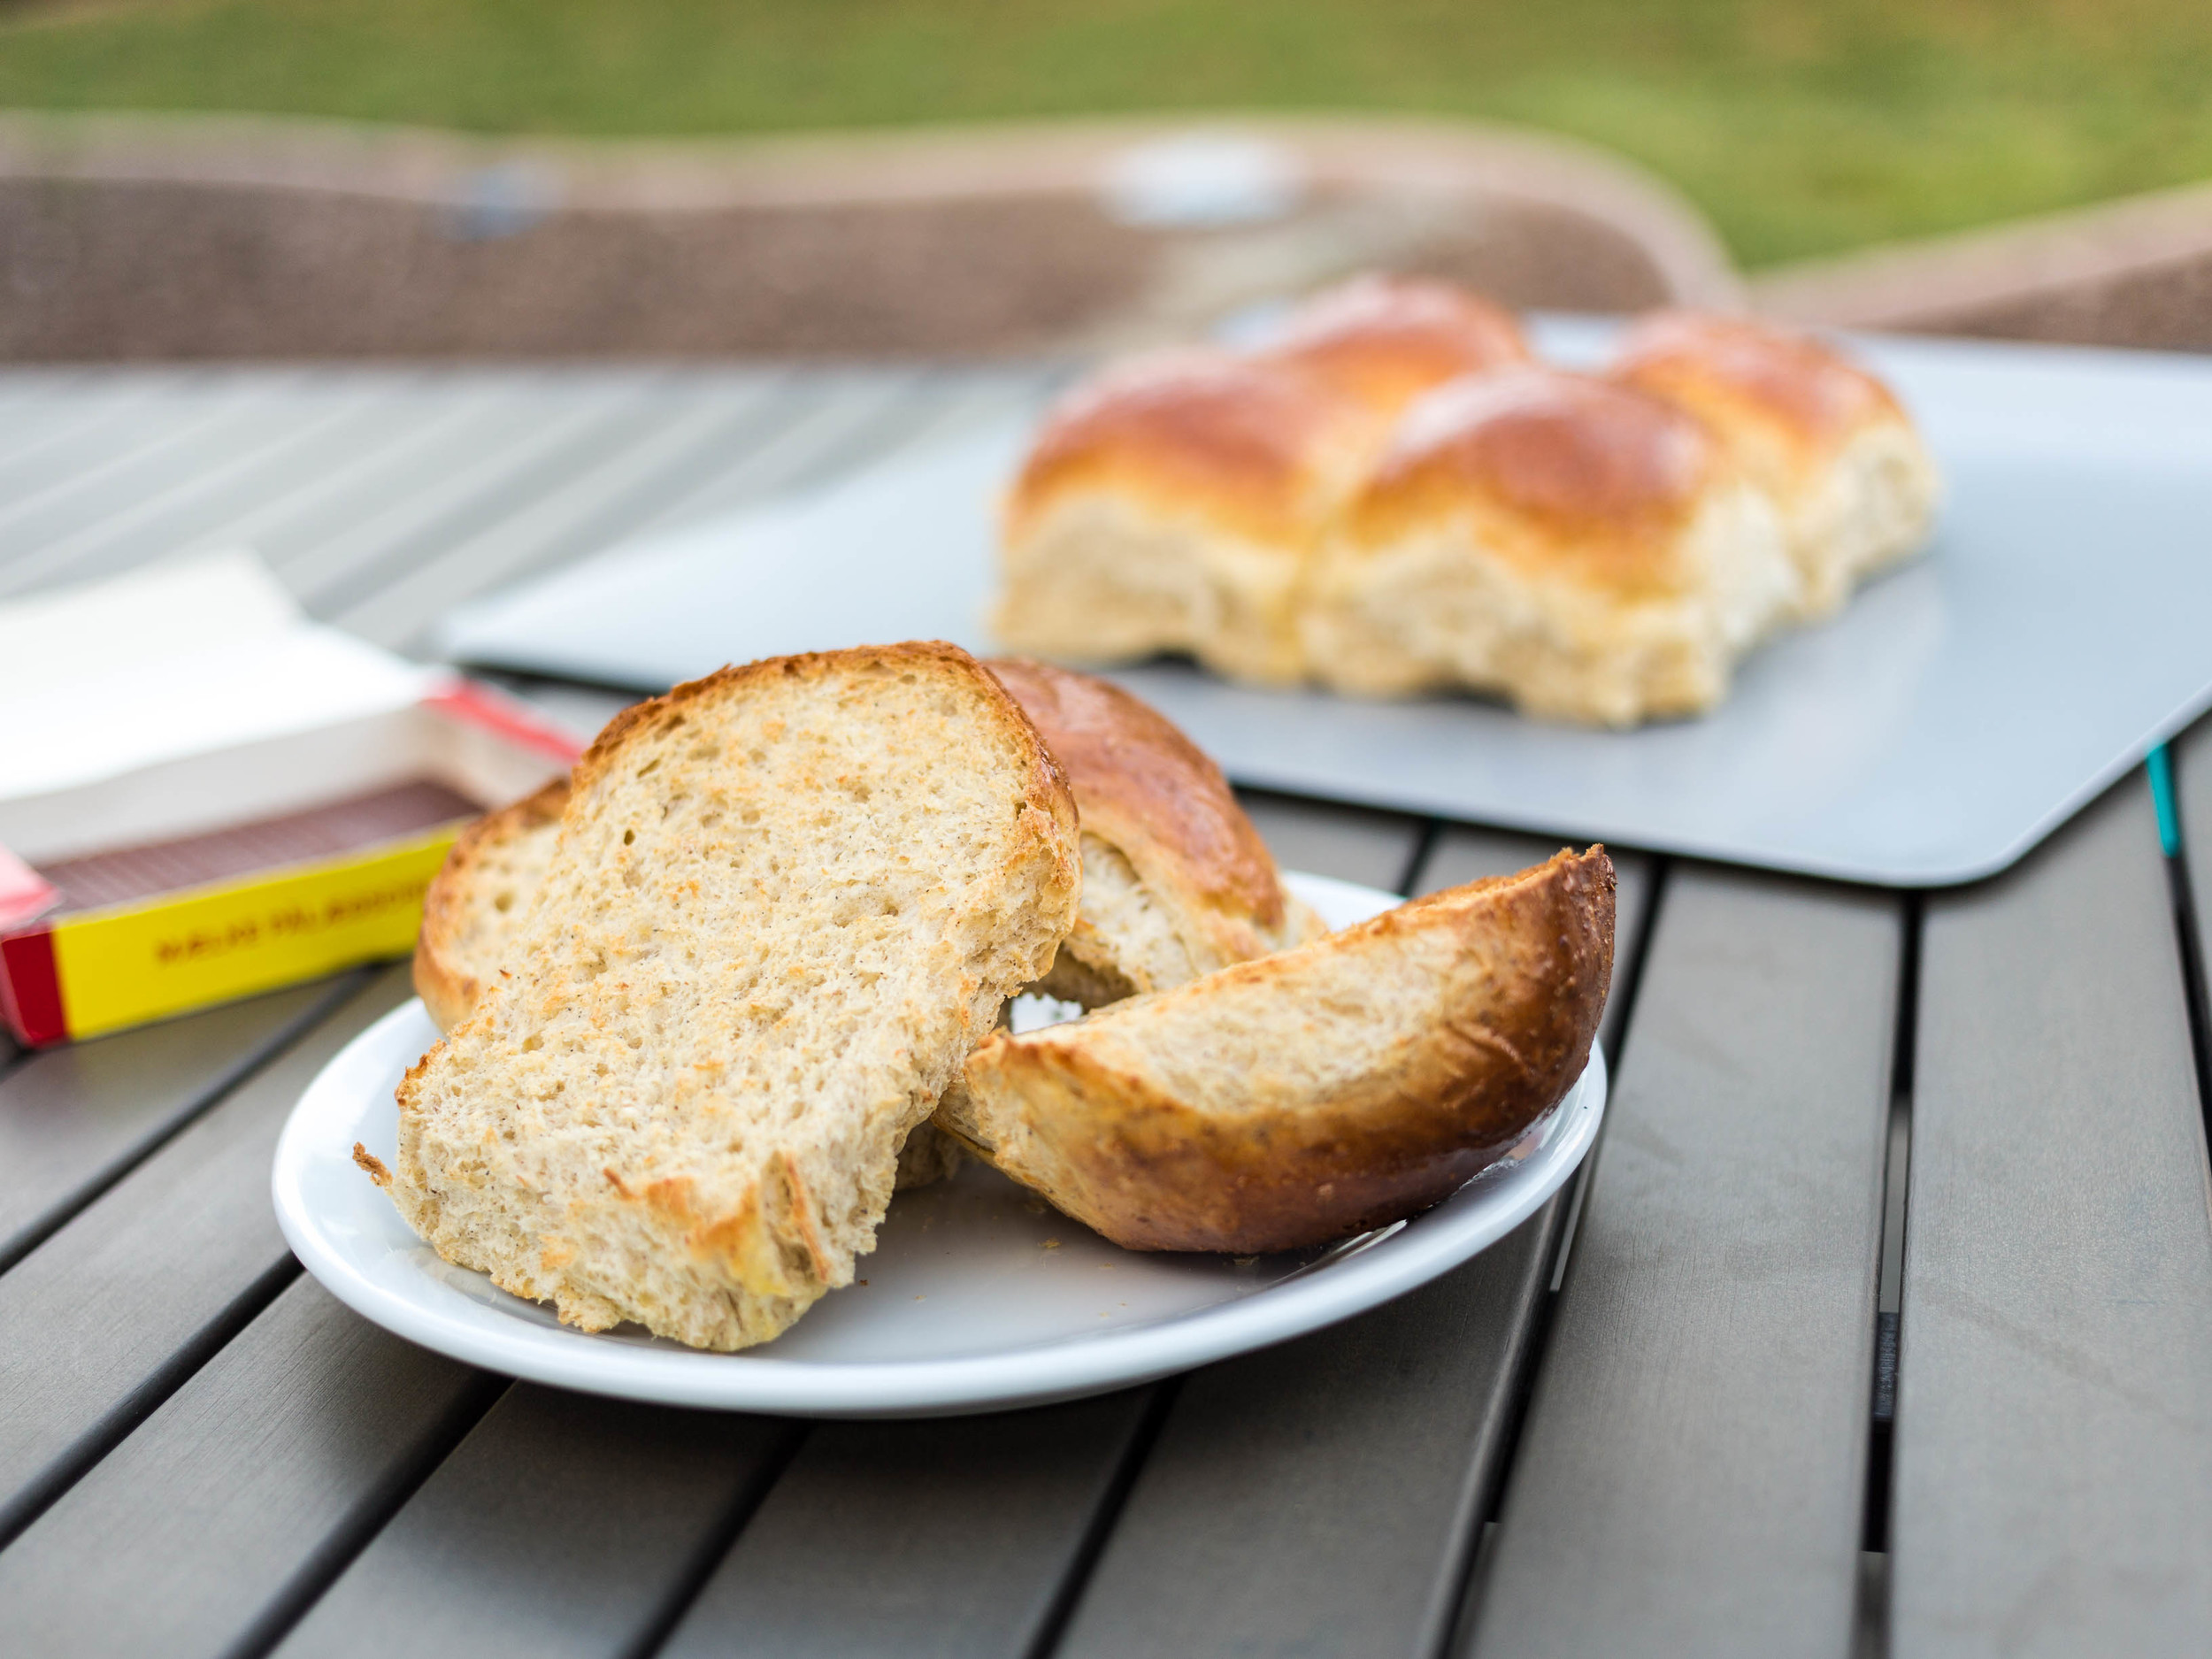
Bake the hvedeknopper/rolls for 15-20 minutes until they are dark golden brown. Let them cool on a wire rack.

Before serving, cut them in half and toast them. Serve them hot with butter and jam or with a good cheese.

Enjoy!

Raspberry Jelly Roll - Hindbærroulade

Brunch, Cake, DessertsTove Balle-PedersenComment
Raspberry Jelly Roll - Hindbærroulade

Raspberry Jelly Roll - Hindbærroulade

Raspberry jelly roll, aka hindbærroulade, is a traditional cake in Denmark. The kind of cake you would buy at a gas station or at the supermarket. My mom did sometimes buy the jelly roll in the supermarket, and I saw her dressing it up, by covering it with whipped cream and some fresh berries. As a working mom, she didn't have time to do all her cooking from scratch, she did cut some corners, as did a lot of housewives back then, and now.

My mom loved to bake, when she did have the time. I found this recipe in her handwritten recipe book dating back from before she married my dad. 

Well, you can get a better version of this jelly roll by making it yourself or buying it at a good bakers shop. The supermarket cake really doesn't make this cake justice. If made well, with good ingredients the jelly roll is very delicious. Soft, sweet and with a crunch of sugar. A perfect cake to bring for a picnic. The soft cake travels well, and can easily be cut, and eaten off a napkin.

Makes 1 cake, serves 10-12.

Ingredients:

  • 3 eggs (room temperature)
  • 125 g sugar
  • 1 tablespoon water
  • 1 teaspoon vanilla paste
  • 60 g potato starch
  • 60 g all-purpose flour
  • ½ teaspoon hjortetaksalt (baker's ammonia/Ammonium bicarbonate (NH₄HCO₃))

Filling:

  • raspberry jam

Directions:

Preheat the oven to 425℉ (225℃). Line a jelly roll pan with parchment paper, and spray it with coconut oil, set aside.

Sift potato starch, flour and baker's ammonia, and set aside.

Whisk the eggs light and foamy with the sugar, it takes about 5 minutes to get maximum foaming when whisking on a stand mixer. Whip in the vanilla and water. 

Very gently fold the dry ingredients in the foamy eggs. Be very careful not to deflate the egg mixture to much.

Pour the batter in the prepared baking pan in a thin layer. Bake the cake for 7-9 minutes until golden brown.

Place a new piece of parchment paper on your counter. Sprinkle the paper with a thin layer of sugar on the parchment paper.

Remove cake from the oven. Flip the cake (top-side down) onto the sugar. Gently remove the parchment paper from the back side of the cake. Spread jam all over the cake, leaving about ½-inch from the edge on the side you are rolling it up towards. Using the parchment paper, roll the cake up tightly. Let the cake cool completely. Trim the sides, and serve the cake on a platter.

Enjoy!

The Ultimate Iced Coffee

Brunch, Desserts, DrinksTove Balle-PedersenComment
The Ultimate Iced Coffee

The Ultimate Iced Coffee

This iced coffee is a special treat. I look at it the same way as a ice cream cone or a slice of cake. It's not an every day occurrence. But It is really good on a hot day for a special day pick me up.

Ingredients:

Milky syrup:

  • 1 can (14 oz/396 g) sweetened condensed milk
  • 21 oz (1.5 times the can) of milk (i used non-fat milk) 

Directions:

Brew the coffee (it takes 12-14 hours)

Milky syrup:

Mix the two milks together and it's ready. I would try to freeze the mixture in ice cubes, because it do make quite a lot, and it is very rich.

 Stir in syrup in the coffee to taste, for me about half and half, and top with ice.

Enjoy!

Cold Brewed Coffee

Breakfast, Brunch, DrinksTove Balle-PedersenComment
Cold Brewed Coffee.

Cold Brewed Coffee.

Why do you want to brew you coffee cold? Well, if you like an iced coffee, and don't want a diluted cup of coffee, this is the way to go. The coffee actually tastes sweeter than the same coffee brewed with hot water. Why is that? Some of the more bitter oils in the roasted coffee will only be extracted using hot water, while the cold water only extracts the sweeter flavor components. The real downside to brewing the coffee cold is the time aspect. You can't make yourself a quick cup of coffee, if you didn't think ahead to brew the coffee in advance. In a way you are substituting heat for time. Heat is a catalyst in many processes, and here we have to put in a long steep time, to get all the flavors extracted from the beans.

I steep my cold brewed coffee for 12-14 hours, before filtering it. The filtered coffee will last about 3-4 days in the refrigerator, but somehow it never last as long in my home.

I have become picky with my coffee. I only buy whole coffee beans, and grind them myself. But coffee beans are very different. I don't like the shiny beans you gets from the regular coffee at Starbucks and similar places. The more dry-looking or matte beans are not as bitter, and my grinder don't get an oily build-up from these. So I started to buy my coffee beans fresh roasted from smaller companies. My local Whole Foods carries a small selection.

 For the last year we have had a subscription on fresh roasted coffee bean from Blue Bottle Coffee. Every other week we get a new bag of coffee delivered by mail. We get a new kind of coffee every time, and so far, we have liked them all. 

Ingredients:

  • 150 g (1½ cup) medium roasted coffee beans (I like fresh roasted beans)
  • 1000 ml  (1 liter or about 4 cups)

Directions:

Grind the coffee, and pour it in a suitable container, I use my 12 cups French press. Pour the cold water over the coffee, and stir to combine. Cover with plastic wrap and let it steep for 12-14 hours on the kitchen table. I stir the mixture a couple of times if steeping during daytime, but it's not mandatory.

When Steeping is done, you need to filter the coffee. Using my French press, I just put the press-part in the pitcher, and press down slowly. I decant the coffee into a new pitcher or bottle, to keep in my refrigerator.

When serving, dilute the coffee with cream, milk, water or syrup to your taste and top with ice. Or try my Ultimate Iced Coffee.

Enjoy!

The Danish Version:

Koldbrygget Kaffe

Ingredienser:

  • 150 g medium-ristede kaffe bønner
  • 1 liter kold vand

Fremgangsmåde:

Der er intet svært her. Kværn kaffebønnerne og kom dem i en passende beholder. Hæld vandet over, og lad kaffen trække tildækket i 12-14 timer på køkkenbordet. 

Si kaffen igennem et almindeligt kaffefilter. Jeg bruger en stor Bodum stempelkande, og trykker bare stemplet langsomt ned. Hæld kaffen på en kande og afkøl den helt i køleskabet. Kaffen kan holde sig i køleskabet i 3-4 dage.

Ved serveringen, fortyndes kaffen med fløde, mælk eller vand efter smag. Sød kaffen med en sirup.

Velbekomme!

The Quest for the Danish Morning Rolls

Brunch, Breakfast, BreadTove Balle-Pedersen1 Comment
Morning Rolls

Morning Rolls

I love the Danish morning rolls, aka rundstykker. But event though it's a really simple roll, it's very hard to get just right. They need to have a thin hard crust with a really light crumb, with no chewiness. Apparently this s very hard to obtain for normal people in a normal oven, without steam. 

There are many ways to try to get steam in your oven. Here is a few methods.

  • Put a baking pan on the bottom rack and fill it with pebbles or a large stainless steel chain, and preheat the oven with this in the oven. When you put your bread or rolls into the oven, splash ½ cup hot water on the rocks/chain and close the door quickly. This will build up enough steam to help with the oven-spring/the rise of the dough, before the crust hardens in the heat. 
  • Place 2-3 soaking wet kitchen towels on a baking pan on the bottom rack, while preheating the oven, and for the first 5-8 minutes of the baking time, and then remove the pan with the towels. Be careful opening the oven the steam will burn you, so stay clear of the oven-opening.
  • The simplest way is to spray some hot water into the oven, but this might not be enough to  give a perfect oven-spring.

This is my first version of Danish Morning Rolls. I did get the crumb, that I wanted, but I would still like it to be lighter. The crust was almost right, but it needs to stay crisp and be a bit thicker.

Even though these rolls didn't hit the mark as real Danish morning rolls, they are actually very good.

Makes 10-12 rolls

Ingredients:

  • 4 g dry yeast
  • 250 ml water, finger warm
  • ½ teaspoon sugar
  • 100 ml  plain yoghurt 
  • 300 g bread flour
  • 225 g all-purpose flour

Egg wash:

  • 1 egg white
  • *½ cup cold water

Directions:

Dissolve the yeast in the water, add the sugar, and let the yeast wake up, and start to foam, takes about 5 minutes. Mix in the yoghurt and both flours. Knead the dough for about 10 minutes in a stand mixer. You want a strong gluten structure. Cover the bowl, and let the dough rise in the refrigerator overnight. 

Pour the dough out on a lightly floured surface. Divide the dough in 10-12 and roll them into balls. Place 6 dough-balls on each parchment paper lined baking sheet. Let the rolls rise for 20 minutes.

Preheat the oven to 450℉ (250℃).

Whisk the egg white with the cold water to make a foam. Use the foam to brush onto the rolls. If you like sprinkles on your rolls, do that now. Cut a fairly deep slit in the roll. (I forgot that, but it will give the roll room for the oven spring.)

Place 2-3 soaking clean wet kitchen towels on a baking pan on the bottom rack, while preheating the oven, this will make the steam. Bake the rolls for 20-25 minutes until deep golden brown. Remove the baking pan with the towels after the first 5-8 minutes.

Let the rolls cool completely.

Serve the rolls with butter, cheese or jam.

Enjoy!