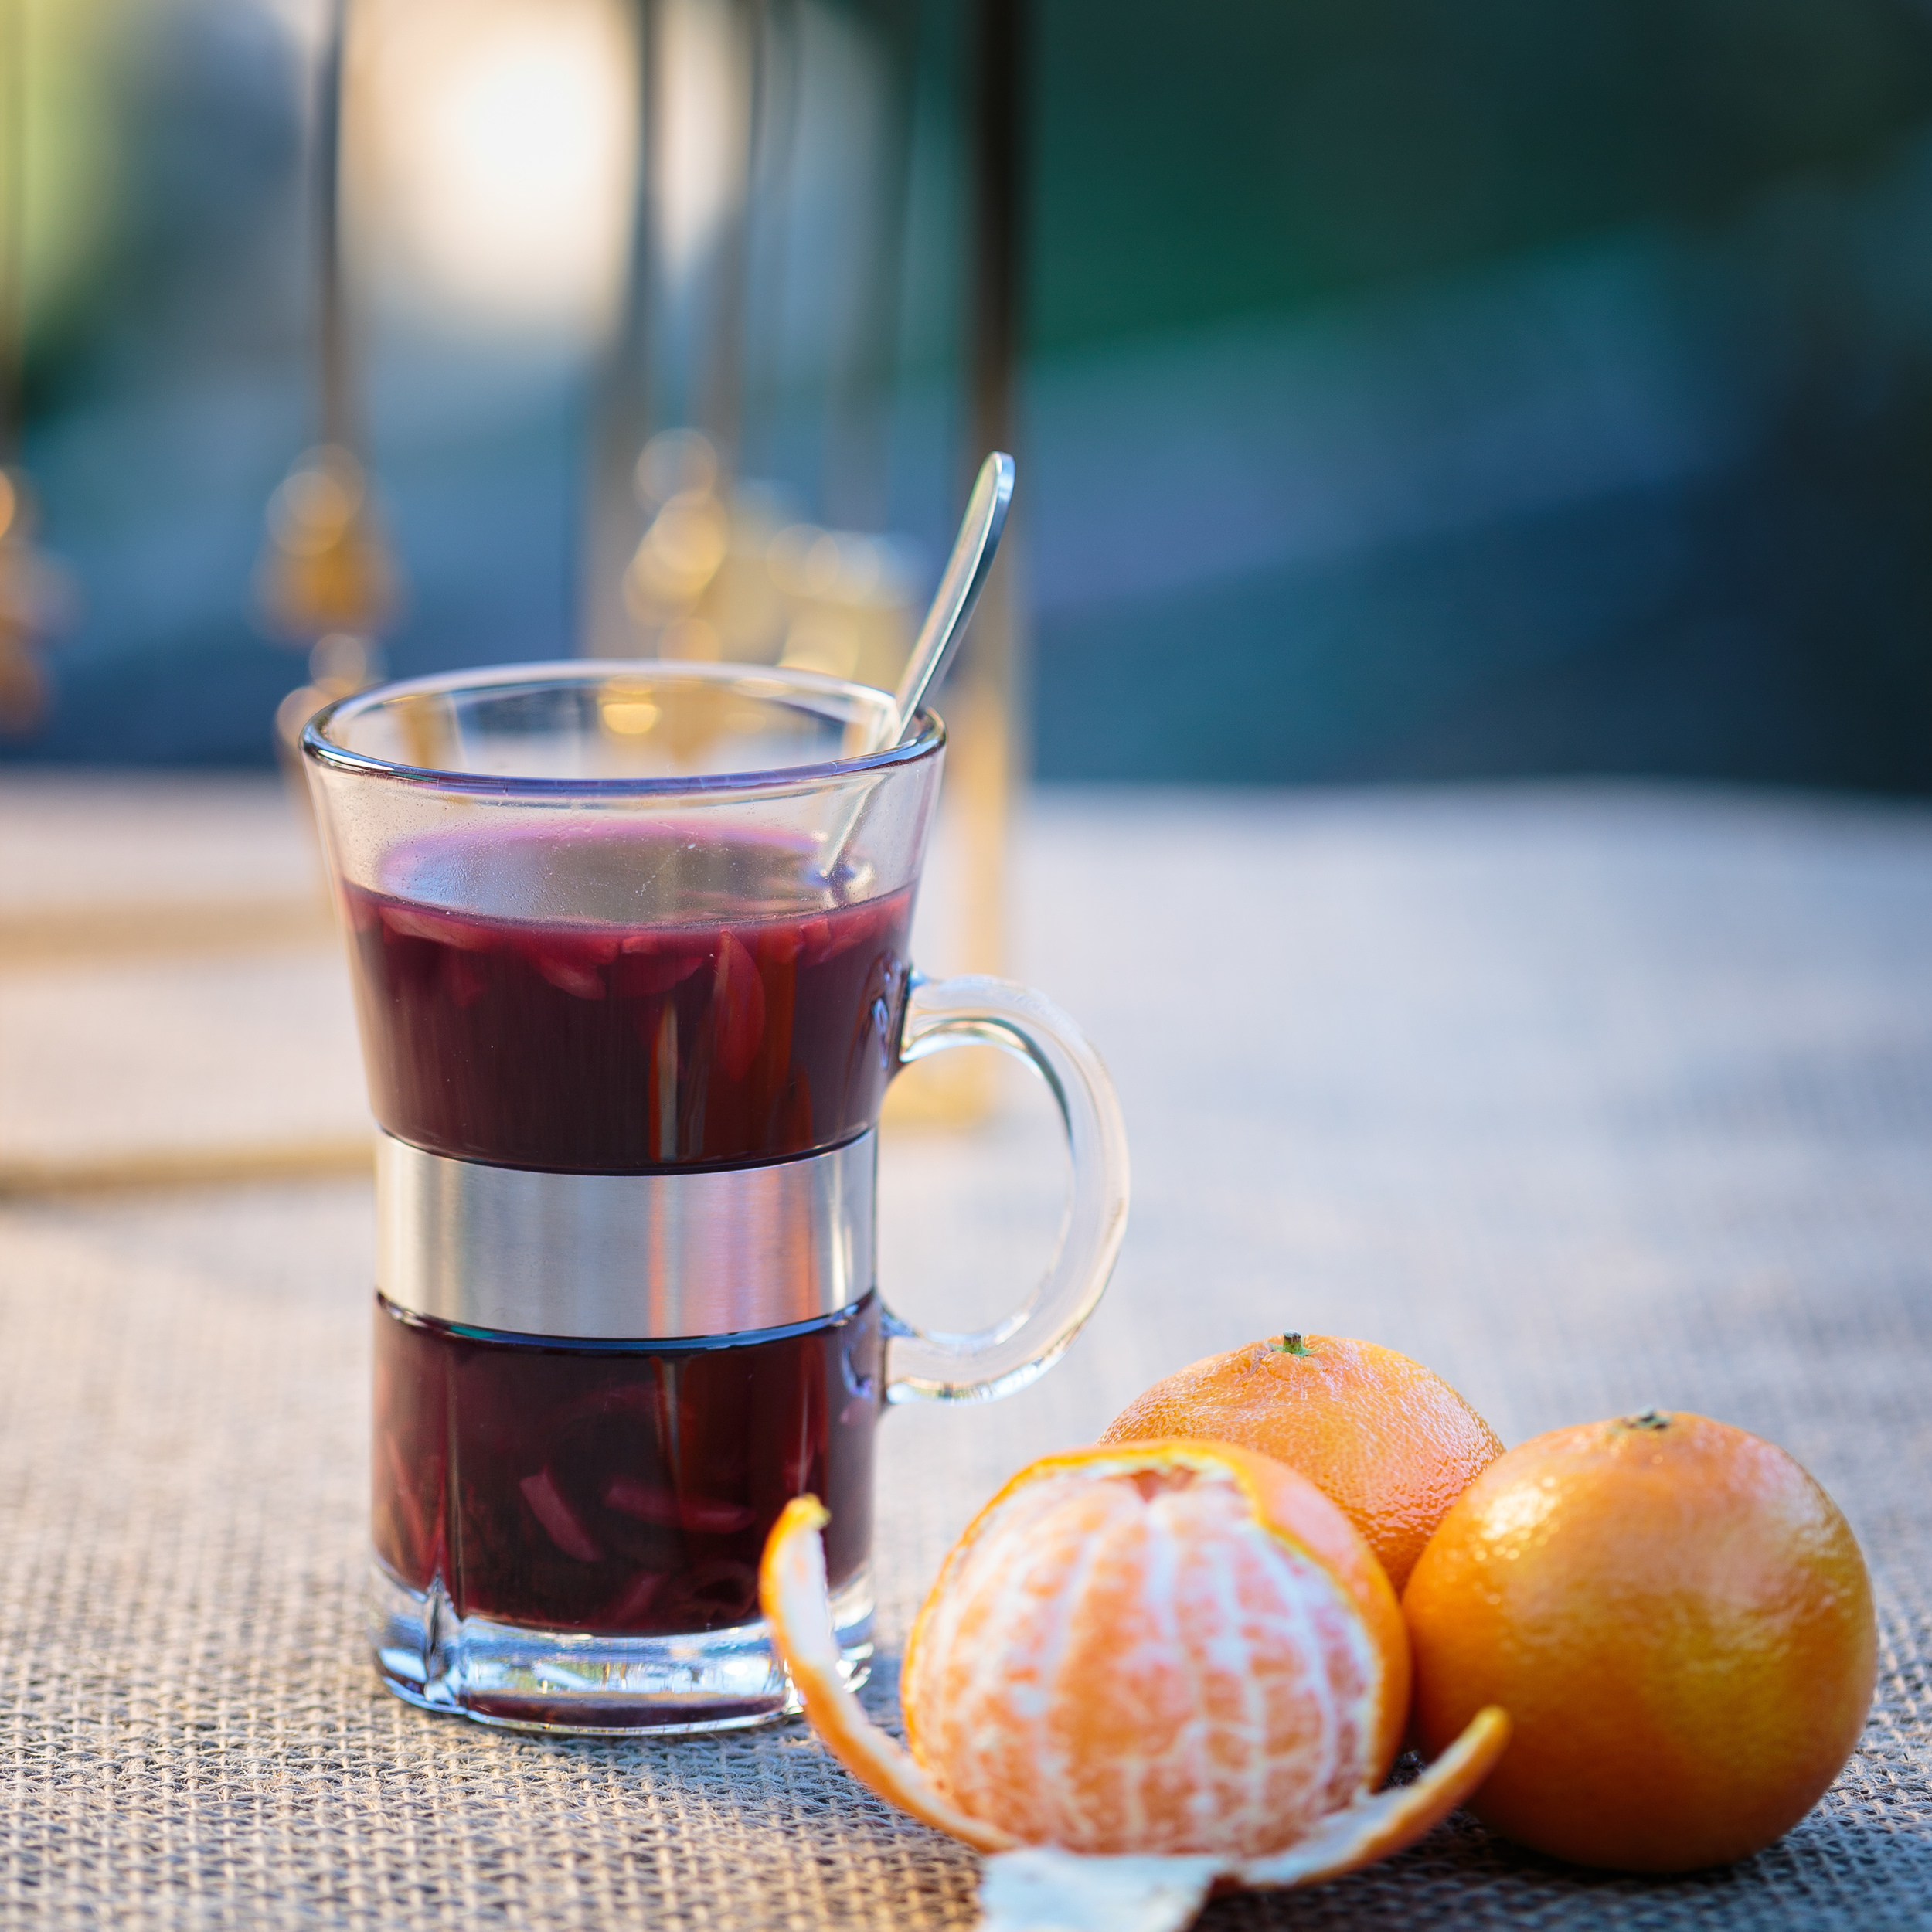
Rødkål - Pickled Red Cabbage
December 12th. It's time to get ready for christmas dinner, and making red cabbage a few days early eases the stress of making the traditional Danish christmas dinner.
My mom always made her own red cabbage, but she had the recipe in her head, and it's lost forever. I like the simplicity of the dish. You only need 4 ingredients, not counting salt and pepper. The sweetness from the sugar combined with the acidity from the balsamic really works well with the red cabbage.
Rødkål is a traditional danish side for the christmas dinner, but it's also very good with medisterpølse and meatballs/frikadeller or in sandwiches.
This is my take on pickled red cabbage.
Ingredients:
1 medium red cabbage
25 g butter, salted
3 tablespoons brown sugar
¼ cup balsamic vinegar (I mixed half balsamic and half blackberry-ginger balsamic for a sweeter taste)
salt and pepper to taste
Directions:
Remove outher leaves of cabbage, and cut cabbage into quarters and remove the white core. Thinly slice the cabbage across the quarters width-wise. To get uniform slices I use a mandolin.
Melt the butter in a large saucepan. Add the the cabbage and sear it for a couple minutes. Add the vinegar and sugar. Simmer the cabbage for 10 - 15 minutes until cabbage is tender.
Season with salt, pepper, vinegar and sugar. Serve heated to pork roasts or roasted duck.
The cabbage can be served cold on (open faced) sandwiches.