Sweet • Sour • Savory

Food blog on scandinavian style food done right.

Vegetables,Sides

Hasselback Potatoes

Dinner, Holiday, VegetablesTove Balle-PedersenComment
071630C5-B4AB-4616-82B4-83F26B0A4DD5.jpeg

Hasselback potatoes is a Swedish dish invented in the 1950’s created at the Hasselbacken restaurant in Stockholm. And they were very popular during the 70’s and 80’s, but do no deserve to be forgotten. Personally i love them for their crispy outer and creamy center.

Normally I won’t add any flavors to the butter, but fresh herbs like rosemary and thyme goes really well with the potatoes, as do garlic. If you like another flavor profile, you can use other types of fat or oil, like olive oil and duck fat.

Serves 3-4 depending on the size of the potatoes.

Ingredients:

8-10 potatoes, the size of a golf ball, I used Yukon Gold potatoes

60 g salted butter (About ½ stick)

salt

Direction:

7B48BC0D-9765-429A-8C3D-1445CAE86953.jpeg

Preheat the oven to 400℉ (200℃), and line a large rimmed baking sheet with parchment paper, set a side.
Place a potato up against a handle of a wooden spoon. Slice the potato into thin slices, not cutting all the way through. The handle of the spoon helps you not slicing the whole way through. Repeat with the remaining potatoes.

Place the potatoes on the baking sheet and brush them with the melted butter, making sure to get in between all the slices. Sprinkle with salt. Bake potatoes for about 55 to 60 minutes, brush the potatoes with more butter every 20 minutes. Bake until crisp and tender.

Serve them as a side.

Enjoy!

Spinach and Feta Pie a la Spanakopita

Lunch, Sides, Vegetables, Vegetarian, DinnerTove Balle-PedersenComment
Spinach and Feta Pie a la Spanakopita

Spinach and Feta Pie a la Spanakopita

This is a simplification of the traditional Greek Spanakopita, a spinach feta pie or hand pie. It’s perfect for a lunch or light dinner. The crispness of the filo dough with the soft creamy filling is a great combination. An absolute favorite in my house.

Serves 4,

Ingredients:

  • 100 g pine nuts, dry roasted

  • 400 g baby spinach

  • olive oil for sautéing the spinach

  • 5 eggs

  • 275 g feta cheese, crumbled

  • 1 lemon, the zest of

  • 1 pinch of cayenne pepper

  • 9-10 sheets of filo dough (Store bought) defrosted according to instruction on packaging

  • ~50 g melted butter for brushing the filo dough

Directions:

Preheat the oven for the 400℉ (200℃).

Take out a 10-inch skillet, and sauté the spinach over medium heat until it is all wilted, take off the heat.

Mix eggs, feta cheese, pine nuts, lemon zest, and cayenne. When the spinach is cooled a bit, add it to the egg mixture. Dry off the pan you used for the spinach, set aside.

Place the filo dough under a damp tea towel, this will help to keep the filo dough soft and workable.

Place a large piece of parchment paper on the kitchen counter. I crumble the parchment paper first, and straighten it out again, this way it’s easier for the parchment paper to fit in the skillet. Brush some melted butter on the parchment paper. Place 4 sheets of the filo dough on top of the parchment paper in a rectangle, you want them to overlap a bit. Gently brush with melted butter, and repeat with 3-4 more layers of filo dough. Carefully transfer the parchment paper with the filo dough into the skillet, so the dough is hanging out over the edges of the skillet. Pour in the egg mixture in an even layer. Gently fold the filo doughs edges in over the filling. Brush the edges with a little more butter, and bake the pie for 18-20 minutes until the dough is golden and crisp, and the filling is set.

Serve the pie warm with a simple salad on the side.

Enjoy!

Cauliflower Salad with Apples & Almonds

Salad, Sides, VegetablesTove Balle-PedersenComment
Cauliflower Salad with Apples & Almonds.

Cauliflower Salad with Apples & Almonds.

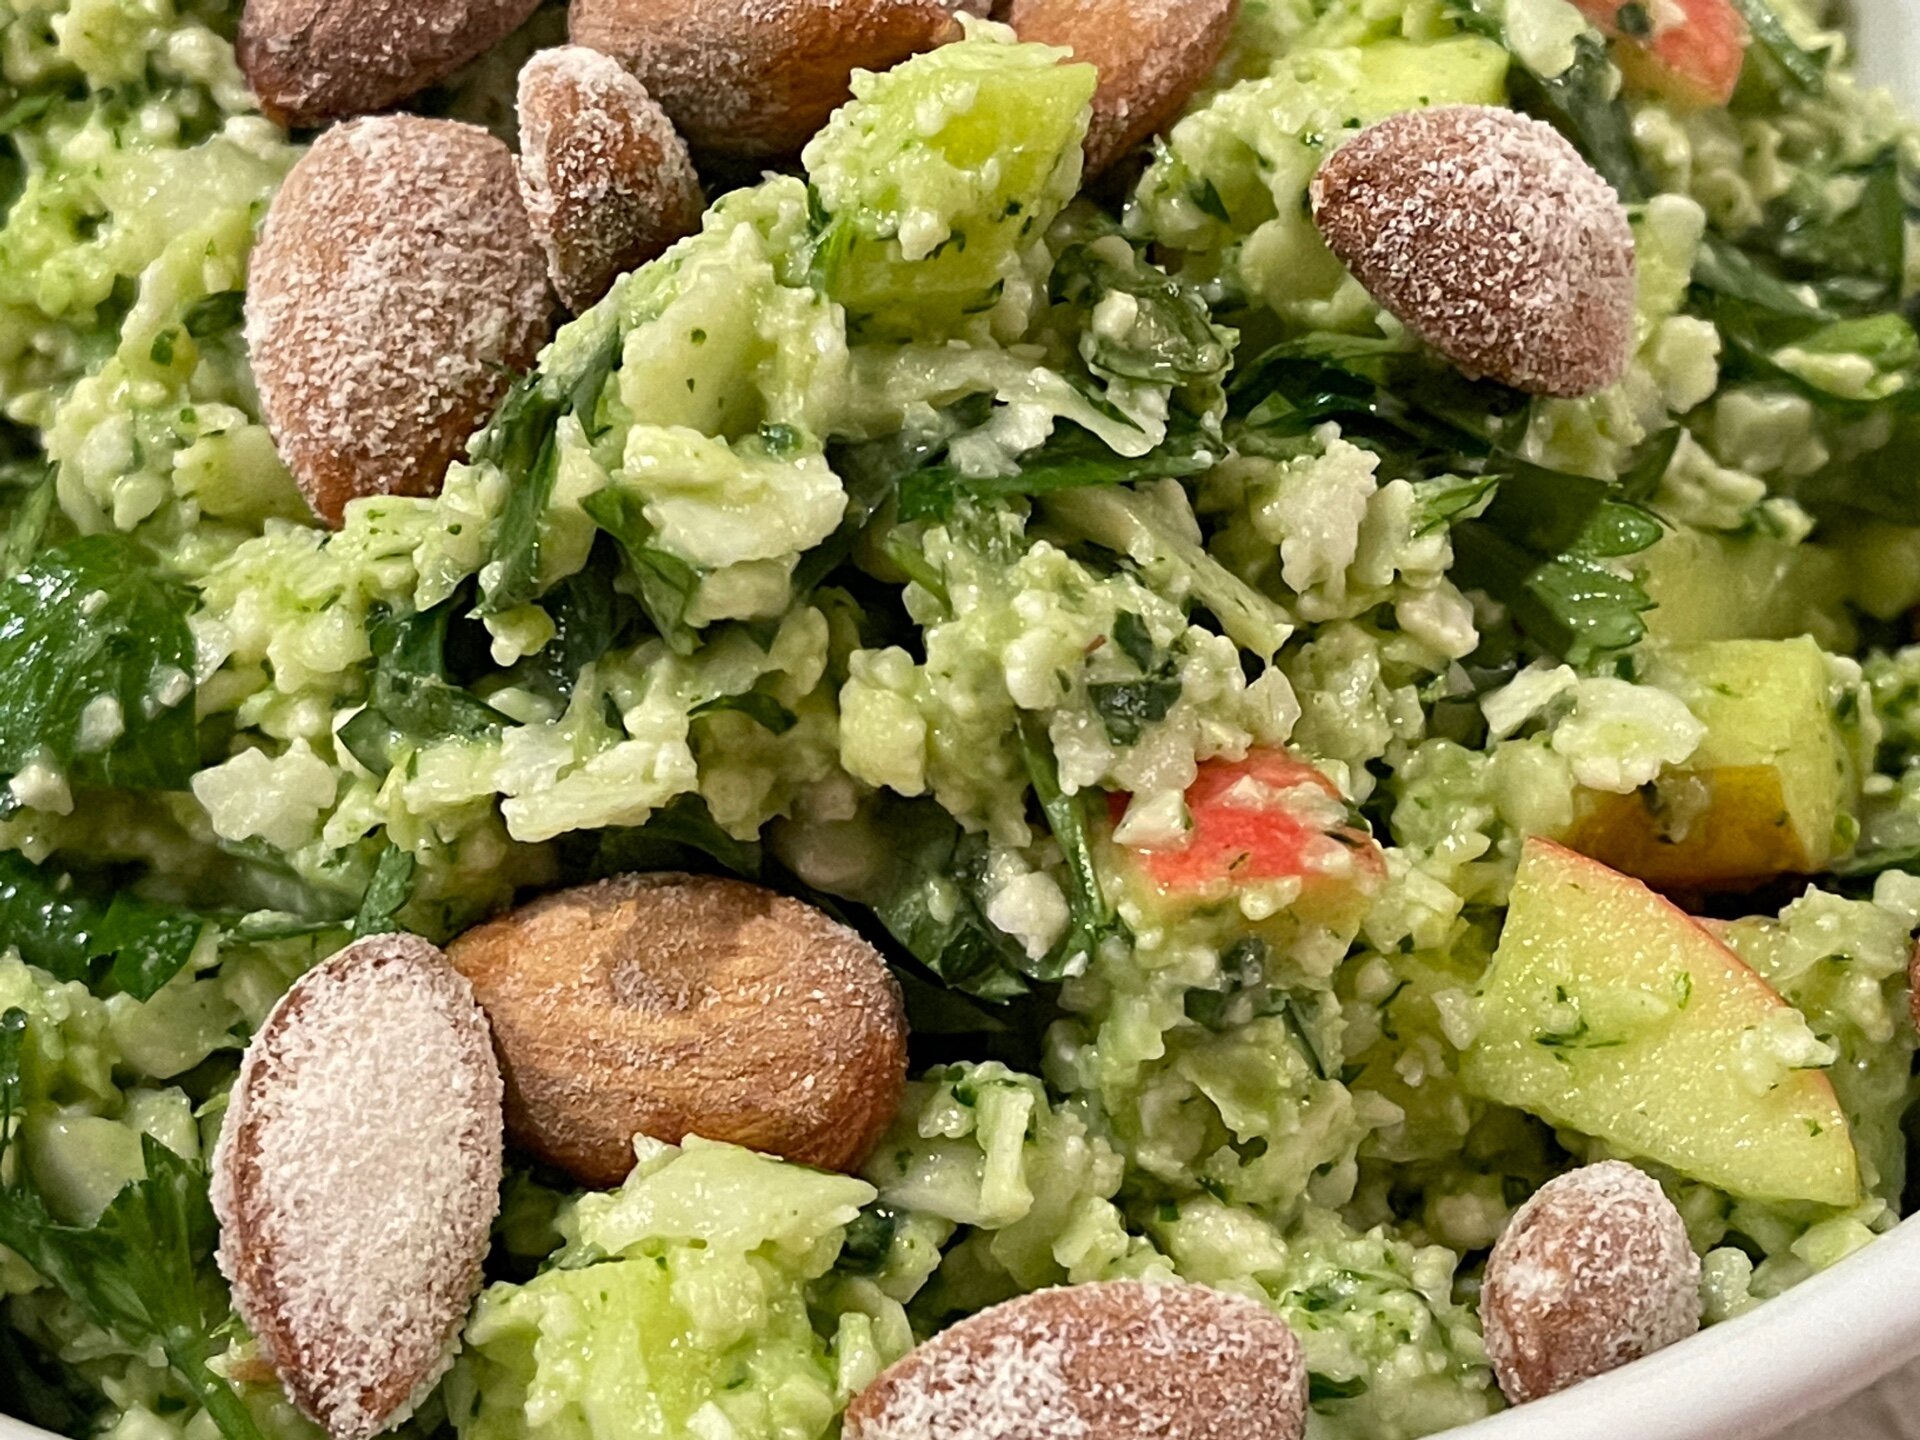
I found this recipe one one of my favorite Danish food blogs, Valdemarso. It’s a great everyday salat with lots of taste and texture. I lowered the amount of garlic in my version, so it won’t be overpowering, masking the other milder flavors. The salad will keep 2 days in the refrigerator.

Serves 4

Ingredients:

  • 1 cauliflower

  • 1 red apple

  • ½ handful Italian parsley

Dressing:

  • 2 handful Italian parsley,

  • ½ -1 garlic clove, chopped

  • 15 g pine nuts

  • 25 g Parmesan cheese, chopped roughly

  • 3 tablespoons olive oil

  • 3 tablespoons creme fraiche (or sour cream)

  • 1 teaspoon honey

  • salt & pepper to taste

Salted almonds:

  • 30 g raw almonds

  • 50 ml water

  • 1 teaspoon salt

Directions:

Salted almonds:

In a small skillet dissolve the salt in the water and bring the water to a boil. Stir in the almonds, and cook on medium high until the water is evaporated, shake the pan to get an even salt coating on the almonds. Let the almonds cool completely, before giving them a rough chop.

Dressing:

Combine all the ingredients except the creme fraiche in a food processor or mini chopper and pulse until coarsely chopped. Add creme fraiche and process until fully incorporated and you have smooth paste. Season with salt and pepper.

Salad:

Grate or finely chop the cauliflower and chop the parsley. Wash an and core the apple, and dice it. Mix all the ingredients with the salted almonds and dressing, season with salt and pepper. Now the salad is ready to serve.

Enjoy!

Piccalilli - Pickles

condiments, Spread & Dips, vegan, Vegetables, VegetarianTove Balle-PedersenComment
Piccalilli.

Piccalilli.

Pickles, Piccalilli or chow chow, this delicious condiment is called different thing, in different places. Growing up it was a weird sour mustardy thing my dad loved, but as an adult I realized it was a delicious, sweet & sour, curry, mustard sauce with lovely crunchy vegetables. It’s pairs very well with meats, especially with a pariserbøf. But I also like piccalilli as a condiment with grilled sausages.

Previously I’d bought piccalilli, but after trying the homemade version, I won’t go back. The flavors are great, and the part of knowing what’s in it, is really nice.

Makes 8-10 small jars.

Ingredients:

1000 g vegetables, diced small

  • 300 g cauliflower

  • 100 g summer squash

  • 100 g carrots

  • 100 g fennel

  • 100 g shallots

  • 120 g green beans

  • 130 g red bell pepper

  • 50 g celery

  • 50 g salt

Pickling juice:

  • 320 ml vinegar

  • 200 ml water

  • 150 g sugar

  • 40 g honey

Spice Paste:

  • 50 g corn starch

  • 3 teaspoons curry

  • 1 teaspoon turmeric

  • 4 teaspoons Colman’s mustard powder

  • 1 teaspoon ground coriander

  • 1 teaspoon cumin

  • 1 teaspoon ground ginger

  • 100 ml vinegar

Makes 8-10 small jars.

Directions:

Depending on how coarse you like your piccalilli, you can dice the vegetables in about ⅕-⅖ -inch (½-1 cm) pieces, or blitz them in a food processor. I like to be able to se what kind of vegetables I’m eating, so I do a coarser chop.

DA124363-D947-45EF-B132-5E0CB5F24A67.jpeg

Wash and peel the vegetables, before chopping them. Mix the chopped vegetables with salt, and place them covered in refrigerator over night.

Prepare the jars and lids by cleaning them and scolding them in boiling water. Rinse them in a conserving agent, (I used a Danish conserving agent called Atamon, sodium benzoate) or rinse them in a 100 proof vodka.

Rinse the vegetables thoroughly in lots of water, drain them well. You can dry the vegetables on kitchen towels.

Make the paste in a bowl or a mini food chopper, making sure to get a homogeneous mixture. Set aside.

Heat the vinegar, water, and sugar until the sugar has dissolved. Mix in some tablespoons of the warm vinegar in the spice paste, two times, before adding all of the paste to the warm vinegar. Bring the vinegar to a boil while whisking. The vinegar will now thicken to a sauce, and let it boil for about 5 minutes. Add the vegetables to the sauce and let them get about 1-2 minutes of heat, before jarring.

Keep the piccalilli in the refrigerator for about 6 weeks before serving, giving the flavors time to mellow out and blend.

The Piccalilli will keep 6 months in the refrigerator.

Enjoy!


Teriyaki Glazed Lamb Sirloin with Green 'Couscous'

Dinner, Lamb, Sides, VegetablesTove Balle-PedersenComment
IMG_9025.jpeg

We really enjoy eating lamb. But this cut was new to us. Not sure if it would be a tough piece of meat or what. I decided to try to cook it medium, hoping for the best. And it turned out perfect. Clearly not the last time I’m serving lamb sirloin.
I was looking for a non-starchy side, because I want to cut a little back on starchy carbs. This cauliflower couscous was a good replacement for regular couscous. Easy to make, no cooking needed. Next time I will add some kind of fruit, to give it some sweetness.

Recipe inspired by Årstiderne.

Serves 3-4.

Ingredients:

  • ¾ - 1 pound lamb sirloin ‘steaks’

  • 100 ml teriyaki-sauce

  • olive oil for frying

Green 'Couscous':

  • 1 bunch kale

  • 1 medium cauliflower

  • 1 preserved lemon , finely diced

  • 1 small handfull almond, dry roasted on a skillet

  • 1 shallots, thinly sliced.

Directions:

Sear the sirloins on both sides in olive oil. Turn the heat down, and keep cooking to the desired doneness. I cooked it for about 5-8 minted and ended up with medium steaks. Add the teriyaki sauce, and turn the steaks så they are glazed all over. Slice before serving.

While cooking the steaks, wash and trim the kale of the stems, and chop finerly. Wash and grate the cauliflower. Peel and thinly slice the shallots. Mix all the ingredients for the ‘couscous’ putting the almonds on top - set aside.

Plate ‘couscous’ and sliced steaks.

Enjoy!