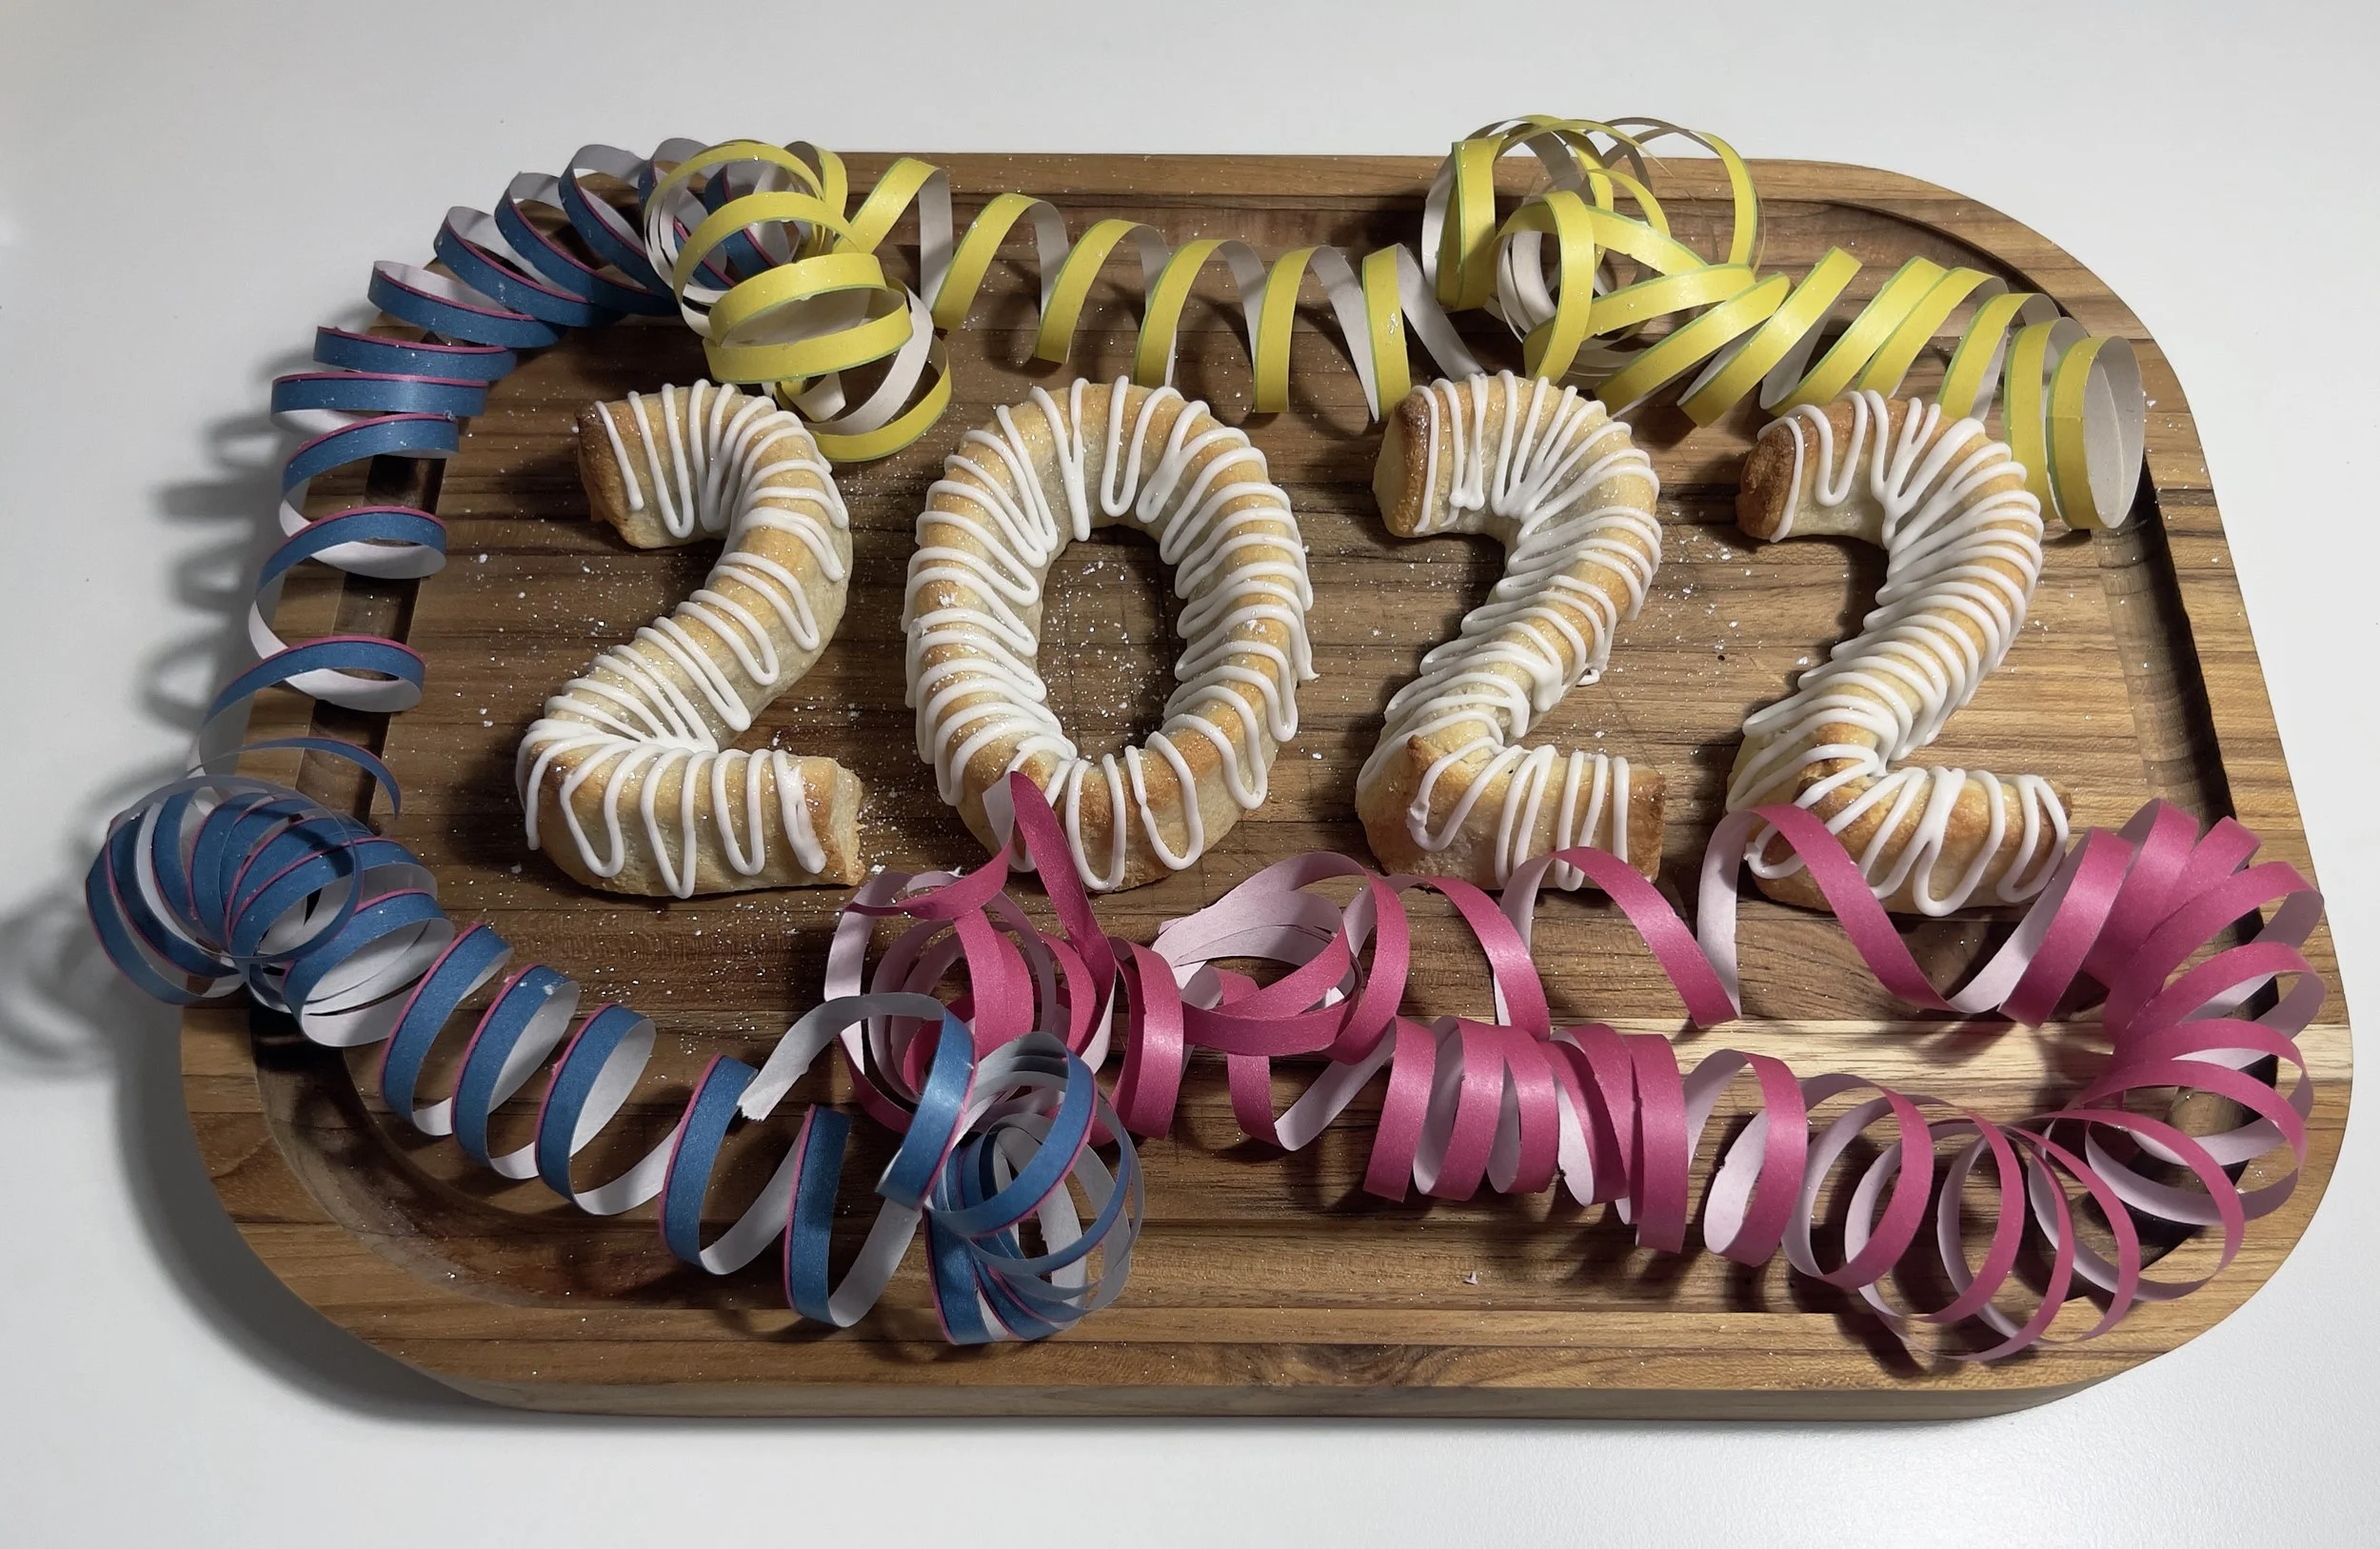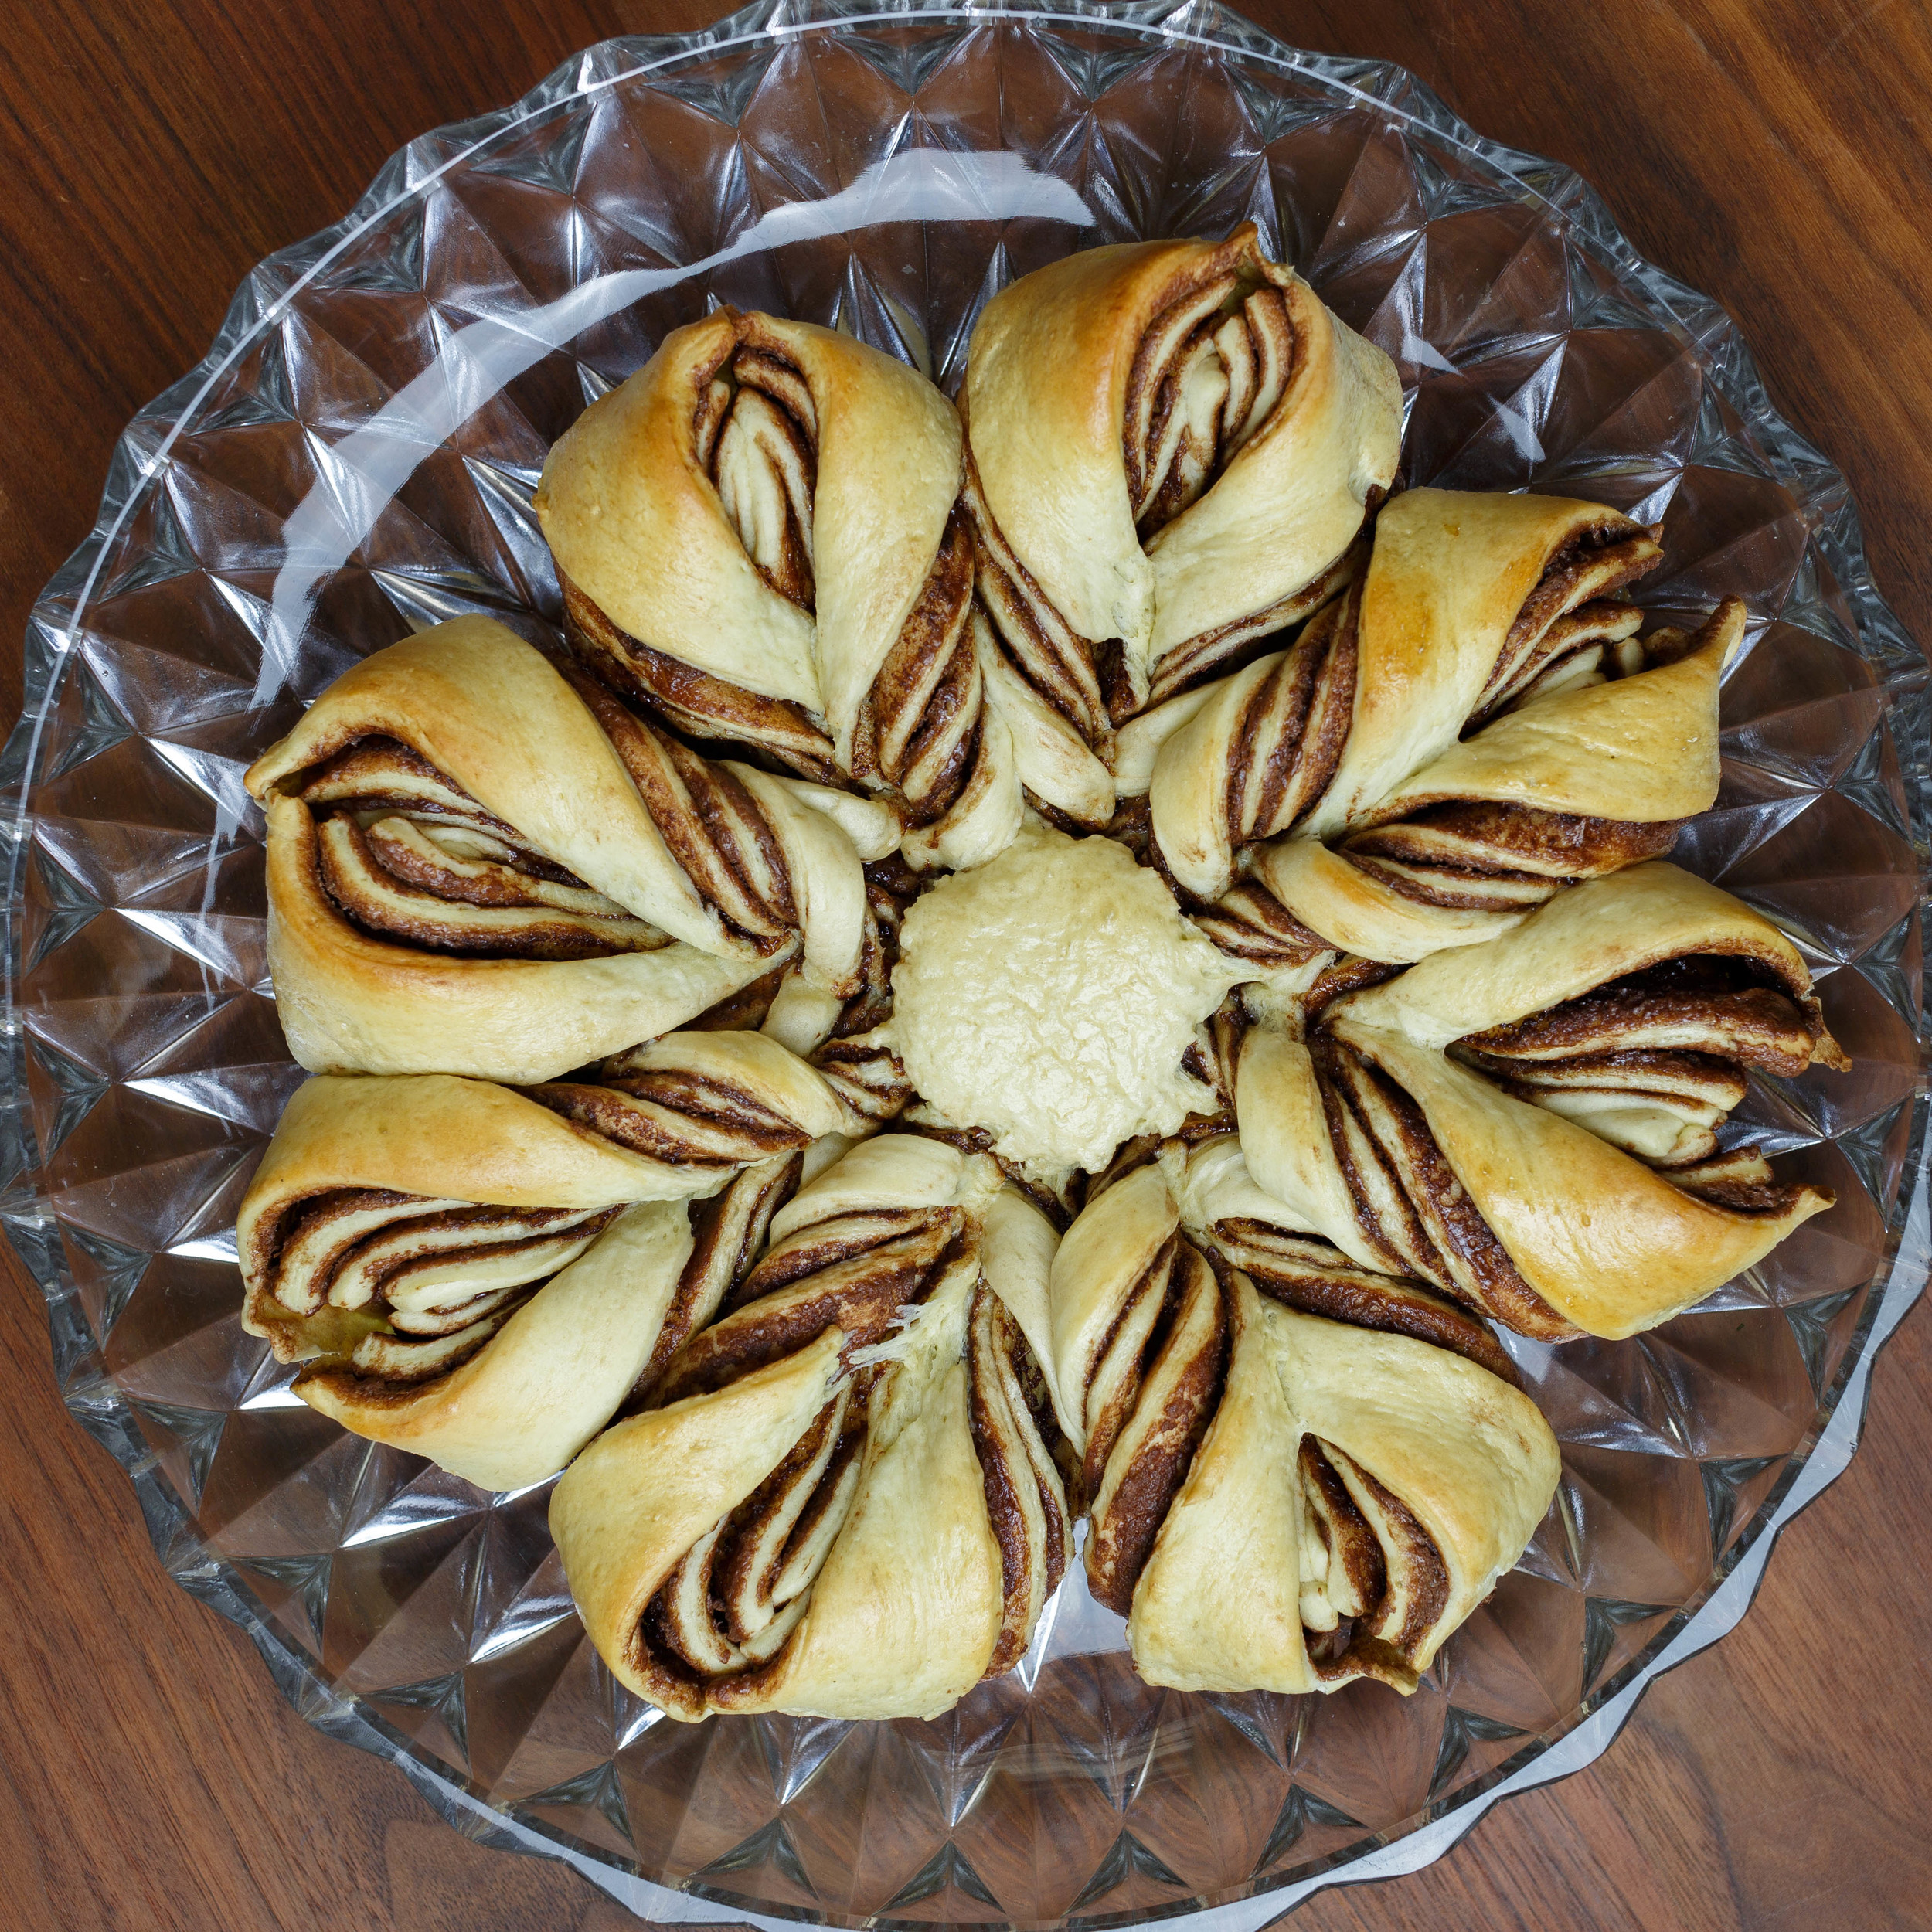
Braided Nutella Bread
This bread is everywhere, and now it's here too. In all the commercials for Nutella, they tell you it's a healthy option at breakfast. This makes this bread ultra healthy, with the three layers of Nutella!
The bread is really fun to make and look awesome at a party. The Nutella bread reminds me of the cinnamon bread we had as children. At lunch time we'd go to the bakers shop and buy half a cinnamon bread to eat instead of the healthy lunch we brought from home. Well, fortunately it didn't happen that often.
I'll think you could make the bread with a cinnamon remonce in stead of the nutella.
Makes one 25 cm/10 inch bread.
Ingredients:
- 450 g all-purpose flour
- 70 g sugar
- 35 g live yeast or 2 teaspoons dry yeast
- 180 ml milk
- 30 g butter,
- 2 egg yolks, save the whites for brushing
- 1 cup (240 ml) Nutella
Directions:
Combine flour and sugar in a bowl, and set aside.
Heat the milk in a saucepan until it’s warm, add the butter, and take the mixture of the heat, and let the butter melt in the milk. You want the milk/butter mixture to be finger-warm. Let the yeast dissolve in the milk.
Add the yeast mixture and the egg yolks to the flour, and mix until its combined. If using a stand mixer, keep mixing for 4-5 minutes on medium speed to get the dough elastic and soft. If kneading by hand, keep kneading for 10-12 minutes.
Place dough in a lightly oiled bowl. Cover bowl with plastic wrap, and place in a warm place, and sit to rise for about 2 hours, or until doubled in size.
Knead the dough to deflate, and divide the dough in 4 pieces, and form them to balls.
On a lightly floured surface roll each dough ball to a 10 inch/25 cm discs. Place one dish on a parchment lined baking sheet, and use a plate to outline where to put the Nutella. Heat the Nutella for a few seconds in the microwave to make it easier to spread.

The dough braided.
Spread a thin layer of Nutella on the dough. Put another disc on top, and repeat outlining and spreading Nutella. Add third dough disc and repeat with the Nutella. Put the last dough disc on top. Place the plate on top, and cut of any excess dough round the plate with a sharp knife. Remove the plate.
Place a small cup in the middle of the dough, to mark the center. Cut the dough at 3, 6 9 and 12 o’clock and cut each quarter into 4 pieces, so you end up with 16 slices connected to the center circle.
Take 2 neighboring slices and twist them two times away from each other, connect the two in the end, and pinch them together forming a point. Do this with all the slices, and now you have a star flower formed bread.
Cover dough loosely with a damp tea towel and let rest for 20 minutes.
Preheat oven to 350°F. Brush surface of the bread with the egg whites. Bake bread for 15-20 minutes or until lightly browned.