Sweet • Sour • Savory

Food blog on scandinavian style food done right.

Cake

Lavender Shortbread Cookies

Cake, CookiesTove Balle-PedersenComment
Lavender Shortbread Cookies

Lavender Shortbread Cookies

I bought some dried culinary lavender, for my cheese cake. I thought that I would receive about a cup lavender. But no, I got a big bag full of lavender. I have enough lavender to last a lifetime or two. So I have to come up with new ways to use the lavender, so now I warned you. 😉

Makes about 30

Ingredients:

  • 60 g confectionary (powdered) sugar

  • 1 tablespoon dried culinary lavender

  • 1 lemon, the zest of

  • 225 g butter, salted and room temperature

  • 215 g all-purpose flour

Directions:

In the bowl for the stand mixer, mix the sugar, dried lavender, and lemon zest until well incorporated. Add the softened butter and cream it with the sugar. You are looking for at light and fluffy butter mixture. Slowly add flour mixing until just combined.

Roll dough into a log (2 inch in diameter), wrap in glad wrap and refrigerate for  minimum 3 hours. Make sure to have a smooth surface to get an even look on the finished cookies.

Preheat the oven to 375℉ (190℃).

Slice the chilled dough into ¼-inch slices, place them on a parchment lined baking sheet, spacing about 1 inch apart. Bake cookies 12-15 minutes, not getting any golden edges on the cookies.

Cool cookies on the pan on wire racks. Store in an airtight container at room temperature for up to 2 weeks.

Enjoy!

Lemon Lavender Cheesecake

Cake, cheese, DessertsTove Balle-Pedersen4 Comments
Lemon Lavender Cheesecake

Lemon Lavender Cheesecake

For the longest time I have been wanting to include lavender in a cake, and this is my first take. Well, I made exactly the same cake for 4th of July last year. But I learned that you can't pour the fairly warm lavender jelly onto a barely set cheesecake part, without getting a clouding of the jelly layer. So no pictures, and no blog post for that try. But the taste was great, so I knew I had to revisit this cake. The lemon and lavender is a really good combination, I think I have to explore this further in the future.

Makes 4 cakes.

Ingredients:

Crust:

  • 200 g shortbread cookies
  • 4 tablespoons melted butter, salted

Cheese filling:

  • 225 g (8oz) cream cheese 
  • 100 g sugar
  • 6 tablespoons lemon juice
  • 1 tablespoon vanilla bean paste
  • zest of 1 lemon
  • 200 ml heavy whipping cream, whipped medium soft

Lavender jelly:

  • 100 ml water
  • 100 g sugar
  • 2 teaspoon lavender flowers (dried or fresh)
  • purple food coloring, optional
  • 2 sheet gelatin (just under 4 g unflavored gelatin)

Directions:

Line serving-size cake rings with cake wrap/collar

Crust:

Crush the shortbread cookies, I used a food processor. Mix in the melted butter. In a medium bowl, mix together crumbs and melted butter until combined and crumbs are moistened. Press the mixture into the bottom of the cake ring using either your fingers or the bottom of a small glass to form a crust layer.

Cheese filing:

Whisk  the heavy whipping cream until medium soft peaks, set aside.

In another bowl whisk the cream cheese with the sugar until completely smooth. Add in vanilla paste, lemon zest, and lemon juice. Using a spatula, gently fold the whipped cream into the cream cheese mixture.

Pipe the filling into cake rings and smooth the top. Cover the cakes and place them in the freezer for 30-45 minutes or until completely set, before pouring in the lavender jelly.

Lavender jelly:

Heat water, sugar and lavender in a saucepan, while stirring. When sugar has melted, turn off the heat and let sit to steep for 5-10 minutes. Drain the lavender from the syrup, so you have a clear syrup. Add a tiny amount of food coloring to the syrup. 

To make jelly. Let the gelatin bloom in some cold water for 10 minutes. (If using powder, follow the instructions on the package.) Heat the syrup and melt the gelatin in the syrup.
Pour the jelly on top of the cheesecake . You get the best result by pouring over the back of a spoon to avoid clouding the jelly with the cheesecake. Let the cakes set completely in the refrigerator before serving.

Enjoy!

Blood Orange Upside-Down Cake

Cake, DessertsTove Balle-PedersenComment
Blood Orange Upside-Down Cake

Blood Orange Upside-Down Cake

I found blood oranges, when I went shopping today. I was on point in getting ingredients for a good and healthy dinner, and then I came across the blood oranges. And I'm sure they screamed "buy me" and "lets bake a cake" at me. So what is a girl to do?

For the longest time I have been wanting to make an almond blood orange cake, so today was the day.

Makes one 9-inch cake.

Ingredients:

Oranges:

  • 3 small blood oranges, sliced thinly
  • 100 g sugar
  • 120 ml water

Cake:

  • 200 g butter, room temperature, salted
  • 200 g sugar
  • 3 eggs
  • 1 teaspoon vanilla bean paste
  • 200 g almond flour
  • 50 g all-purpose flour
  • 2 teaspoons baking powder
  • 100 g creme fraiche or sour cream

Directions:

Preheat the oven to 325℉ (160℃). Line a 9-inch springform with parchment paper, and set aside.

Slice the oranges thinly with a sharp knife or on a mandolin. Heat water and sugar in a saucepan. When the sugar is dissolved place the orange slices in the syrup, and let them simmer for about 10-15 minutes until the peels get semi translucent. Remove the slices with a slotted spoon. Boil the syrup and reduce it to half. Let it cool.

Pour half the syrup in the prepared springform, and brush the parchment paper sides with the syrup. Place the orange slices in the springform, arranging them in a decorative manner. Set aside. Reserve the rest of the syrup to brush over the cake once baked.

Cake:

Cream the butter with the sugar until light and fluffy. Mix in one egg at a time. Stir in vanilla, flour, baking powder and creme fraiche, mix until just combined. Gently spoon the cake batter into the springform, trying not to break up the placement of the orange slices. 

Bake the cake for about 1 hour, until a cake tester comes out clean. 

Let the cake cool in the springform for 10 minutes. Carefully turn the cake out onto a cake stand. Gently remove the parchment paper. Brush the cake with the remainder of the syrup.

Serve the cake with a dollop of cream fraiche or whipped cream.

Enjoy!

Marieboller - Fastelavnsboller

Cake, Desserts, HolidayTove Balle-Pedersen2 Comments

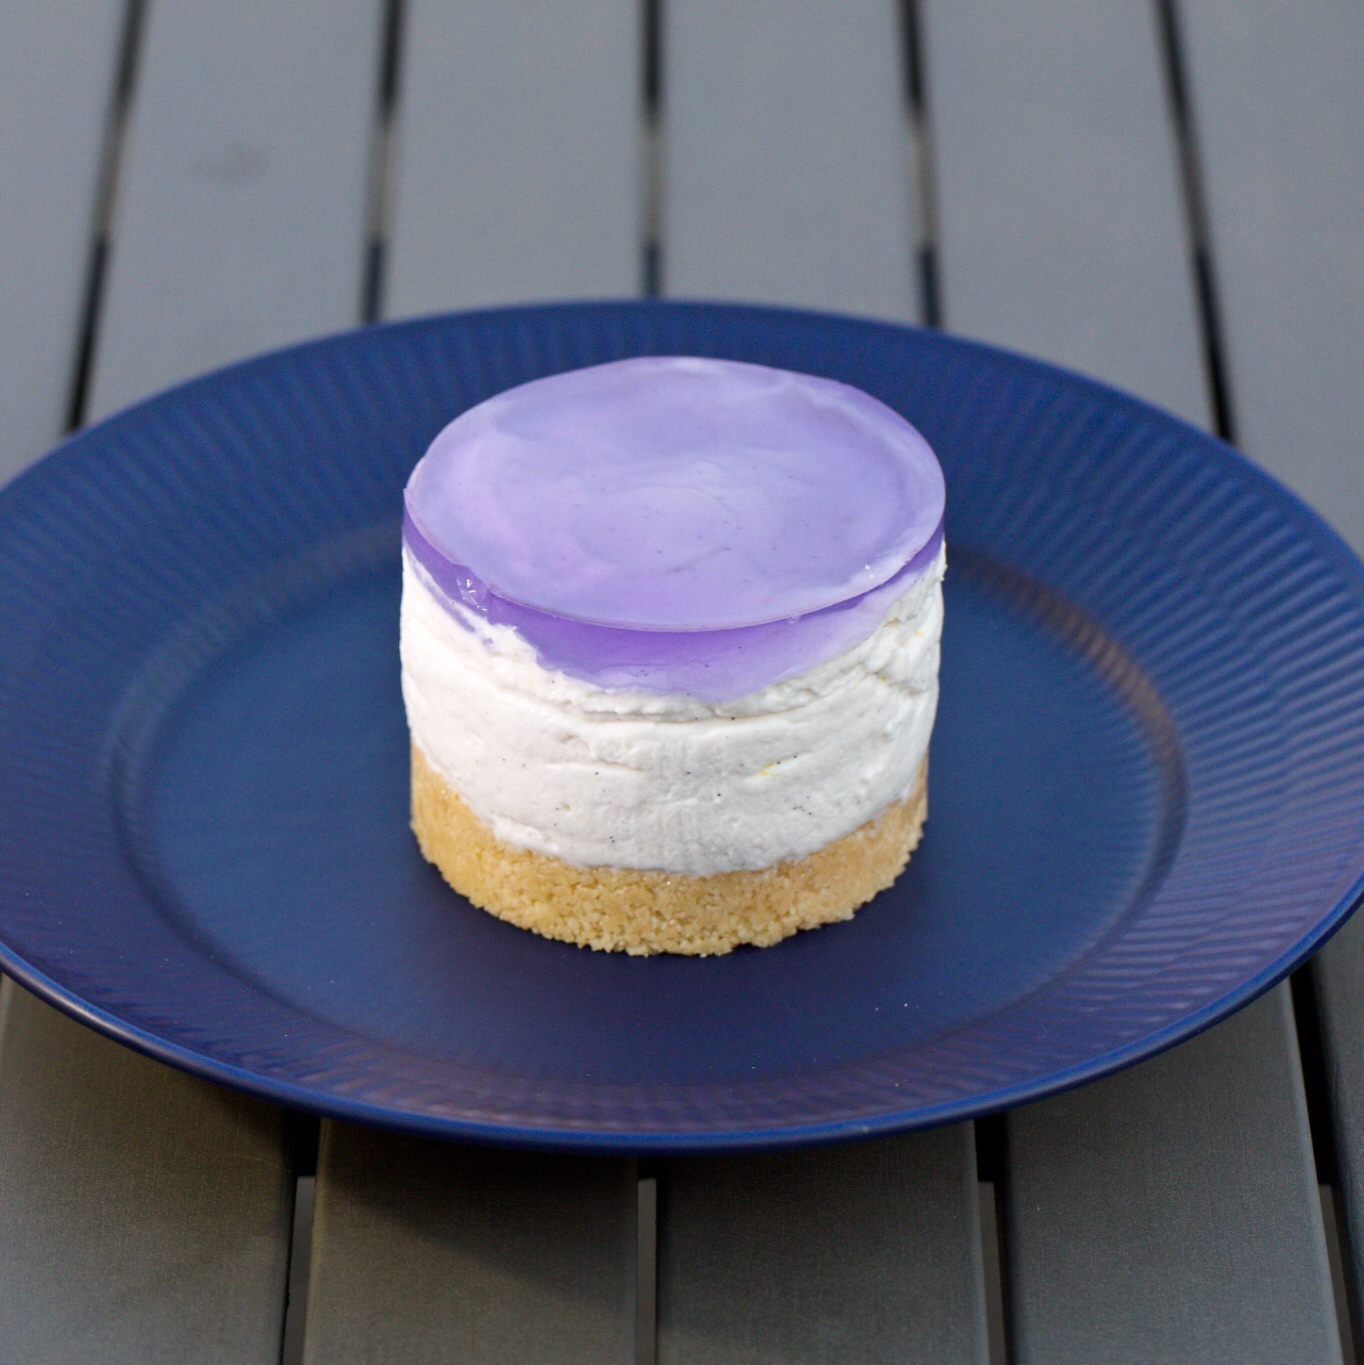
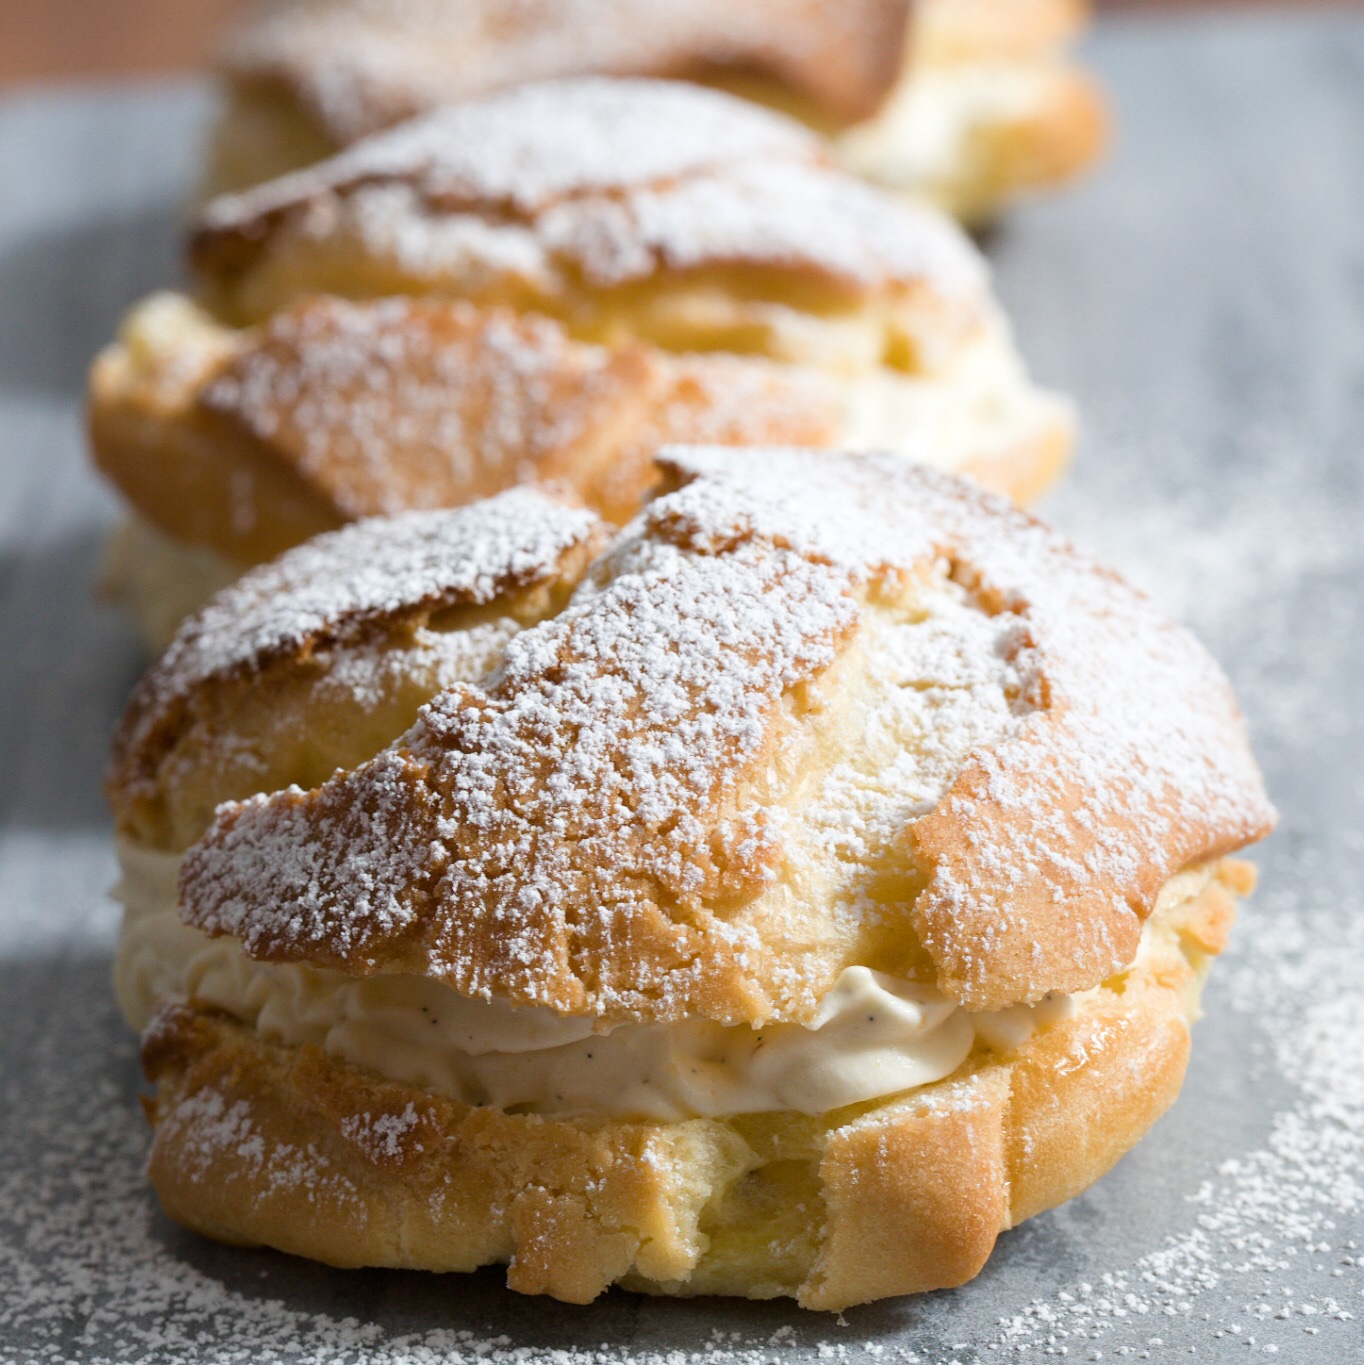
Marieboller or marie buns is a fastelavn bun filled with vanilla custard. Fastelavn buns can come in many shapes and sizes. Some are baked with remounce and custard, some are filled with a a cream custard like this marie bun.

Fastelavn is a similar tradition as the American Halloween if you add some kind of piñata in the form of  barrel.  Children get dressed up, and go a kinda trick and treating in the early afternoon. You can read more about the Danish fastelavns traditions here.

Ingredients:

Vanilla custard:

  • 3 egg yolks

  • 2 tablespoons sugar

  • 1 tablespoon cornstarch

  • 2,5 dl milk

  • 1 teaspoon vanilla paste

  • heavy whipping cream, whippe

Pastry (piecrust): 

  • 150 g cold butter, salted

  • 250 g all-purpose flour

  • 75 g confectionary sugar (powdered sugar)

  • 1 egg

Cream puff (choux dough):

  • 300 ml water

  • 150 g butter, salted

  • 175 g all-purpose flour

  • 1 pinch salt

  • 1 pinch baking powder

  • 4 eggs

Sprinkles:

  • confectionary sugar (powdered sugar)

Directions:

Vanilla custard:

Beat the egg yolks and sugar until pale in color. Whisk in the cornstarch and vanilla paste.

Heat the milk to a slow boil, set aside. 

While whisking vigorously drizzle the warm milk into the egg yolk mixture, just a tiny bit at a time at first. Once you’ve added about ¼ of the milk, you can add the rest in a thin steady stream, whisking constantly.

Pour the mixture back in the saucepan and reheat it over medium heat. Whisk constantly until it starts to boil and is thickened. Remove from heat and pour into a bowl.  Sprinkle with sugar or press some plastic wrap against the custard so it won't form a pudding skin. Chill the custard completely in the refrigerator.

When the custard is cold, whip the heavy whipping cream. Fold the whipped cream in the custard a little at a time till you get the desired taste and texture. 

Pastry (piecrust): 

Mix the butter in the flour and sugar in a stand mixer. Add the egg and mix just until the dough starts to lump together. Form the dough into a disc and wrap it in plastic wrap, and let it rest for about 30 minutes in the refrigerator.

Divide the dough in two, and roll each in a rectangle 8¼ x 11 inch (21x28 cm). Cut the rectangles into 12 squares each.

Cream puff (choux dough):

Preheat the oven to 400℉ (200℃). Line 2 baking sheets with parchment paper.

Put water and butter in a medium saucepan and bring it to a boil over medium heat. In a bowl sift flour, baking powder and salt. When the butter is all melted add all the flour at once, and stir the mixture with a wooden spoon. Lower the heat and keep stirring until a dough is formed and it pulls away from the sides of the pan and is slightly shiny. 

Keep beating the dough with the wooden spoon until slightly cooled, about 2 minutes.  

Beat all the eggs in a bowl. Add a little of the beaten eggs, incorporating it thoroughly before adding more. Add the egg in small amounts until you have a thick paste but not runny at all.

Scoop the 24 dough ball onto 2 parchment paper lined baking sheet. If you have small tips on the puffs anyway, dab the tops of each puff with a fingertip dipped in water to smoothen the tops.

Brush the cream puffs with some egg whites, and place one of the pastry squares on top, pressing the corners onto the parchment paper. 

Bake the puffs for 18-20 minutes, until they are puffed up and golden brown.

DO NOT open the oven while baking cream puffs, it will cause them to deflate.

Let the puffs cool on a wire rack.

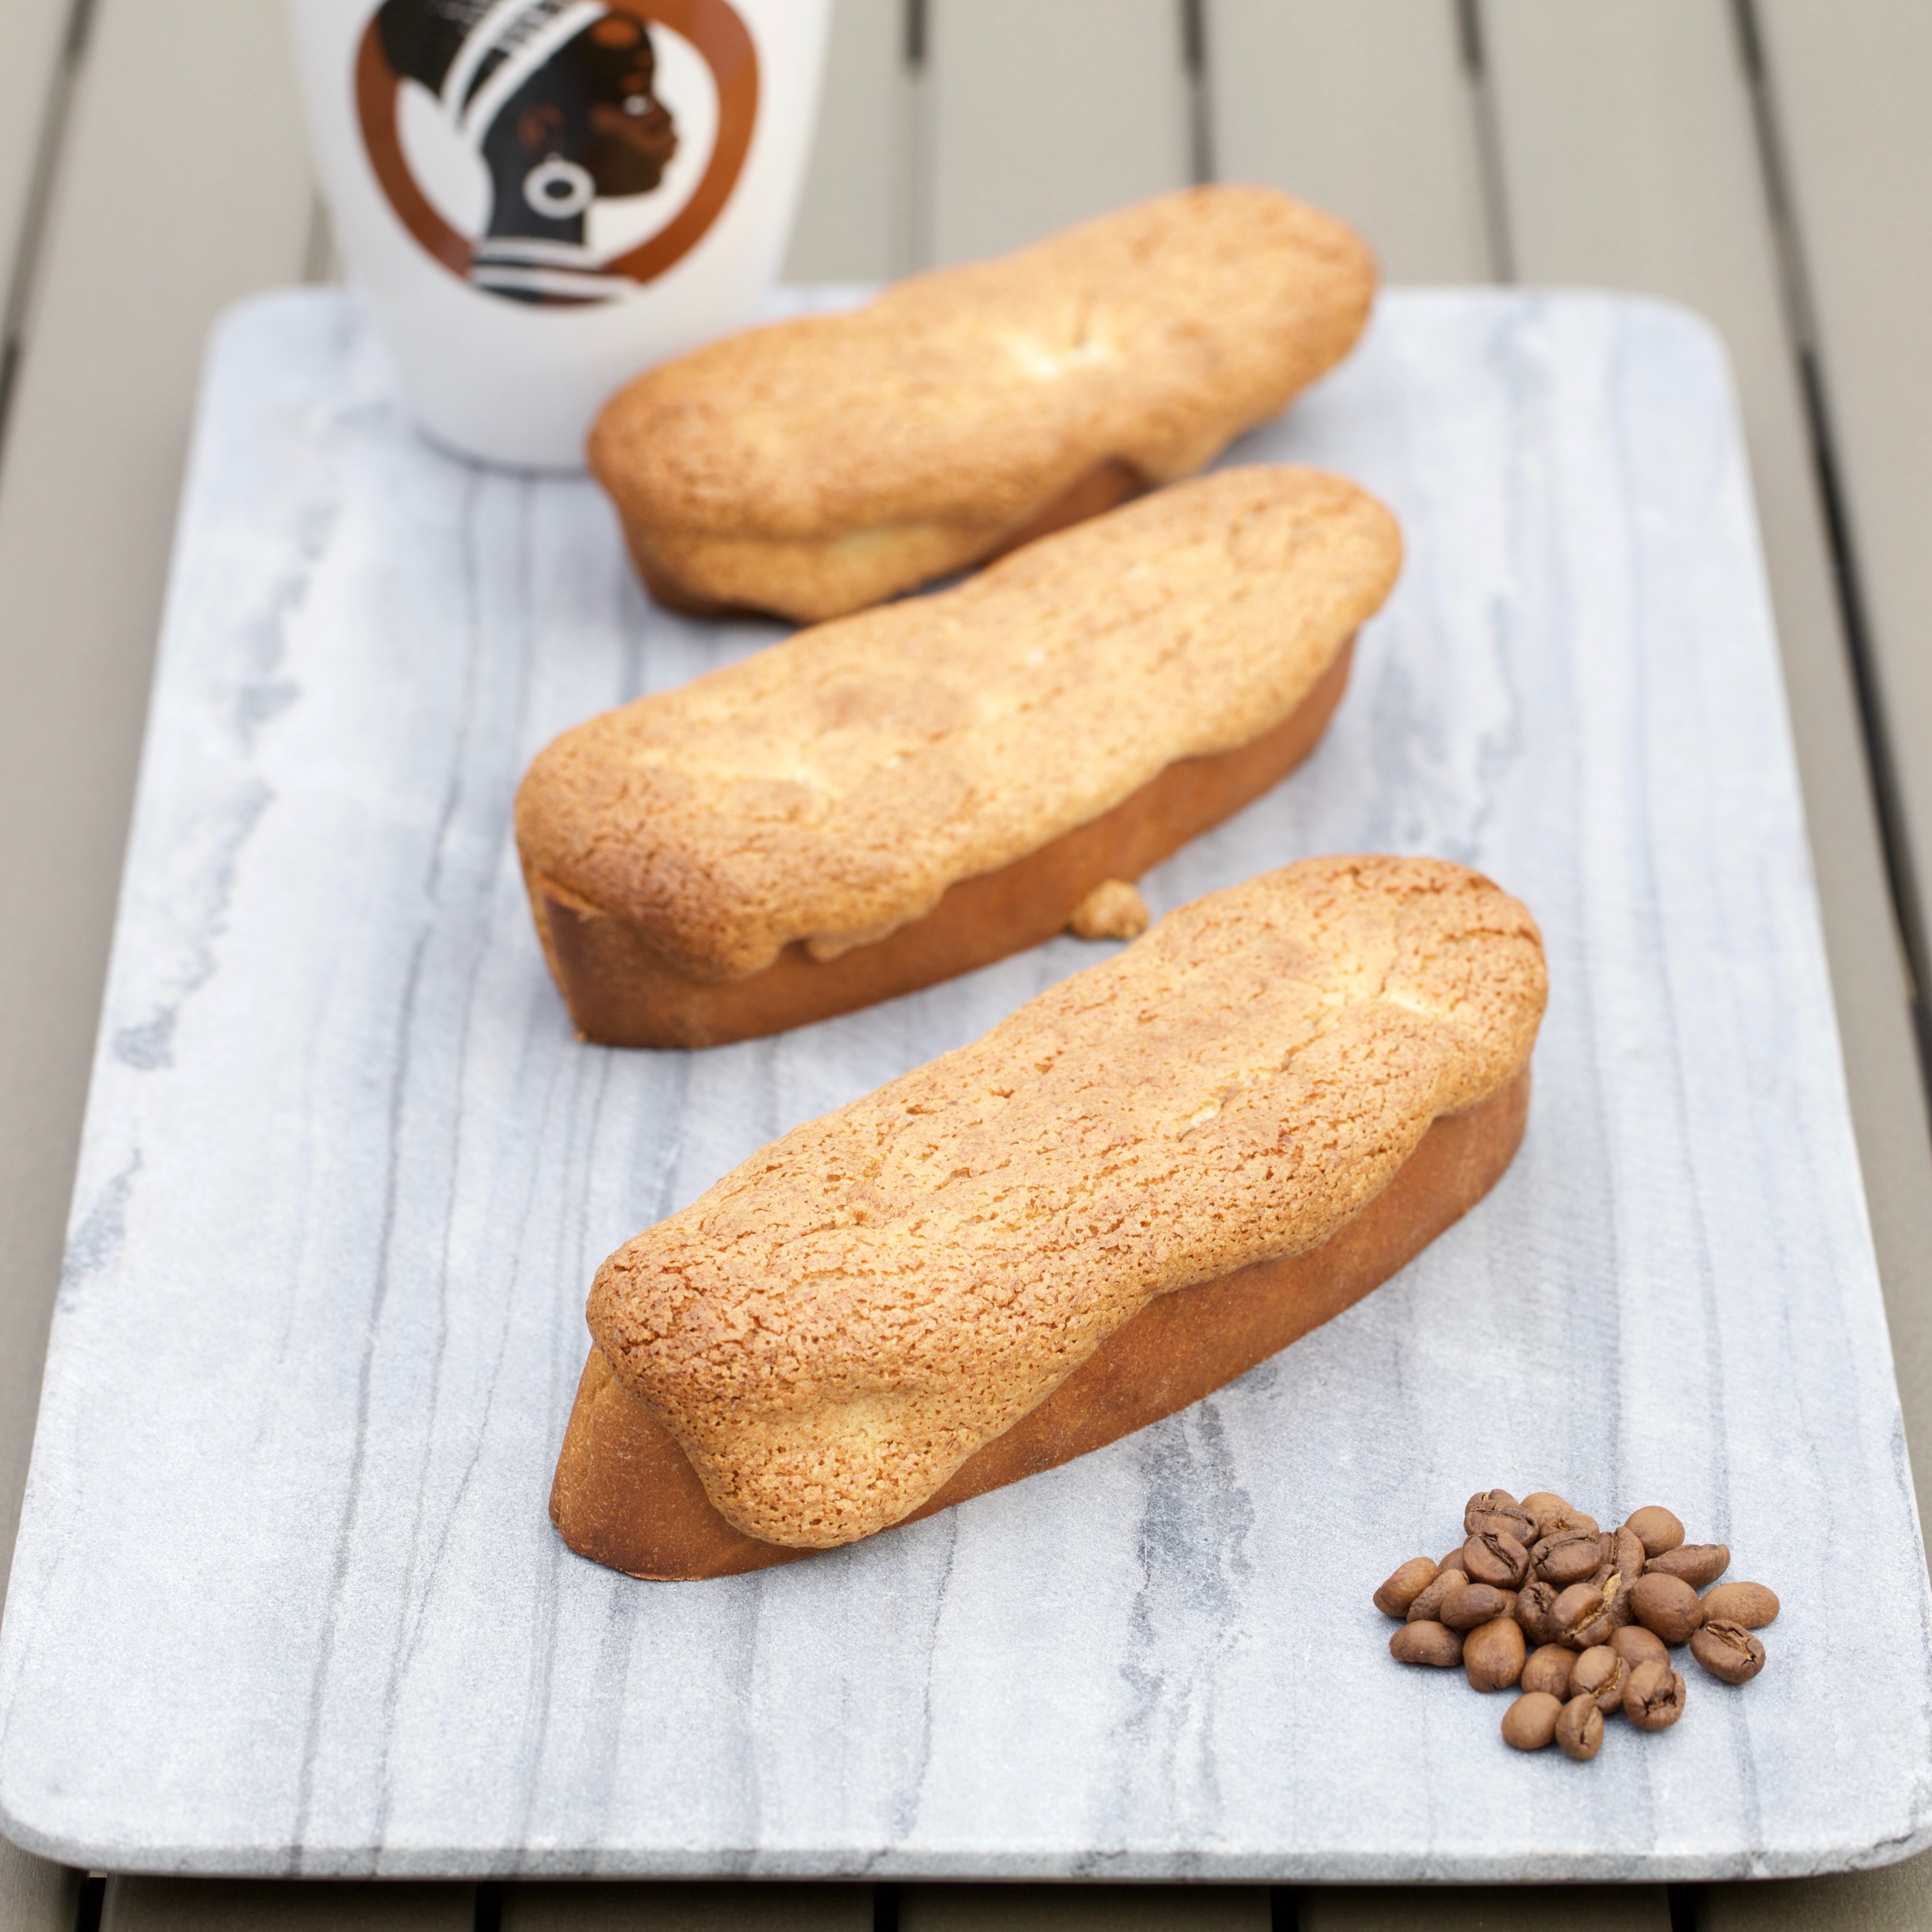
Cut the buns in half and fill it with prepared vanilla custard. Sprinkle with confectionary sugar and serve with a nice cup of coffee or tea. 

Enjoy!

Kaffebrød - Coffee Bread

Brunch, Cookies, CakeTove Balle-Pedersen1 Comment
Kaffebrød - Coffee Bread

Kaffebrød - Coffee Bread

Kaffebrød or coffee bread might be a forgotten cake. It might not get as mush recognition as a lot of other Danish cakes. But I really like them. The crispy bread with a sweet slightly chewy topping, is really good with a cup of tea or coffee. 

Makes 12-15.

Ingredients:

Bread:

  • 25 g live yeast (2 teaspoons dry active yeast)
  • 250 ml milk
  • 500 g all-purpose flour
  • 50 g butter, salted
  • 50 g sugar 
  • ½ teaspoon salt
  • 1 teaspoon cardamom 
  • 1 egg

Topping:

  • 300 g marzipan
  • 300 g sugar
  • 3 egg whites 
  • 2 tablespoons all-purpose flour 
  • ½ teaspoon baking powder 
  • 1 teaspoon vanilla paste 

Directions:

Bread:

Heat the milk till a little more than finger warm. Let the butter melt in the warm milk.

Mix the sugar with the yeast, the mixture turns liquid. If using dry yeast, dissolve it in the milk.

Add all the ingredients to the bowl of a stand mixer. Knead the dough for about 7 minutes. 

Let the dough rise for about 40 minutes. Divide the dough in two, and roll each part Into a large flat bread using a rolling pin. Let the breads rise on a parchment lined baking sheet for about 20 minutes.

Preheat the oven to 400℉ (200℃).

Bake he bread for 15-18 minutes, until golden brown.

Let the breads cool before slicing in 1-inch (2.5 cm) thick slices. Place the slices cut-side up on a baking sheet. Toast the slices for 5-7 minutes until light golden brown. 

Topping:

Mix marzipan, sugar, vanilla and egg whites in a stand mixer till you have a soft paste. Mix in flour and baking powder. Now you should have a thick paste, that won't run off the bread slices. Put the paste into a piping bag, and cut off so you have a large hole, so you just need one fat line of topping to cover the bread slices. Pipe one line on top of the toasted bread slices. Bake the slices for another 10-15 minutes until golden brown.

Let the coffee bread cool before serving.

Enjoy!