Sweet • Sour • Savory

Food blog on scandinavian style food done right.

Desserts

Apple Cake with Hazelnuts and Apple Syrup

Cake, DessertsTove Balle-PedersenComment
Apple Cake with Hazelnuts and Apple Syrup

Apple Cake with Hazelnuts and Apple Syrup

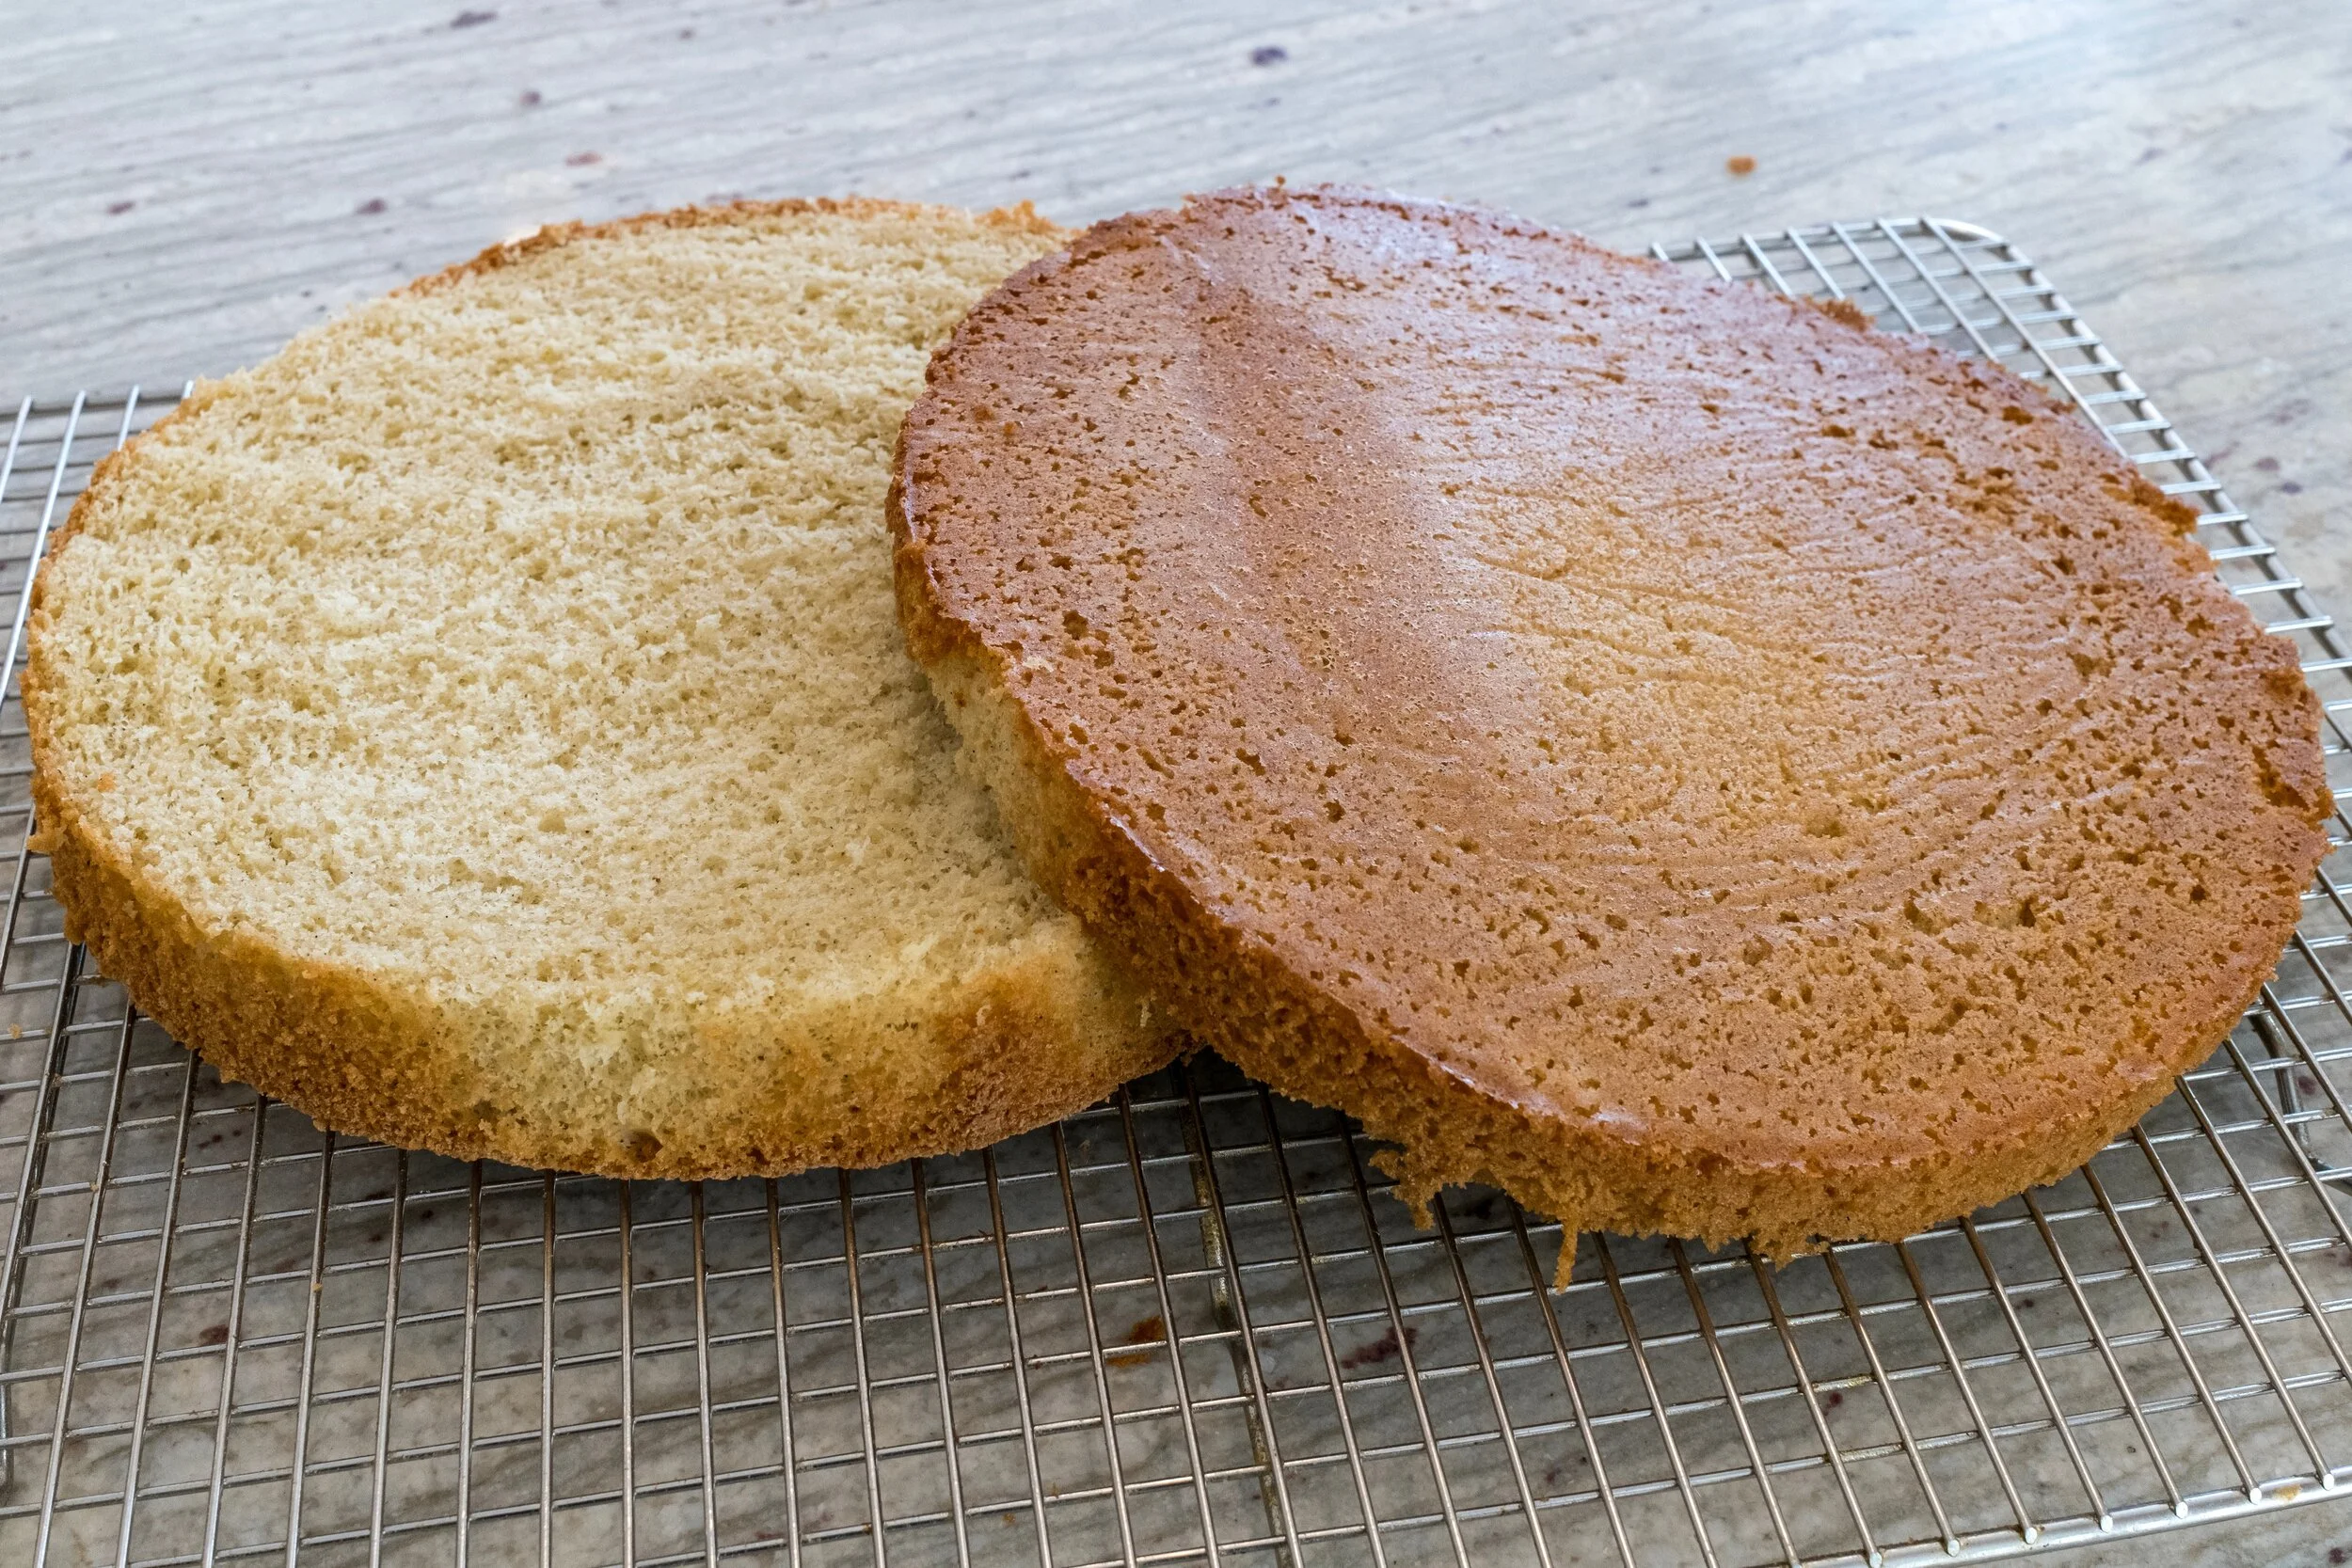
Normally you would make apple pie or apple cake in the autumn, when the apples are in season. But frankly I can eat this cake anytime of the year. The crunch from the hazelnuts with the sweet apples is a perfect match.

Makes a 9" cake feeding 8-10 people.

Ingredients:

  • 3-5 apples, I used jonagold, peeled, cored, halved, and sliced
  • 1⅓ cup (3 dl) apple juice
  • ⅔ cup (1½ dl) apple cider 
  • 3 tablespoons honey
  • 1 teaspoon vanilla paste

The dough:

  • 375 g sugar
  • 225 g (2 sticks) butter, salted and room temperatur
  • 375 g hazelnuts
  • 3 eggs
  • 1 egg white
  • 75 g all-purpose flour

Directions:

Mix cider, juice, honey and vanilla, and set aside.

Peel, core and slice the apples. Put the apple slices in the cider mixture to marinate for about 15 minutes.

Preheat the oven to 350℉ (175℃).

In the meantime, make the dough, cream the butter with the sugar and add the eggs (and egg white) one at a time.

Grind the hazelnuts to a flour, mix it with the all-purpose flour and add it to the butter. 

Spray the springform with vegetable oil and spread the dough in it.

Drain the apple slices, save the marinade, and put the slices on top of the dough. Press the apple slices into the dough. 

Bake cake for 60-90 minutes, and let cool completely before removing from the pan. 

Pour the cider mixture into a saucepan, and reduce it, until you have a sirup. Brush the sirup on the cake.

Serve the cake room temperature with some light whipped cream, creme fraiche or a good vanilla ice cream.

The cake will be very soft in the middle, the day you bake it, but the pectin in the apples will make the cake more firm as it sits. I usual bake it a day in advance.

Enjoy.

Source: Claus Meyer.

Kiksekage - Chocolaty Biscuit Cake

Cake, Desserts, Sweets and CandyTove Balle-Pedersen3 Comments
Kiksekage - Chocolaty Biscuit Cake

Kiksekage - Chocolaty Biscuit Cake

Kiksekage is an old classic non-bake cake very popular in the 70's and 80's in Denmark. But it's not a Danish cake. It's actually a German cake called "Kalte Hund" or cold dog, and the British has a similar cake, the chocolate fridge cake.

My chocolate loving husband, asked if I could try to make a kiksekage, and I was somewhat reluctant, chocolate is not my thing, but I promised to look into kiksekage. My only experience with Kiksekage, was the one my mom made, and to be honest, I didn't care for it. Weird - I loved everything sweet back then.

A traditional kiksekage is made with coconut oil (palmin), eggs and cocoa powder, but why not make the cake with premium ingredients. It's not like good chocolate is hard to find. During my research for the perfect kiksekage, I found Lone Kjærs recipe. This one was made with condensed milk instead of eggs and she used about ⅓ of the butter other recipes called for. So I decided to go with Lone's recipe.

Ingredients:

  • 300 g dark chocolate (I used Valrhona 61%)
  • 1 can condensed milk. 400 g
  • 35 g butter
  • 1 orange, the zest of
  • about 20 squared vanilla biscuits
  • sprinkle: chopped pistachios

Directions:

Line a loaf pan (9x5 inch or 22x12 cm) with parchment paper (Spray the inside of the pan with cooking spray, so the parchment sticks to the pan, don’t spray the inside of the parchment paper). You can also use plastic wrap to line the loaf pan. Chop the chocolate coarsely and put it in a small saucepan with condensed milk and butter. Let the mixture to melt over low heat. Be careful not to burn the mixture, stir occasionally until the mixture is homogeneously, then remove the pan from the heat and mix in orange zest. Pour a thin layer of chocolate in the bottom of the pan. Add then a layer of biscuits. Continue to layer chocolate and biscuits until you have 4 layers in total, ending with a chocolate layer. Sprinkle with the chopped nuts and cover the cake with a piece of parchment paper. Store the cake in refrigerator at least 4 hours before serving.

Serving:

Flip the cake out onto a pretty platter, remove any parchment paper. Do this about 10-15 minutes before serving. Slice the cake with a sharp knife. Tip: heat the knife in hot water, to ease the cutting.

Enjoy.

Chocolate Mousse - just two ingredients!

Desserts, Sweets and CandyTove Balle-Pedersen6 Comments
Chocolate Mousse

Chocolate Mousse

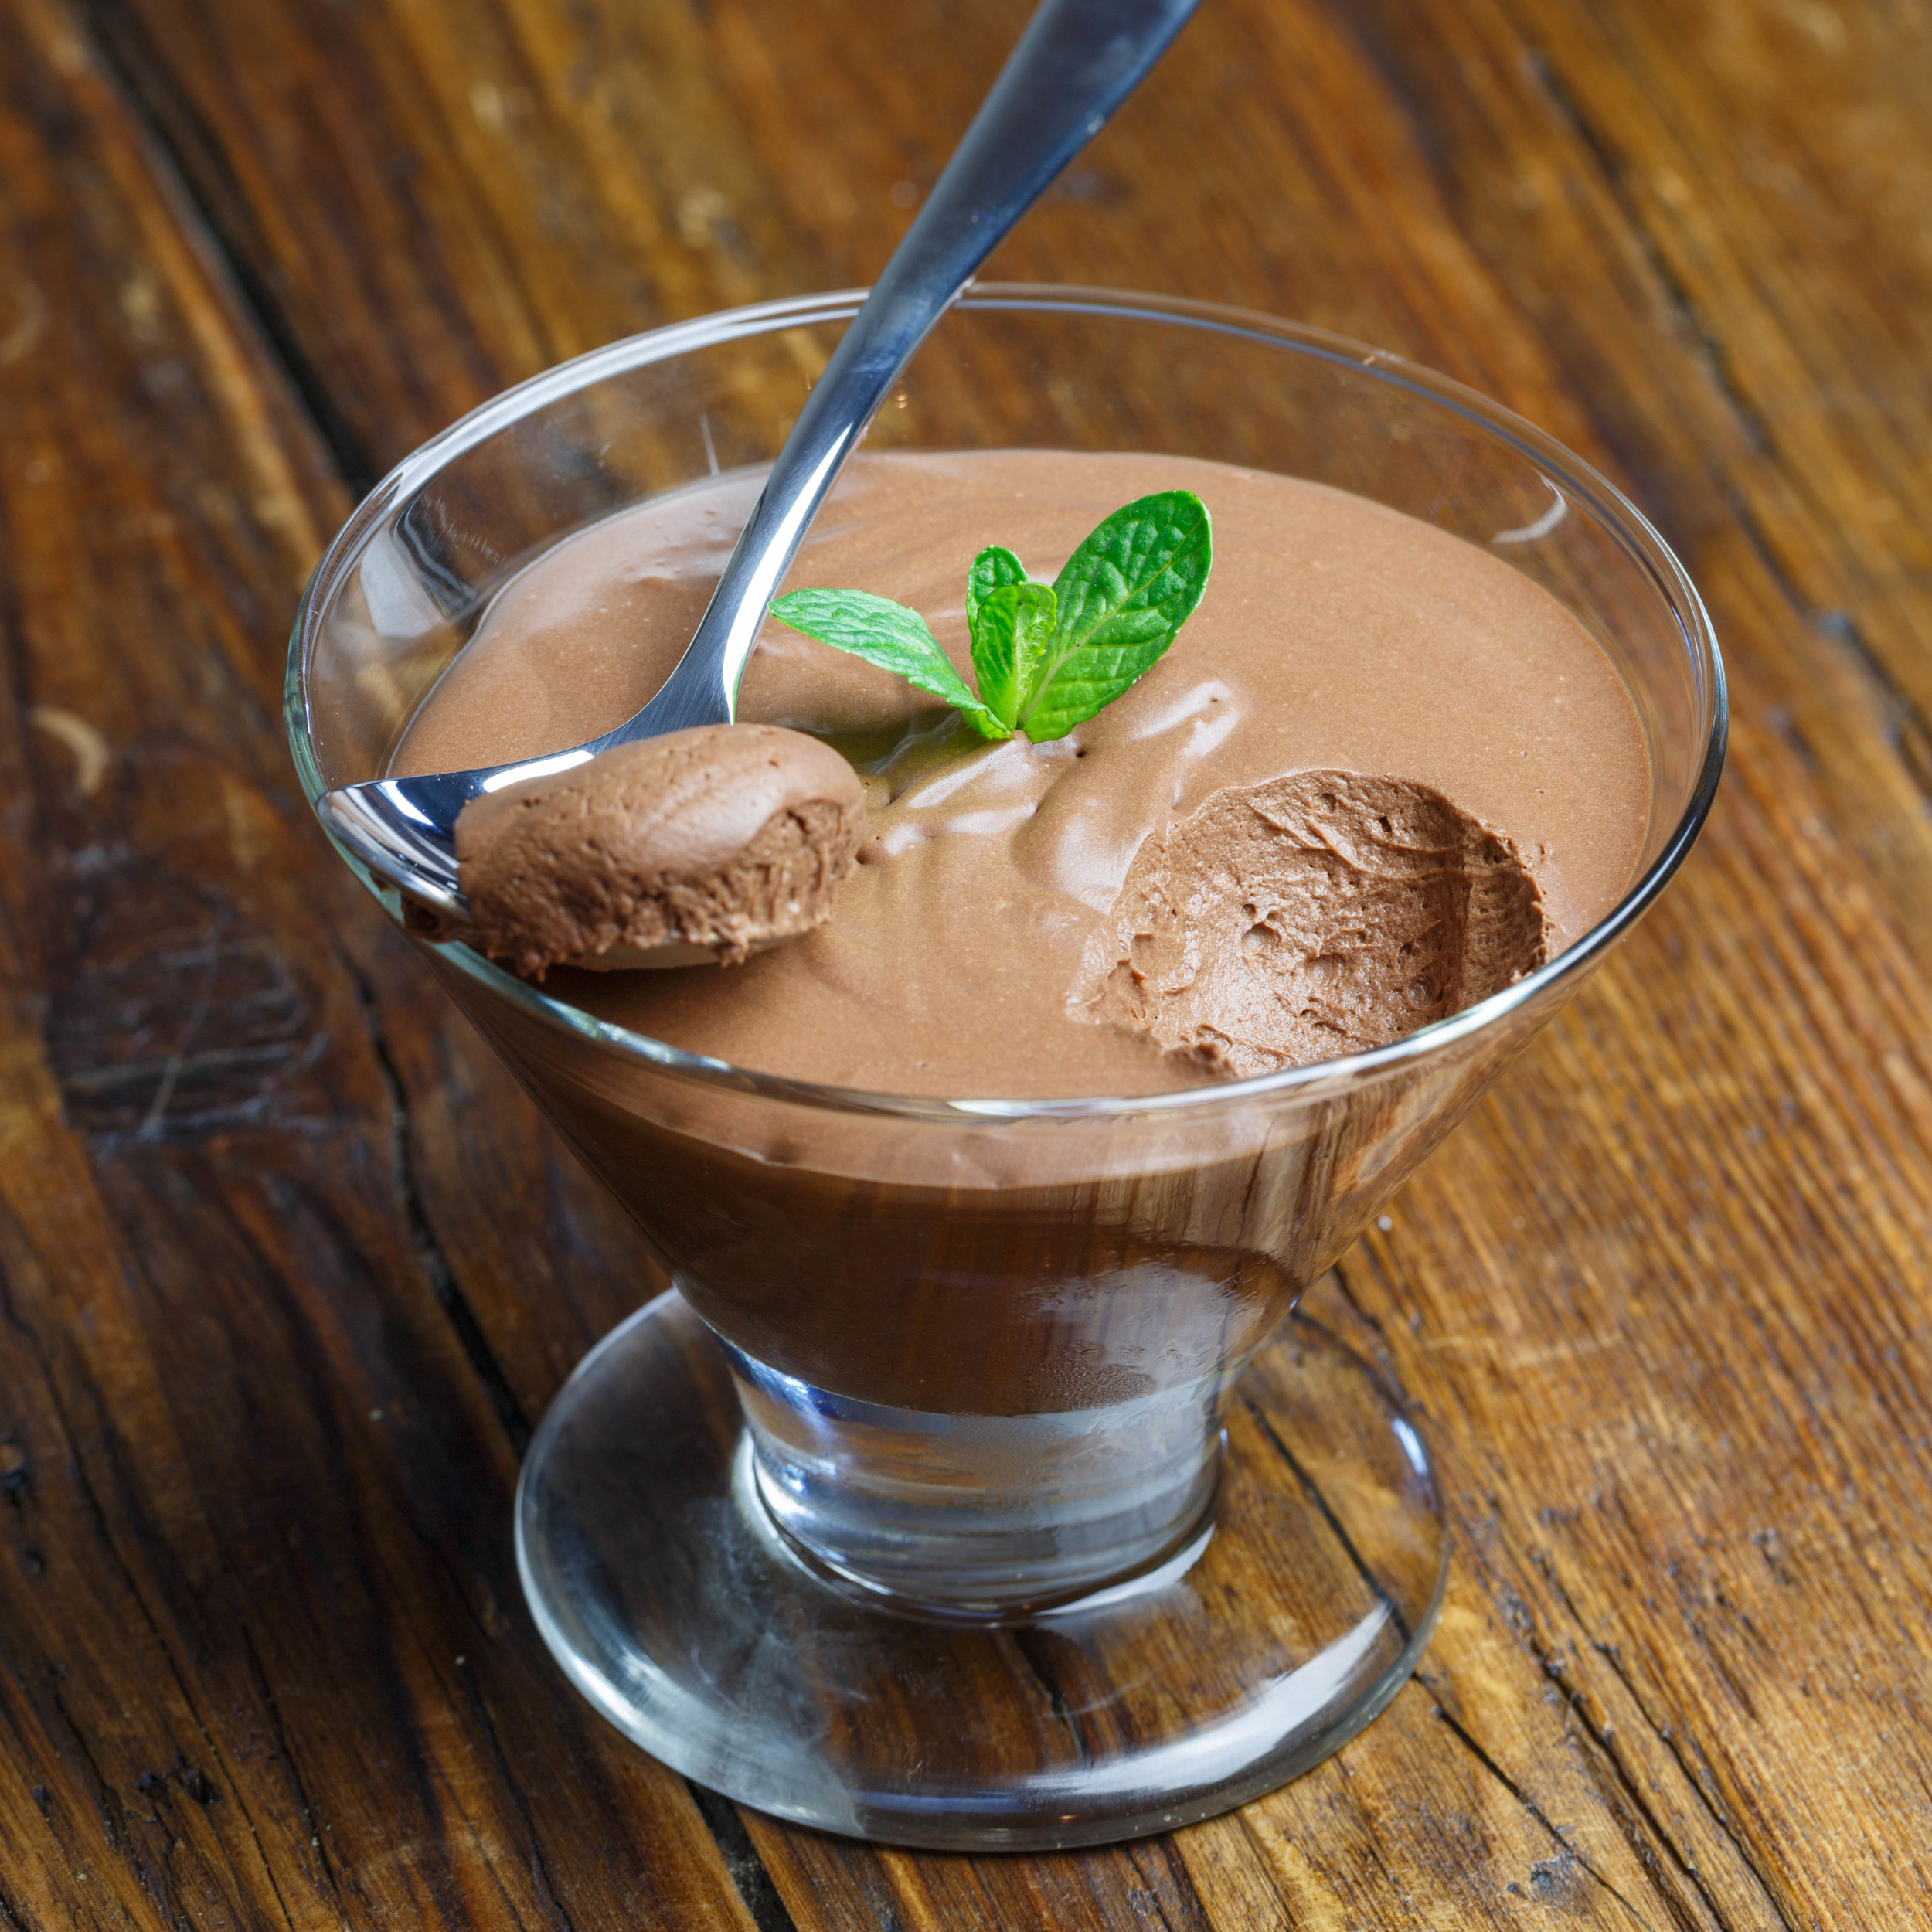
Get a perfect creamy chocolate mousse using just water and chocolate. It sounds crazy. I've always been told that you never mix chocolate and water, because the chocolate gets grainy and ruined. But this recipe from the french chemist Hervé This make you rethink your chocolate truths. You can watch Heston Blumenthal explain and prepare the mousse here.

My husband is a chocolateholic, so chocolate mousse is one of his favorite desserts, but I rarely make it. Maybe, maybe I’ll make more often, when it's as easy as this. I definitely have to try making it again, with different chocolates and different flavor profiles. The mousse has a very intense chocolate taste, you might tone it down with some sugar or adding cream with the water.

I didn’t have a 70% chocolate, so I used the 61% Valrhona, I just got, instead, and it worked perfectly.

Serves 2-3

 Ingredients

  • 265 g (9⅓ oz) chocolate (70 %)

  • 240 g (1 cup) water

Directions:

Place a mixing bowl on top of another slightly larger bowl filled with ice and cold water, (you can add a teaspoon of salt to get a cooler ice water). The bottom of the top bowl should touch the ice water, but the ice water shouldn't be able to get into the top bowl. Set aside.

Chop the chocolate finely, adding it to a small sauce pan with the water. Slowly melt the chocolate while whisking. When melted, pour the chocolate into the bowl sitting in the ice water, begin whisking.  Whisk vigorously until mousse begins to thicken. In the beginning it looks like nothing will ever happen, but after 2-4 minutes it starts to thicken up.  Be careful not to over whisk as the chocolate can become grainy.  I used a hand mixer in the beginning and a hand whisk in the end. If you over whisk the mousse, you just have to remelt the chocolate mousse and start whisking all over again. You don't have to throw it all away. 

When you have the desired texture, pour the mousse in to the serving dishes. You have to do it pretty fast, because the mousse thickens. 

Serve the mousse immediately or let the mousse thicken up some more in the refrigerator. 

The chocolate mousse will keep, covered, in the refrigerator for up to 3 days. (But not in my house).


Classic Fragilité Cake

Cake, DessertsTove Balle-Pedersen5 Comments
Classic Fragilité Cake

Classic Fragilité Cake

UPDATE !

The last few times I made this fragilité, I couldn’t get the buttercream fluffy. The taste was perfect, but missing the creamy fluffy cream.
Today I didn’t use a double boiler. I just whisked the butter pale and fluffy, then added the egg yolks, and kept whisking. Then I added coffee, cocoa and powdered sugar, kept whisking until the buttercream was perfect fluffy and yummy.

The classic fragilité cake with coffee buttercream originates from the same Danish pastry chef, Johannes Steen, who also made The Sarah Bernhardt cookie. And must originate from the beginning of the 1900s, when Denmark was very influenced by everything French. 

Fragilité means fragile, and it describes the cake well. It's made with delicate layers of crispy meringue with hazelnuts, layered with a mocha/coffee buttercream. The cake feels very light and fluffy, but don't let it fool you, it's filled with great tasting calories😋

Ingredients:

Meringue:

  • 100 g hazelnuts

  • 200 g confectionary sugar

  • 4 egg whites

Mocha buttercream:

  • 3 pasteurised  egg yolks

  • 100 g confectionary sugar

  • 150 g butter, salted and room temperature

  • 3 teaspoons unsweetened cocoa powder

  • 1,5 teaspoons instant coffee 

Directions:

Preheat the oven for 400℉ (200℃).

Chop the hazelnuts. I used the mini chopper that came with my immersion blender, and ended up with a coarse hazelnut flour. Mix the hazelnuts with half of the confectionary sugar.

Whip the egg whites, in a stand mixer, until you have soft peaks. Add the sugar and keep whipping until you have a shiny meringue with stiff peaks. You should be able to turn the bowl upside down.

Fold the hazelnut mixture in.

Line a baking pan with parchment paper, spray it and sprinkle with sugar. I used a 9" x 13" (20x30 cm) pan.  

Spread the meringue evenly in the pan, and level of the top.

Bake the meringue for 2 minutes at 400℉ (200℃), then lower the temperature to 305℉ (150℃) and keep on baking foe another 40 minutes.

Buttercream:

UPDATE !

I whisked the butter pale and fluffy on my stand mixer. Then added the egg yolks, and kept whisking. Then I added coffee, cocoa and powdered sugar, kept whisking until the buttercream was perfect fluffy and yummy.


Mix all the ingredients in a bowl, and whip the buttercream until thick and fluffy over a double boiler. I used a saucepan with very hot water, and placed my bowl on top of that. I didn't have it on the stove. It takes some time to get the buttercream nice and fluffy.


Cut the meringue in two, and place the one part on a cake stand, spread all the buttercream  on it in an even layer. Put the other half of the meringue on top. 

Decorate the cake with some melted chocolate or a sprinkle of confectionary sugar.

Danish Hazelnut Makroner

Cookies, DessertsTove Balle-PedersenComment
Danish Hazelnut Makroner

Danish Hazelnut Makroner

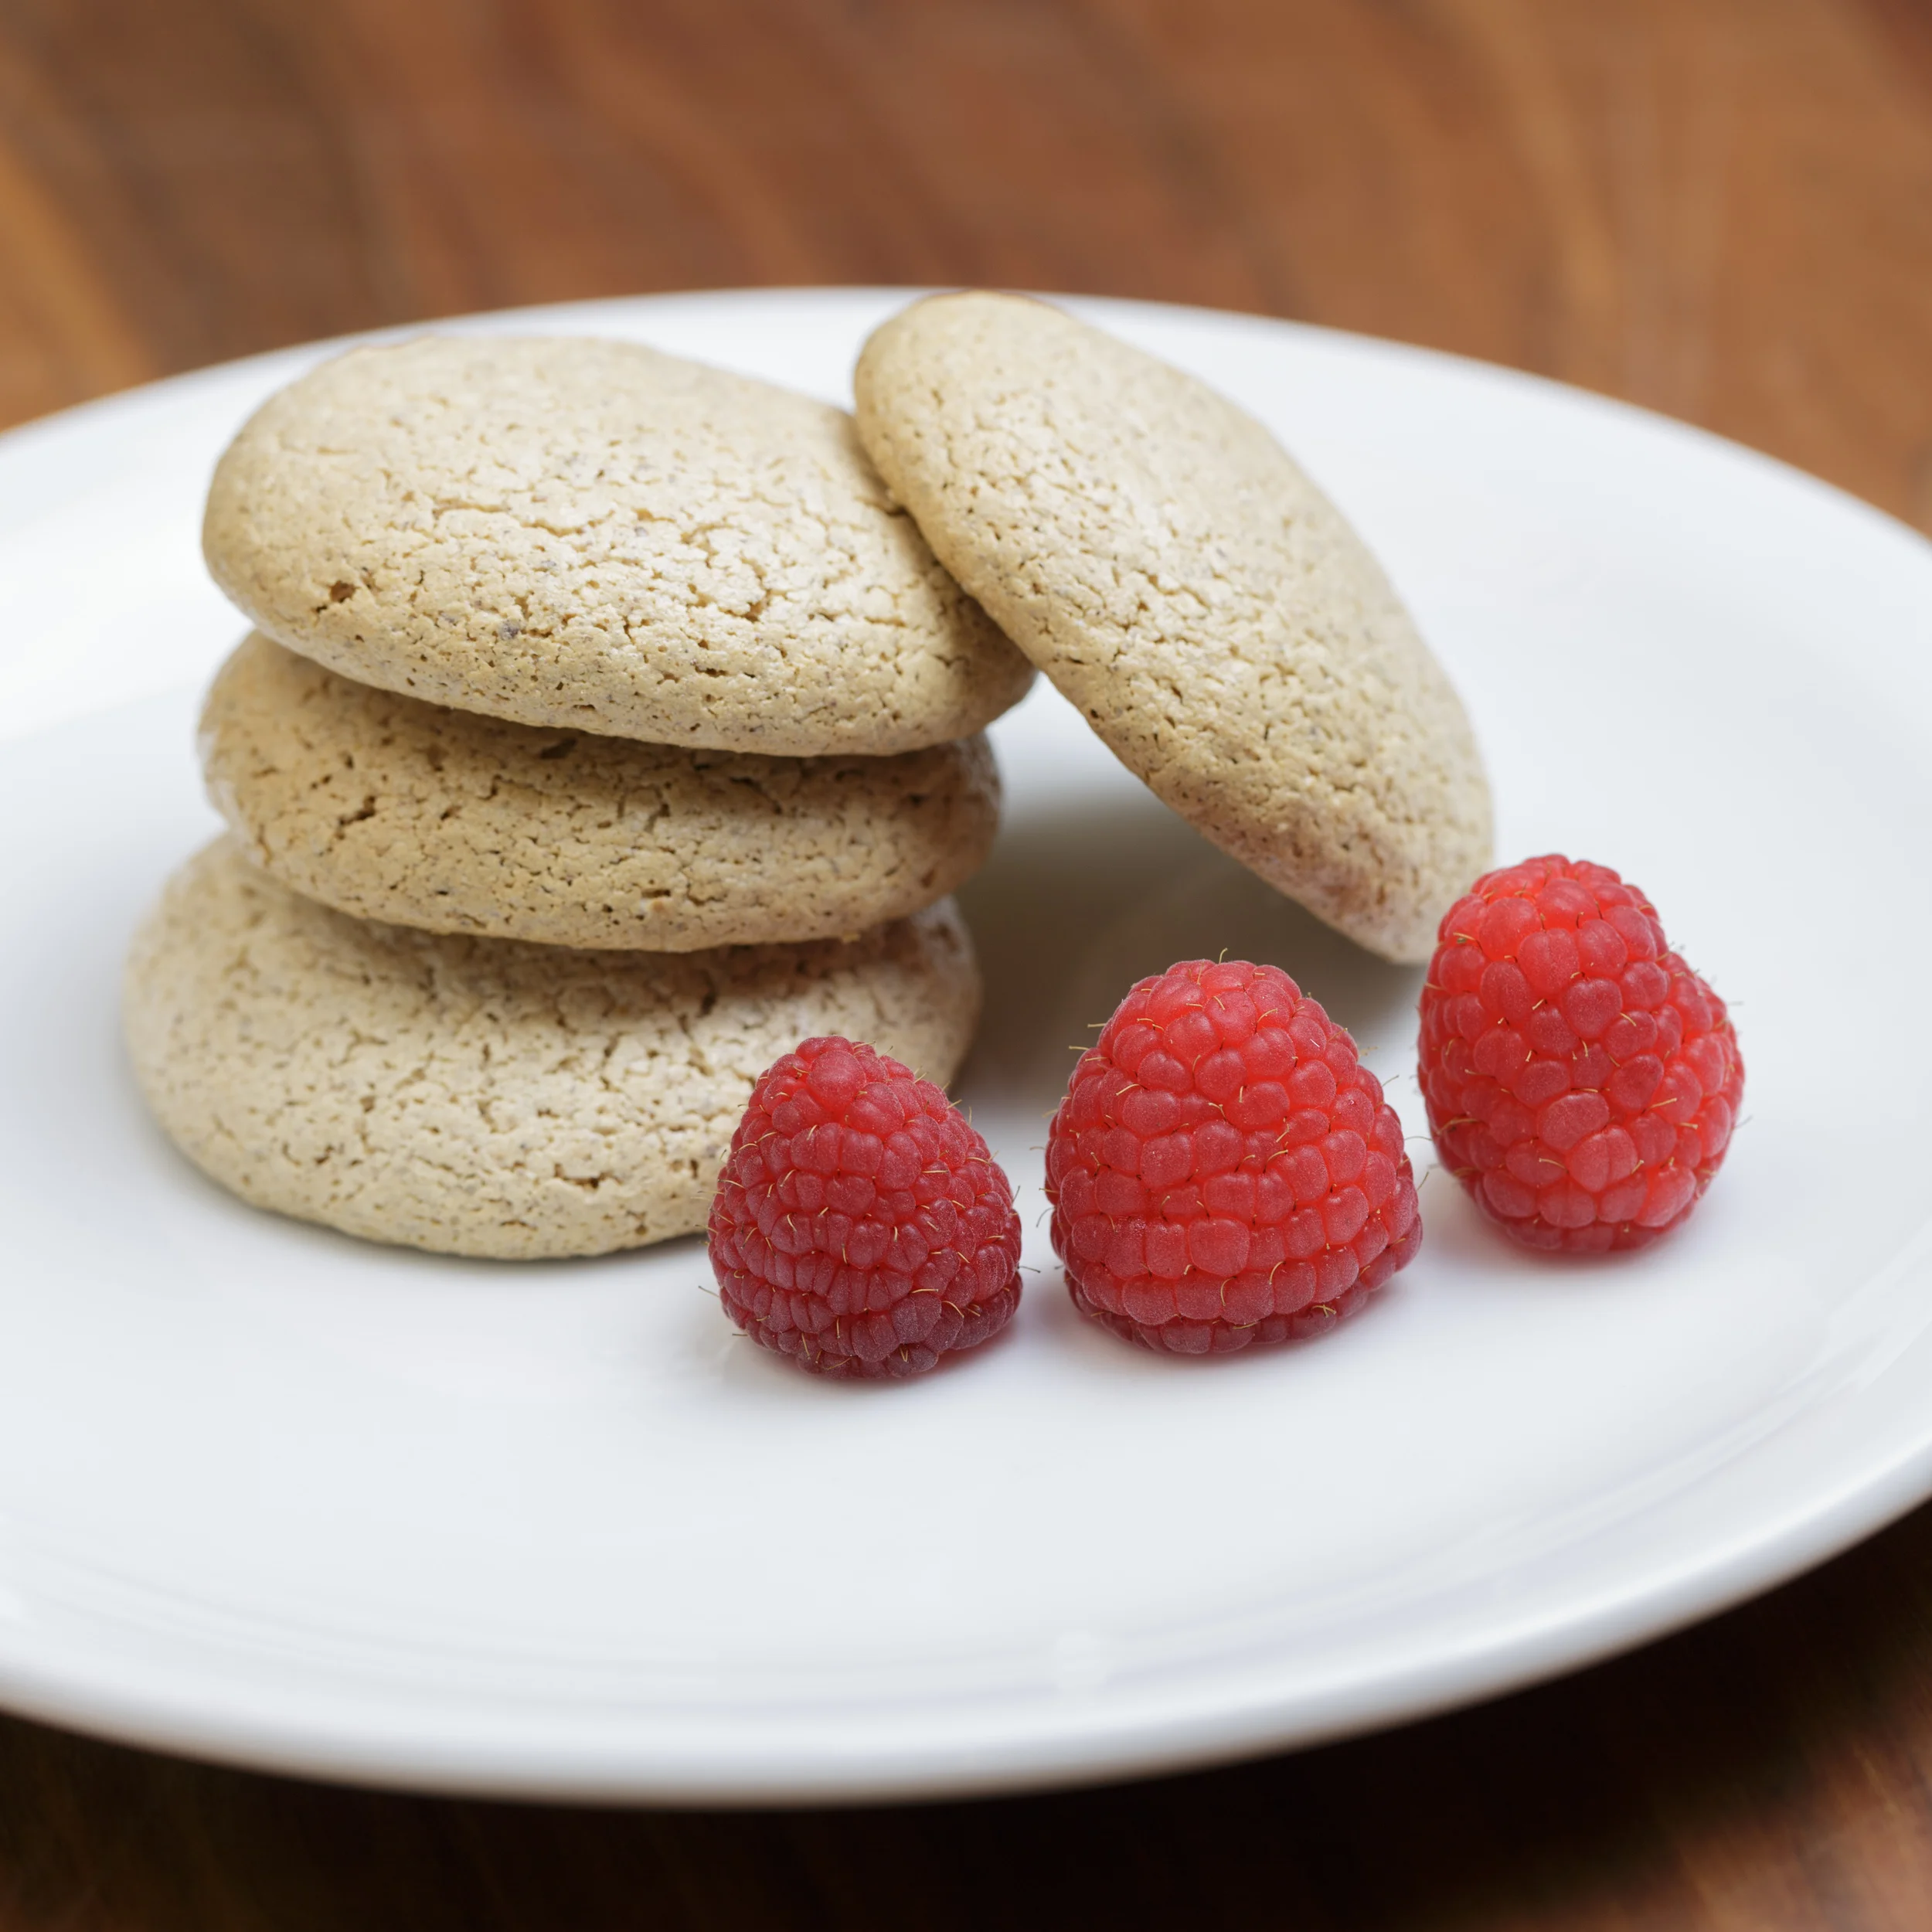
Makroner is a classic danish cookie used in trifle, classic danish apple cake or in layered cakes (danish birthday cakes).

Normally makroner is made with almond flour, but I love this version with hazelnuts. I had a reason for making these makroner, I'm going to make Sarah Bernard cakes. You can read more about Sarah Bernard cakes in another post.

Ingredients:

  • 150 g hazelnuts
  • 300 g sugar
  • 4 egg whites

Directions:

Preheat oven to 400℉ (200℃).

Grind up the hazelnuts in a food processor with thew sugar. Add the egg whites and keep processing until the mixture gets finger warm. Be careful not to get it too hot, so the egg coagulates. 

Put the mixture into a pastry bag (decoration bag) with a plain round tip. Pipe the cookies onto a sprayed parchment paper in rounds, leaving space between the disks. 

Bake the cookies for about 10-15 minutes.
Let the cookies cool on a wire rack.  Gently remove the cooled cookies of the parchment paper, they might stick.

The cookies should be crispy on the outside and chewy on the inside. If you are using them in a trifle, bake the cookies a bit longer to make them more crispy.

Store in an airtight container at room temperature.

Enjoy!