Sweet • Sour • Savory

Food blog on scandinavian style food done right.

Tempering Chocolate

Christmas, Desserts, Holiday, Sweets and Candy, techniqueTove Balle-Pedersen1 Comment

Dark chocolate:

Chop the chocolate finely, set just under ⅓ of the chocolate aside, and add the rest into a stainless steel bowl. Set the bowl on to a saucepan with very hot water. Let the chocolate melt while stirring. When the chocolate reaches 118-120℉ (48-49℃), take the bowl off the hot water. While stirring add the remaining chocolate in the warm chocolate. This will cool the chocolate. You need the temperature to cool to 80℉ (27℃). To make this process speed up, place the bowl in a bowl with ice-cold water for a short moment.   When the chocolate reaches 80℉ (27℃) put the bowl over the hot water again, and heat the chocolate to 88℉ (31℃), and now its ready to use for coating. It is Very important that the chocolate stays under 91.3℉ (33℃), if it does not, you need to start all over again.

TIP: If you keep an extra bowl with some warm chocolate, 118-120℉ (48-49℃), you can add small amounts of this, to the tempered chocolate if the temperature is getting to low while you are working with the chocolate.

Milk chocolate:  

You need to do the same steps with milk chocolate, as for the dark chocolate.

Heat to 116-118℉ (47-48℃)

Cool to  80℉ (27℃)

Reheat to 86℉ (30℃)

White chocolate:

You need to do the same steps with white chocolate, as for the dark chocolate. White chocolate is per definition not a real chocolate, 

Heat to 116-118℉ (47-48℃)

Cool to  80℉ (27℃)

Reheat to 84℉ (29℃)

How-to videos:

How to temper chocolate? Here is a video from CHOW, on how to do it. I also like this video, that gives you the science behind tempering chocolate. This warms a food chemists heart. ❤️

Hvordan temperer man chokolade? Her er en video fra Mette Blomsterberg, der viser hvordan hun gør. Blomsterberg køler ikke chokoladen til 27℃, for igen at opvarme chokoladen, til arbejdstemperaturen 31-33℃, som jeg ellers har lært. Men man må tro på at hun ved hvad hun gør. + jeg kan lide at hun har den lune chokolade klar, til at tilsætte lidt, for at holde temperaturen konstant, mens du arbejder med den.

Smørbirkes - Poppy Seed Roll

Bread, Breakfast, BrunchTove Balle-Pedersen2 Comments
Smørbirkes - Poppy Seed Roll

Smørbirkes - Poppy Seed Roll

Smørbirkes or poppy seed rolls is a classic roll found at most bake shops in the eastern part of Denmark. In Jutland a smørbirkes is a completely different thing.

The rolls are much like a brioche, just without the eggs. It's sweet and soft and pairs perfect with butter, jam and cheese.

Makes 15-18

Ingredients:

Dough:

  • 100 g butter, cold

  • 500 g all-purpose flour

  • 1 teaspoon salt

  • 2 tablespoons sugar

  • 50 g fresh compressed yeast (or 4 teaspoons dry yeast)

  • 300 ml milk

Sprinkles:

  • egg wash (1 egg +2 tablespoons milk)

  • poppy seeds

Directions:

In a large bowl mix the cold butter with the flour, sugar and salt until the butter is fully incorporated. 

Heat the milk until finger warm and dissolve the yeast in the milk. Add the warm milk to the flour and knead the dough for 5 minutes on the stand mixer, until the dough is smooth and elastic. Let the dough rise covered for about 30 minutes at room temperature.

Preheat the oven to 435℉ (225℃).

Gently ease the dough out onto a lightly floured surface. Divide the dough in 15-18 balls, even in size. Roll the ball to a 9-inch (22 cm) log. Using a rolling pin, roll the log longer and flat. Fold dough piece in half, and place it on a parchment paper lined baking sheet. Repeat with the rest of the balls. 

Let the smørbirkes rise covered for 10 minutes.

Brush the top part of the smørbirkes with egg wash and sprinkle with a nice layer of poppy seeds.

Bake the smørbirkes for 12-15 minutes until golden brown.

Let the smørbirkes cool on a wire rack and serve them freshly baked, or slightly reheated next day.

Enjoy!

Tomato Soup with Blue Cheese Croutons

Dinner, Soup, VegetablesTove Balle-PedersenComment
Tomato Soup with Blue Cheese Croutons

Tomato Soup with Blue Cheese Croutons

I have had a love Love LOVE relationship with tomatoes all my life. I can eat tomatoes anytime, anyhow, anywhere. Ok, I'm not a big fan of Bloody Mary's, but no rule without exceptions. I blame the love of tomatoes on my mom. She told me that she craved tomatoes when she was pregnant with me. She would buy a bag of farm fresh tomatoes at the farmers market, and they would all be gone by the time she got home. Maybe I can blame the red/ginger/strawberry blond hair on the tomatoes too????

Well, I do love tomatoes, and I certainly love tomato soup. I can eat tomato in all kinds of weather. Here is a new take on a classic roasted tomato soup. The fennel, gives a nice depth to the soup. I really love the creaminess of this soup, without adding any cream to the soup. This might be contributed to my Vitamix blender. I  will never go back to my old blender. 

Serves 3-4.

Ingredients:

Soup:

  • 1800 g fresh tomatoes

  • 1 fennel

  • 1 onion

  • 4 garlic cloves

  • olive oil, for roasting

  • 600 ml chicken or vegetable stock

  • salt & pepper to taste

  • a drizzle of a good thick balsamico

Blue cheese croutons:

  • 150 g day-old bread,

  • 2 tablespoons olive oil

  • 50 g blue cheese, crumbled

Directions:

Preheat the oven to 400℉ (200℃)

Line a baking sheet with parchment paper.

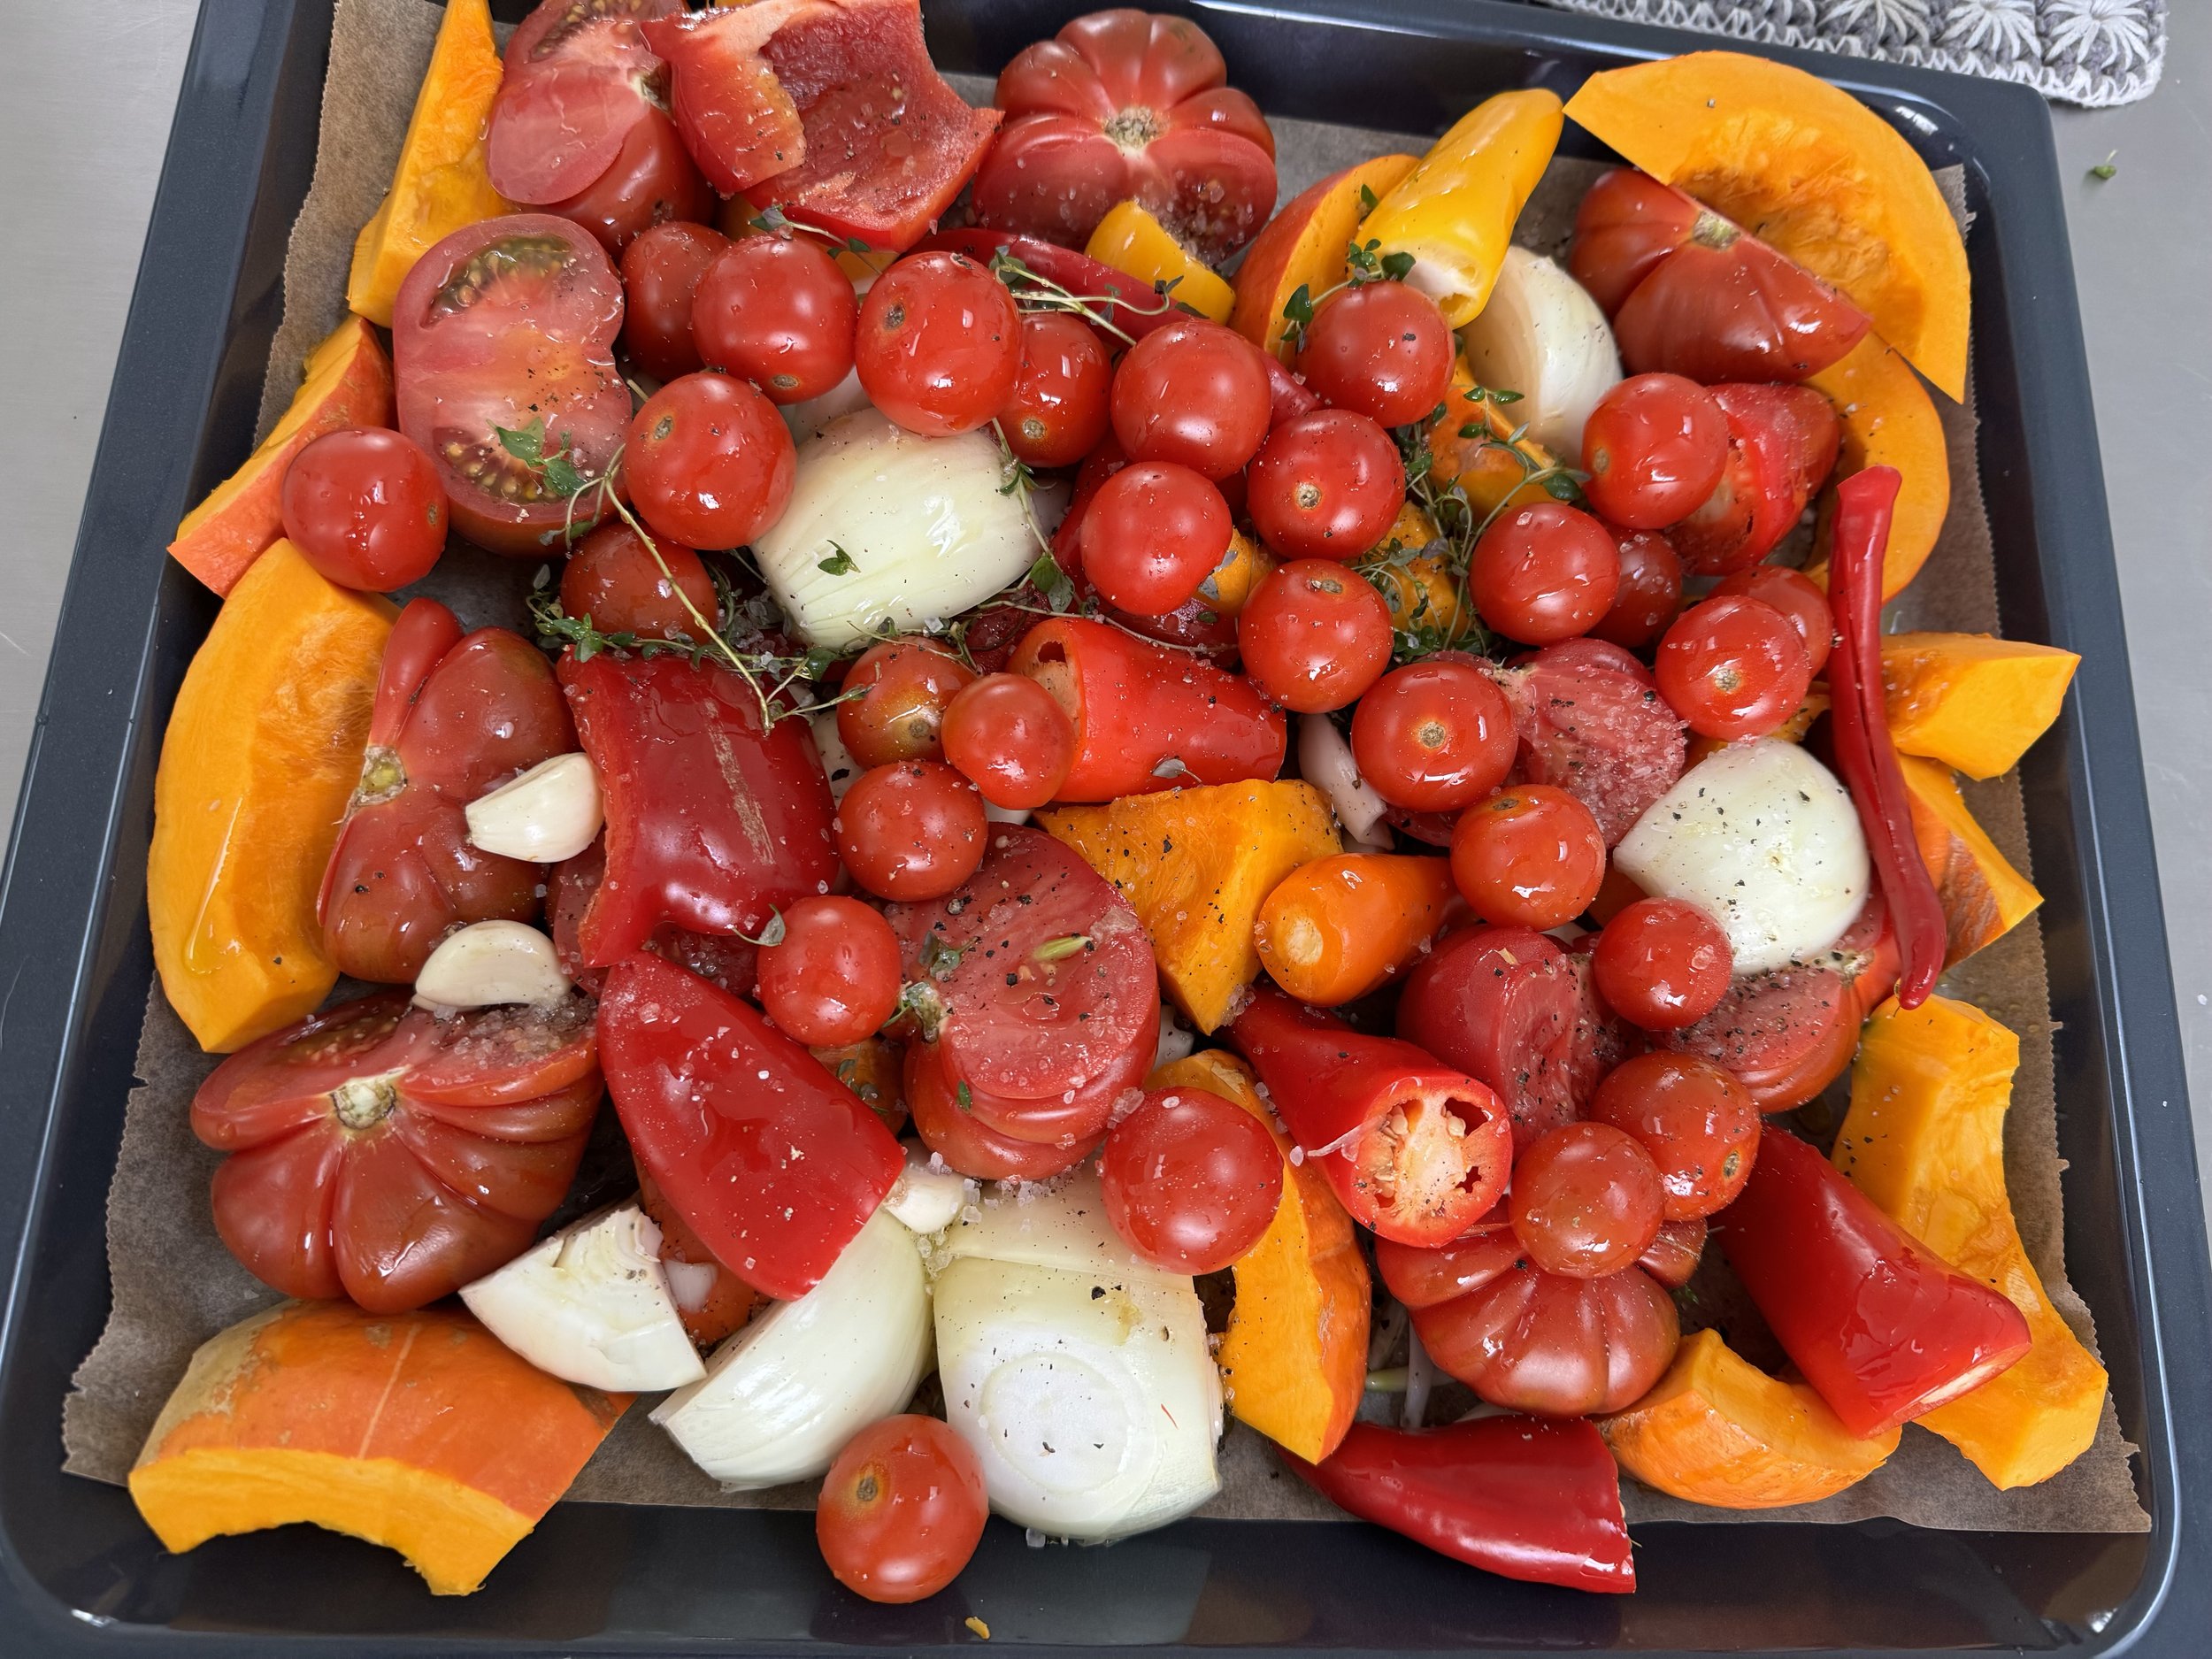
Wash tomatoes and cut into halves. Peel onions, wash fennel, and cut them in quarters. Place it all on the baking sheet, cut side up. Sprinkle with olive oil. Roast the vegetables in the oven for 45-50 minutes.

Cut up the bread in bite sized cubes and toss them with the olive oil, spread the croutons on a parchment lined baking sheet. Roast the croutons for about 5-7 minutes until light golden. Spread the blue cheese on the croutons, and bake then for another few minutes until the cheese has melted into the croutons. Make these while the soup is simmering.

In a large pot heat a little bit of olive oil and cook the minced garlic until fragrant, about 20 seconds. Transfer roasted vegetables with the roasting juices into the pot and add stock. Bring to boil and simmer for about 10 minutes.

Purée the soup in batches in a blender* until smooth. (You can also use an immersion blender.) Season with more salt and pepper to taste. 

Serve the soup immediately with blue cheese croutons. 

Enjoy!

*Be careful when blending hot liquids, it can make the lid pop off, and you may risk getting serious burns on you skin. You can remove the small cap on you blender lid and cover the lid with a clean kitchen towel. You need to hold on to the lid and towel, while blending. This will let the steam from the hot soup escape and avoid the lid from popping off. You can also get blenders like the Vitamix, where you can blend hot liquids, without any hassle.


Overnight Levain Bread

Bread, Breakfast, Brunch, DinnerTove Balle-Pedersen5 Comments
Overnight Levain Bread

Overnight Levain Bread

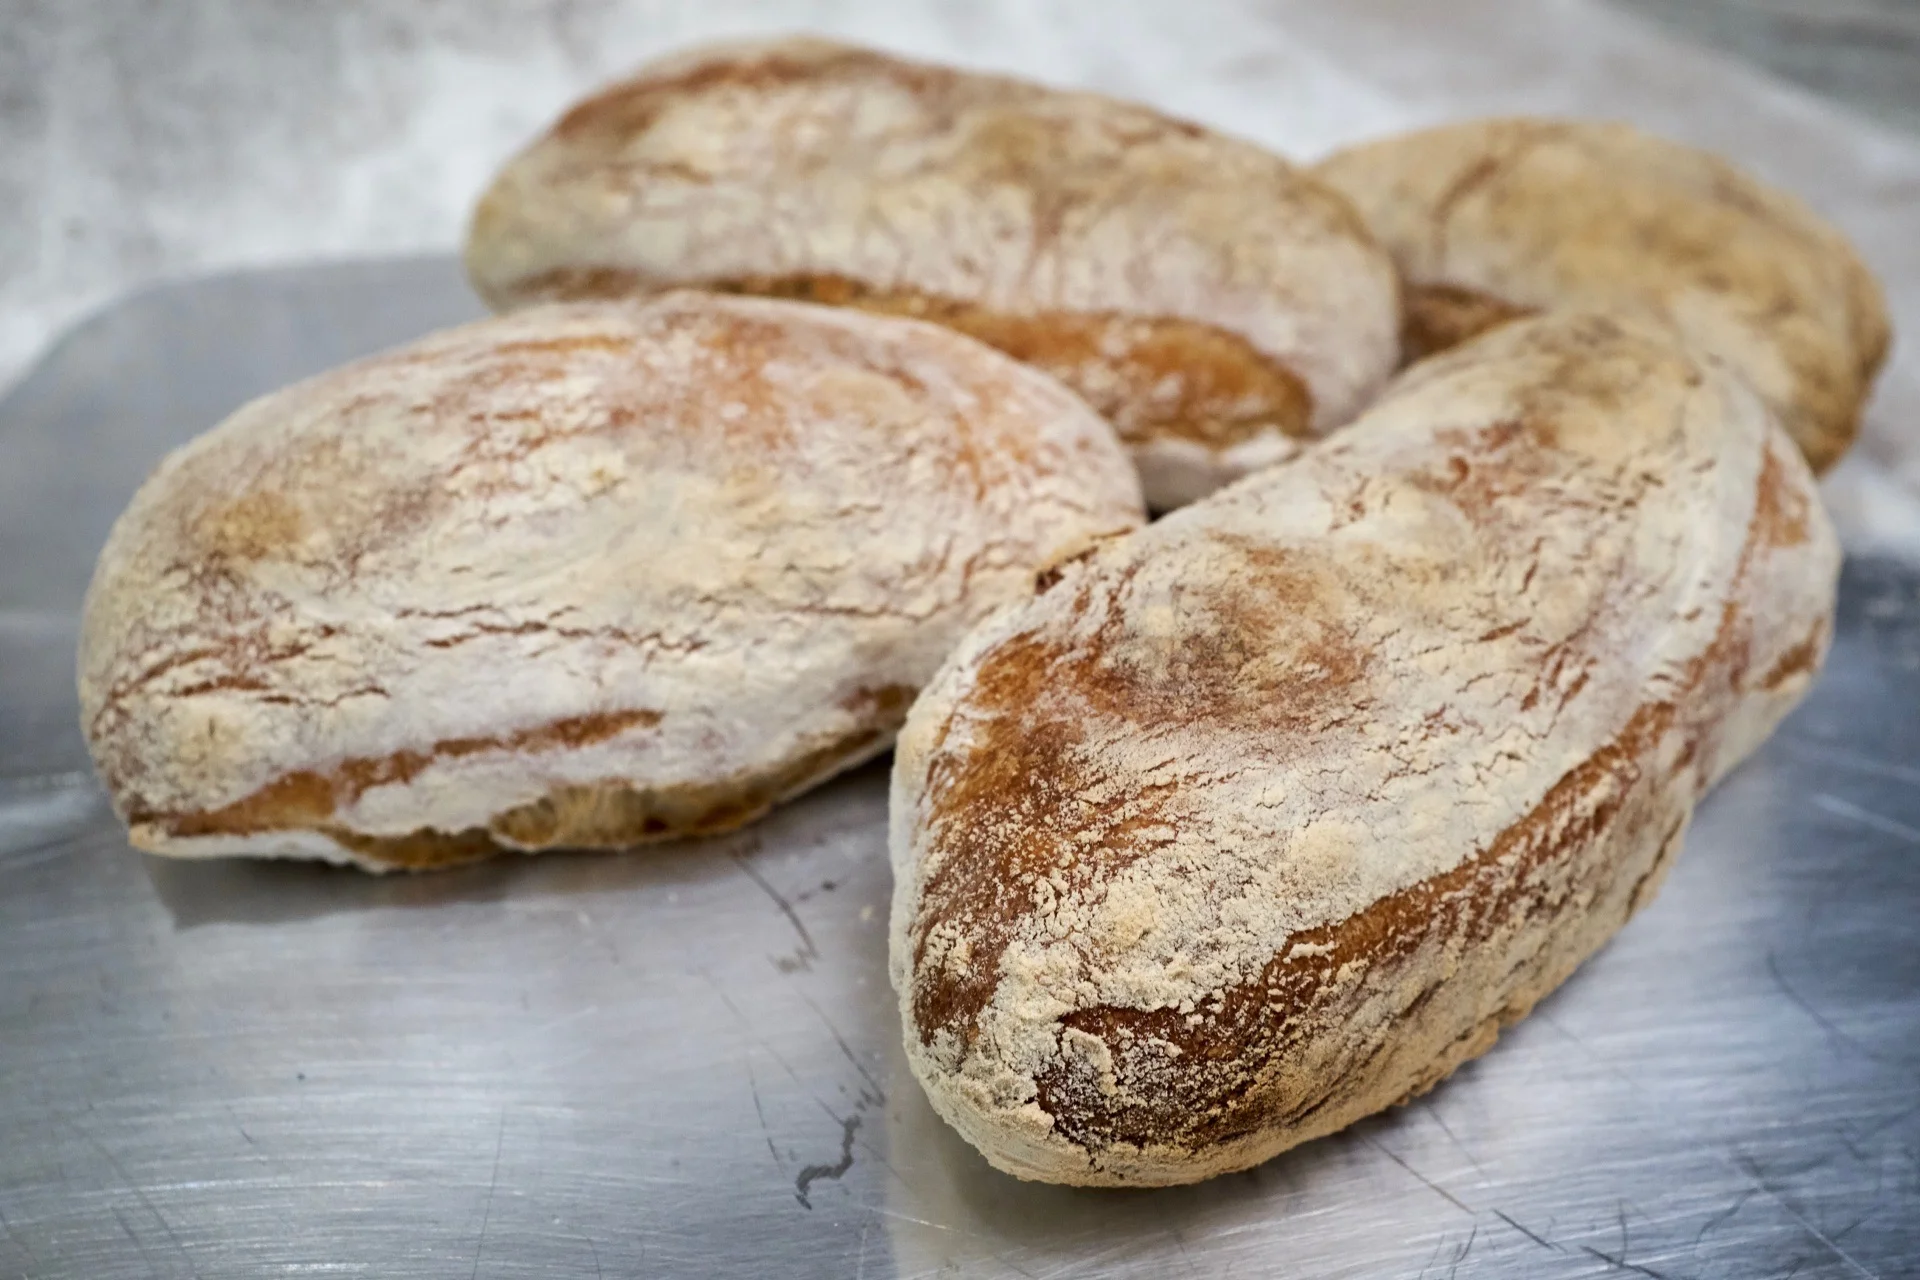
I don't think this is a secret: I love to bake bread, and I love sourdough breads, as long as they are not overly tangy. A really sour sourdough bread is not worth the calories, in my opinion. But this bread I could eat every day.

I previously made Basic Country Bread a la Tartine, and it is hands down the best bread I have ever had. The only thing, I would love to be able to make the it with less wait time. This overnight bread is less work, and it is almost as good as the Tartine bread.

The rye flour and the dark bake of the bread, added great flavor to the bread. The crust was nice and crispy while the crumb had a great chewiness. Overall it is a great bread, close to perfection.  

Makes 2 loafs.

Ingredients:

Levain:

  • 200 g water, 85-90℉/29-32℃
  • 50 g mature, active levain (The one you keep in the refrigerator, and recently fed.)
  • 200 g all-purpose flour
  • 50 g whole wheat flour

Dough:

  • 705 g all-purpose flour
  • 125 g whole wheat
  • 50 g dark rye flour
  • 685 g water, 90-95℉/32/35℃
  • 22 g sea salt 
  • 220 g levain

Equipment:

Directions:

You need to have a newly fed levain, mine was fed 2 days before starting this bread.

Day 1, morning:

Mix all the ingredients for the levain in a medium bowl. Mix it well so you don't have any lumps of dry flour. Cover the bowl with plastic wrap or a plate and let it rest on the counter for 7-9 hours. You can test the leaven's readiness, by dropping a spoonful into a cup of room-temperature water. If it sinks, it is not ready and needs more time to ferment and ripen. If it floats, it is ready to use. 

Day 1, afternoon (5-6 p.m.):

In a large bowl (I used the one for my stand mixer), combine the flours and the water, making sure not to have any dry flour. Let the mixture rest for about 25 minutes. This process is called autolyse, and basically helps activate the enzymes in the flour, and helps improve development of the gluten structure in the dough. 

Sprinkle the salt on top of the flour mixture. Add the 220 g levain and knead it for 3 minutes in the stand mixer. The dough will be on the wetter side, but will be elastic.

Transfer the dough to a  a plastic bucket, with a lid for the bulk fermentation. Let the dough rest for about 30 minutes, at room temperature.

Folds: 

You need to do about 2-3 folds during the bulk fermentation. To do a fold, dip your hand in water to prevent the dough from sticking. Grab the underside of the dough, stretch it out, and fold it back over itself. Rotate container one-quarter turn, and repeat. Do this 2 or 3 times for each fold.

After the first fold, place the dough in the refrigerator. Do another 2 folds before heading to bed.

Day 2, early morning:

Take the dough out of the refrigerator, and let it rest in the plastic bucket for about an hour. Gently ease the dough out of the bucket, onto a lightly floured surface. Cut the dough into two even parts.

Working with the dough you want to incorporate as little flour as possible. Work each piece into a round using scraper and 1 hand.  Build the tension by with the dough slightly anchoring to the surface as you rotate it. By the end, the dough should have a tight, smooth surface. Dust tops of rounds with flour, cover with a tea towel, and let rest on the work surface for 20 to 30 minutes. During this stage, (bench rest), each round will relax and spread into a thick pancake shape. The edges should appear fat and rounded, not flat or "dripping" of the edge. If the dough is flat or the dough is spreading too much, the dough has not developed enough strength during the bulk fermentation. And you need to re-shape the dough into a round for a second time and let it sit to rest covered once more.

Shaping the bread:

Be careful not to deflate the dough during this process. This final shaping builds up tension inside each loaf, so it holds it's form and rises substantially when baked. This is called "oven spring."

Fold the third of the dough closest to you up and over the middle third of the round. Stretch out the dough horizontally to your right and fold this right third over the center. Stretch the dough to your left and fold this third over the previous fold. Finally grab the dough farthest from you and fold this flap toward you and wrap it up and over, while rolling the whole dough package away from you, that the smooth underside of the loaf now is on the top and all the seams are on the bottom. Let the shaped loaf rest on the counter for a minute. Fold the other loaf the same way.

Line 2 baskets with clean tea towels; generously dust with flour. Using the dough scraper, transfer each round to a basket, smooth side down, with seam centered and facing up. Let rest at room temperature (75℉ to 80℉), covered with towels for 3 to 4 hours before baking, this will be the proofing of the  bread.

Baking the bread:

About 45 minutes before you are ready to bake the bread, preheat oven with the dutch/french oven to 500℉ (260℃), with rack in lowest position.

Flip one bread into heated dutch/french oven. Score top twice using a razor blade matfer lame. Cover with lid. Return to oven, and reduce oven temperature to 450℉ (230℃). Bake for 20 minutes.

Carefully remove lid and continue to bake until crust is deep golden brown, 20 to 25 minutes more.

Transfer loaf to a wire rack. It will feel light and sound hollow when tapped. Let cool.

To bake the second loaf, raise oven temperature to 500℉ (260℃), wipe out dutch/french oven with a dry kitchen towel, and reheat with lid for 10 minutes before baking.

Enjoy!

Smashed Chickpea Salad

Dinner, Lunch, Salad, Sides, vegan, VegetarianTove Balle-PedersenComment
Smashed Chickpea Salad

Smashed Chickpea Salad

I love chickpeas, they are very filling and full of protein (9g/100g*) and dietary fiber (8g/100g*). Like lentils, chickpeas is easily flavored while cooking and by what ever you dress it with. 

I really like the tanginess and the specks of salty olives and chili peppers. Overall this chickpea salad is a simple, quick weekday side. I served it with beer can chicken, an all-time favorite in my house.

This recipe is adapted from the Smitten Kitchen cookbook.

Serves 3.

Ingredients:

  • 450 g cooked, cooled chickpeas

  • 100 g green olives, pitted and thinly sliced

  • 3 small pickled chilies, sliced

  • 1 handful Italian parsley, chopped

  • ½ teaspoon freeze dried buckthorn

  • 35 ml lemon juice, freshly squeezed

  • 1 garlic clove, minced

  • ¼ teaspoon sea salt

  • 2 tablespoons olive oil

  • 1 pinch cayenne pepper

Directions:

Soak and cook the chickpeas according to instruction on the package, or like Chickpea and Carrot Salad a la Thomas Keller. If you are in a hurry use 2 cans of chickpeas, drain and rinse them. 

Mix all but the olive oil and smash the salad with a potato masher, until you have a coarse mixture, with chunky pieces. Dress the salad with the Olive oil, and season it with salt, pepper and lemon juice.

Enjoy!

* In the boiled chickpeas.