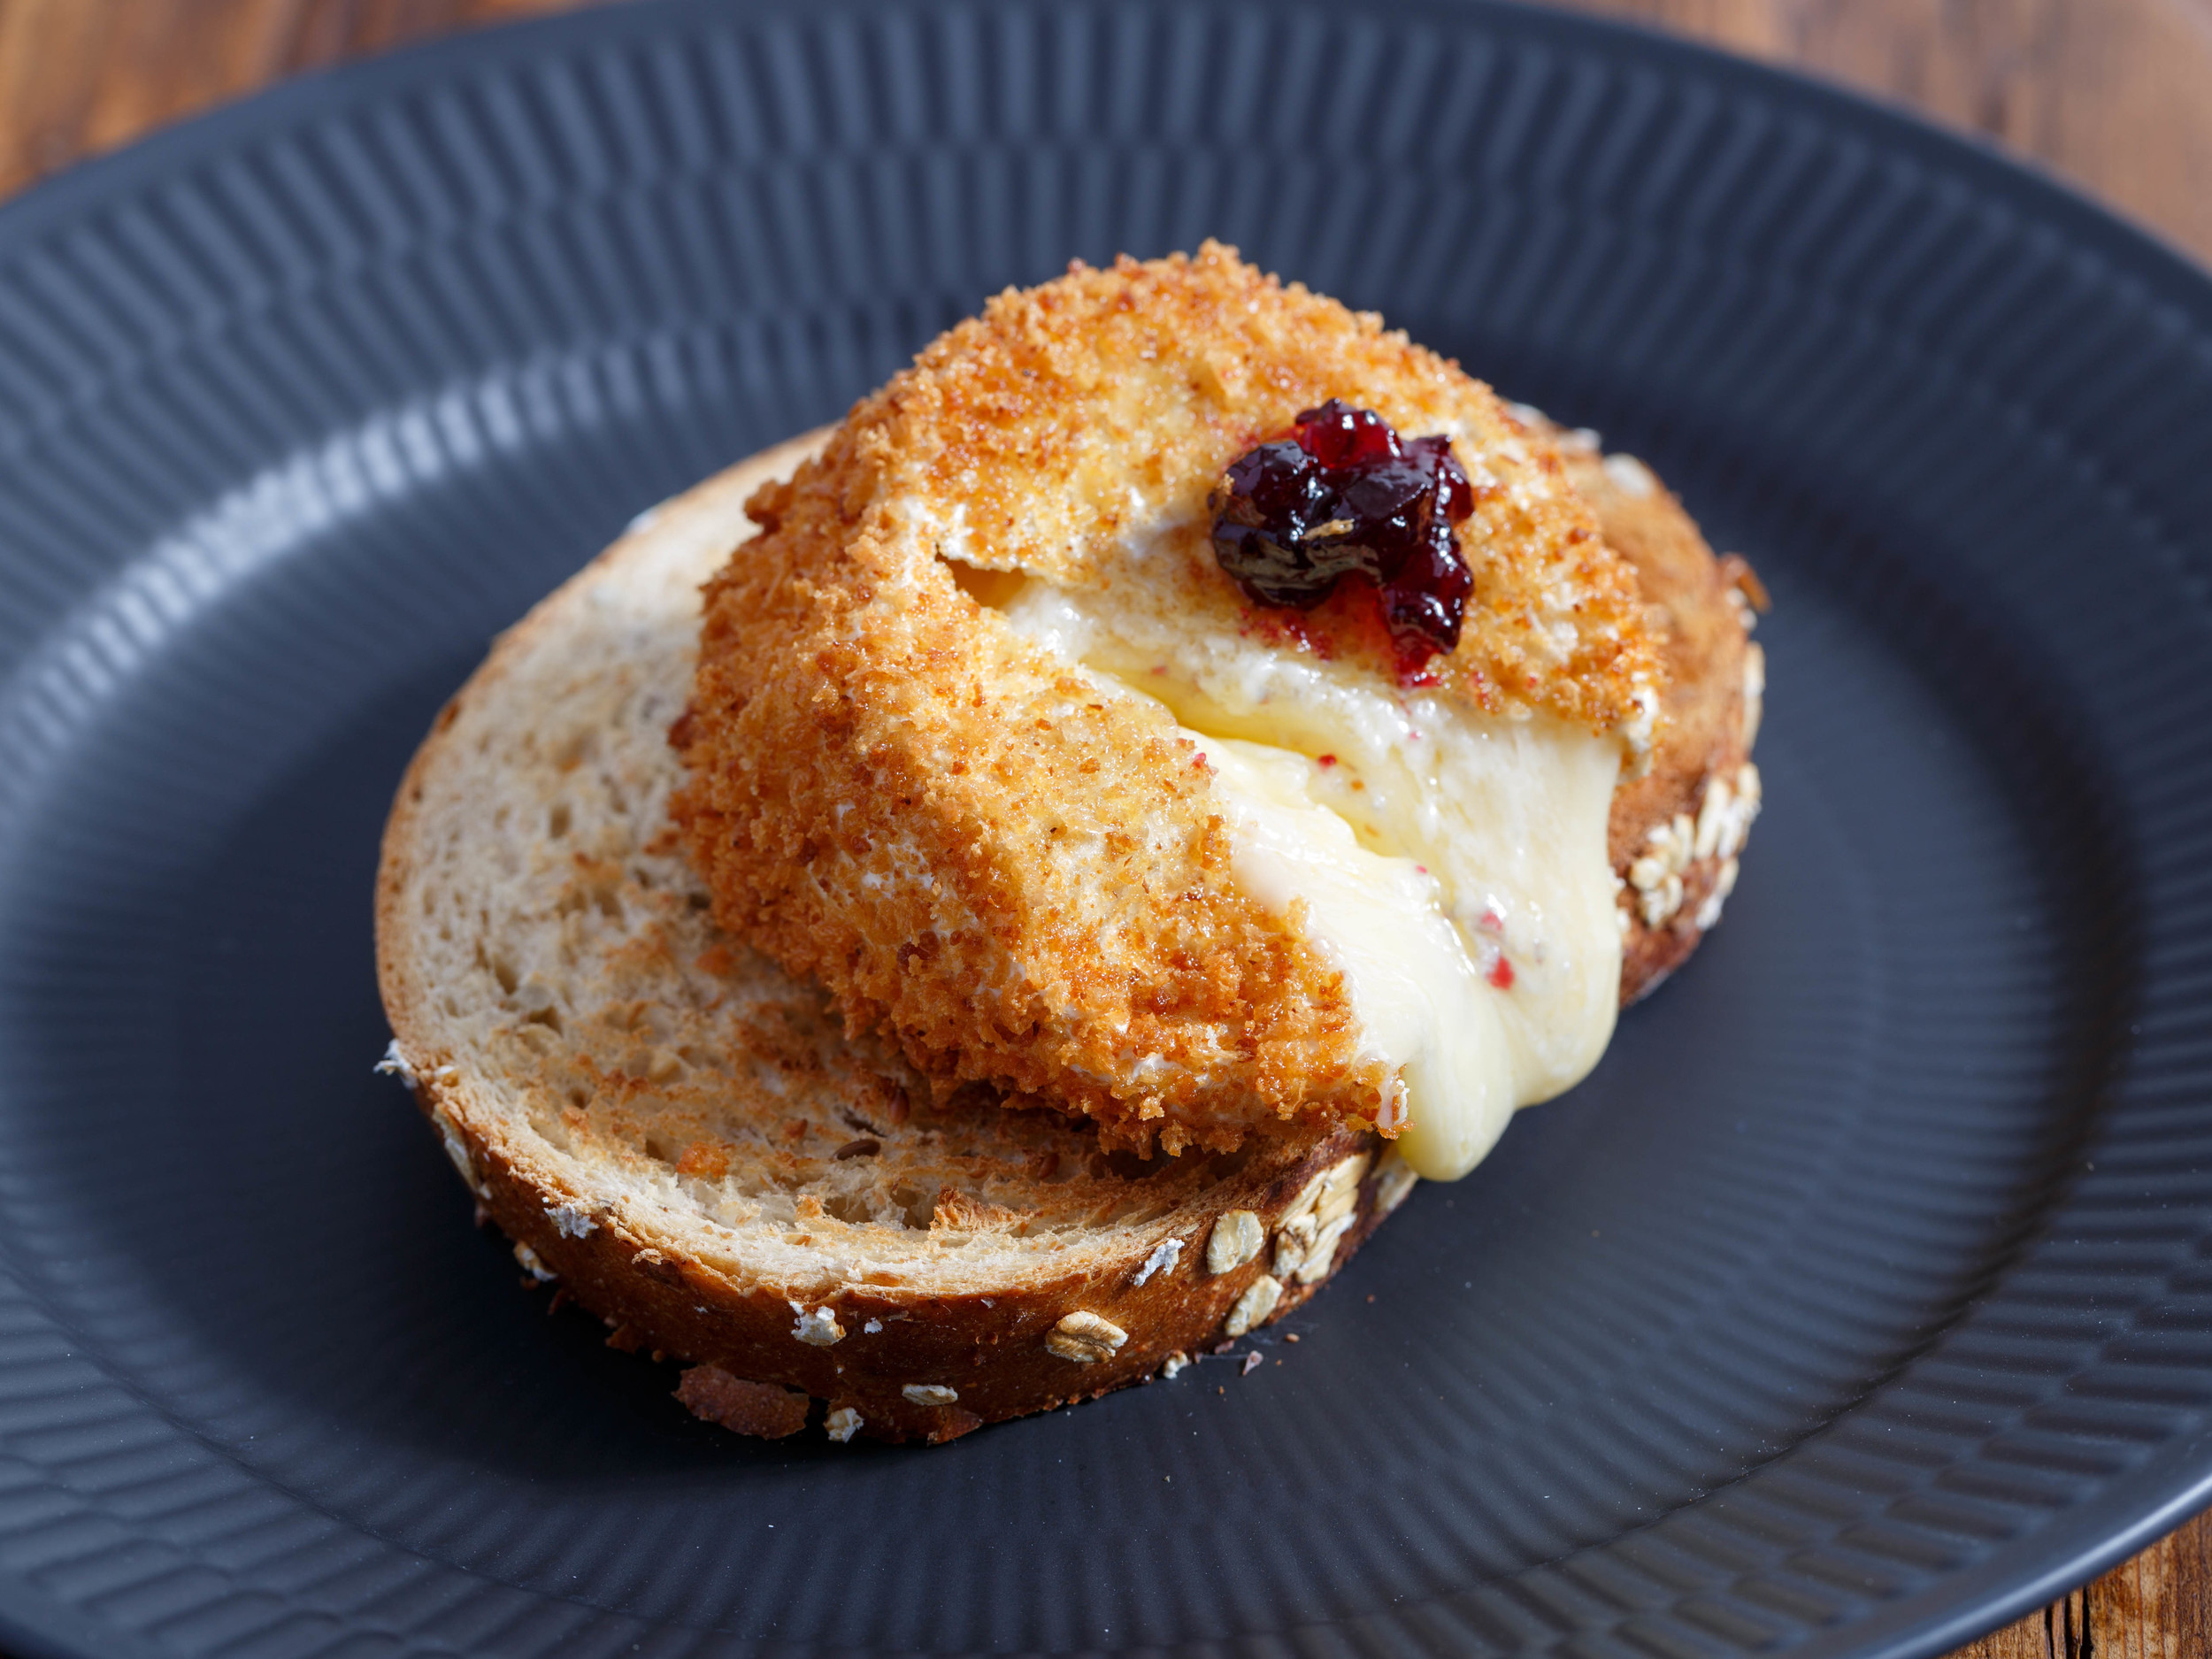
Deep Fried Camembert
I don't know the story about this dish. It might be French, but nevertheless it is very decadent and rich.

Picnic.
My parents have made deep fried camembert for me and my brother a few times. Oddly enough my brother loved it, even though he hates cheese. Well, he likes warm cheese on pizza, lasagne and in deep fried camembert. He is very weird, if you ask me...
My trip to Tomales Bay brought me to Marin French Cheese, where they made camembert, and to my surprise, they made a petit version, perfect for deep frying. We bought a bunch of small cheeses to bring with us home.
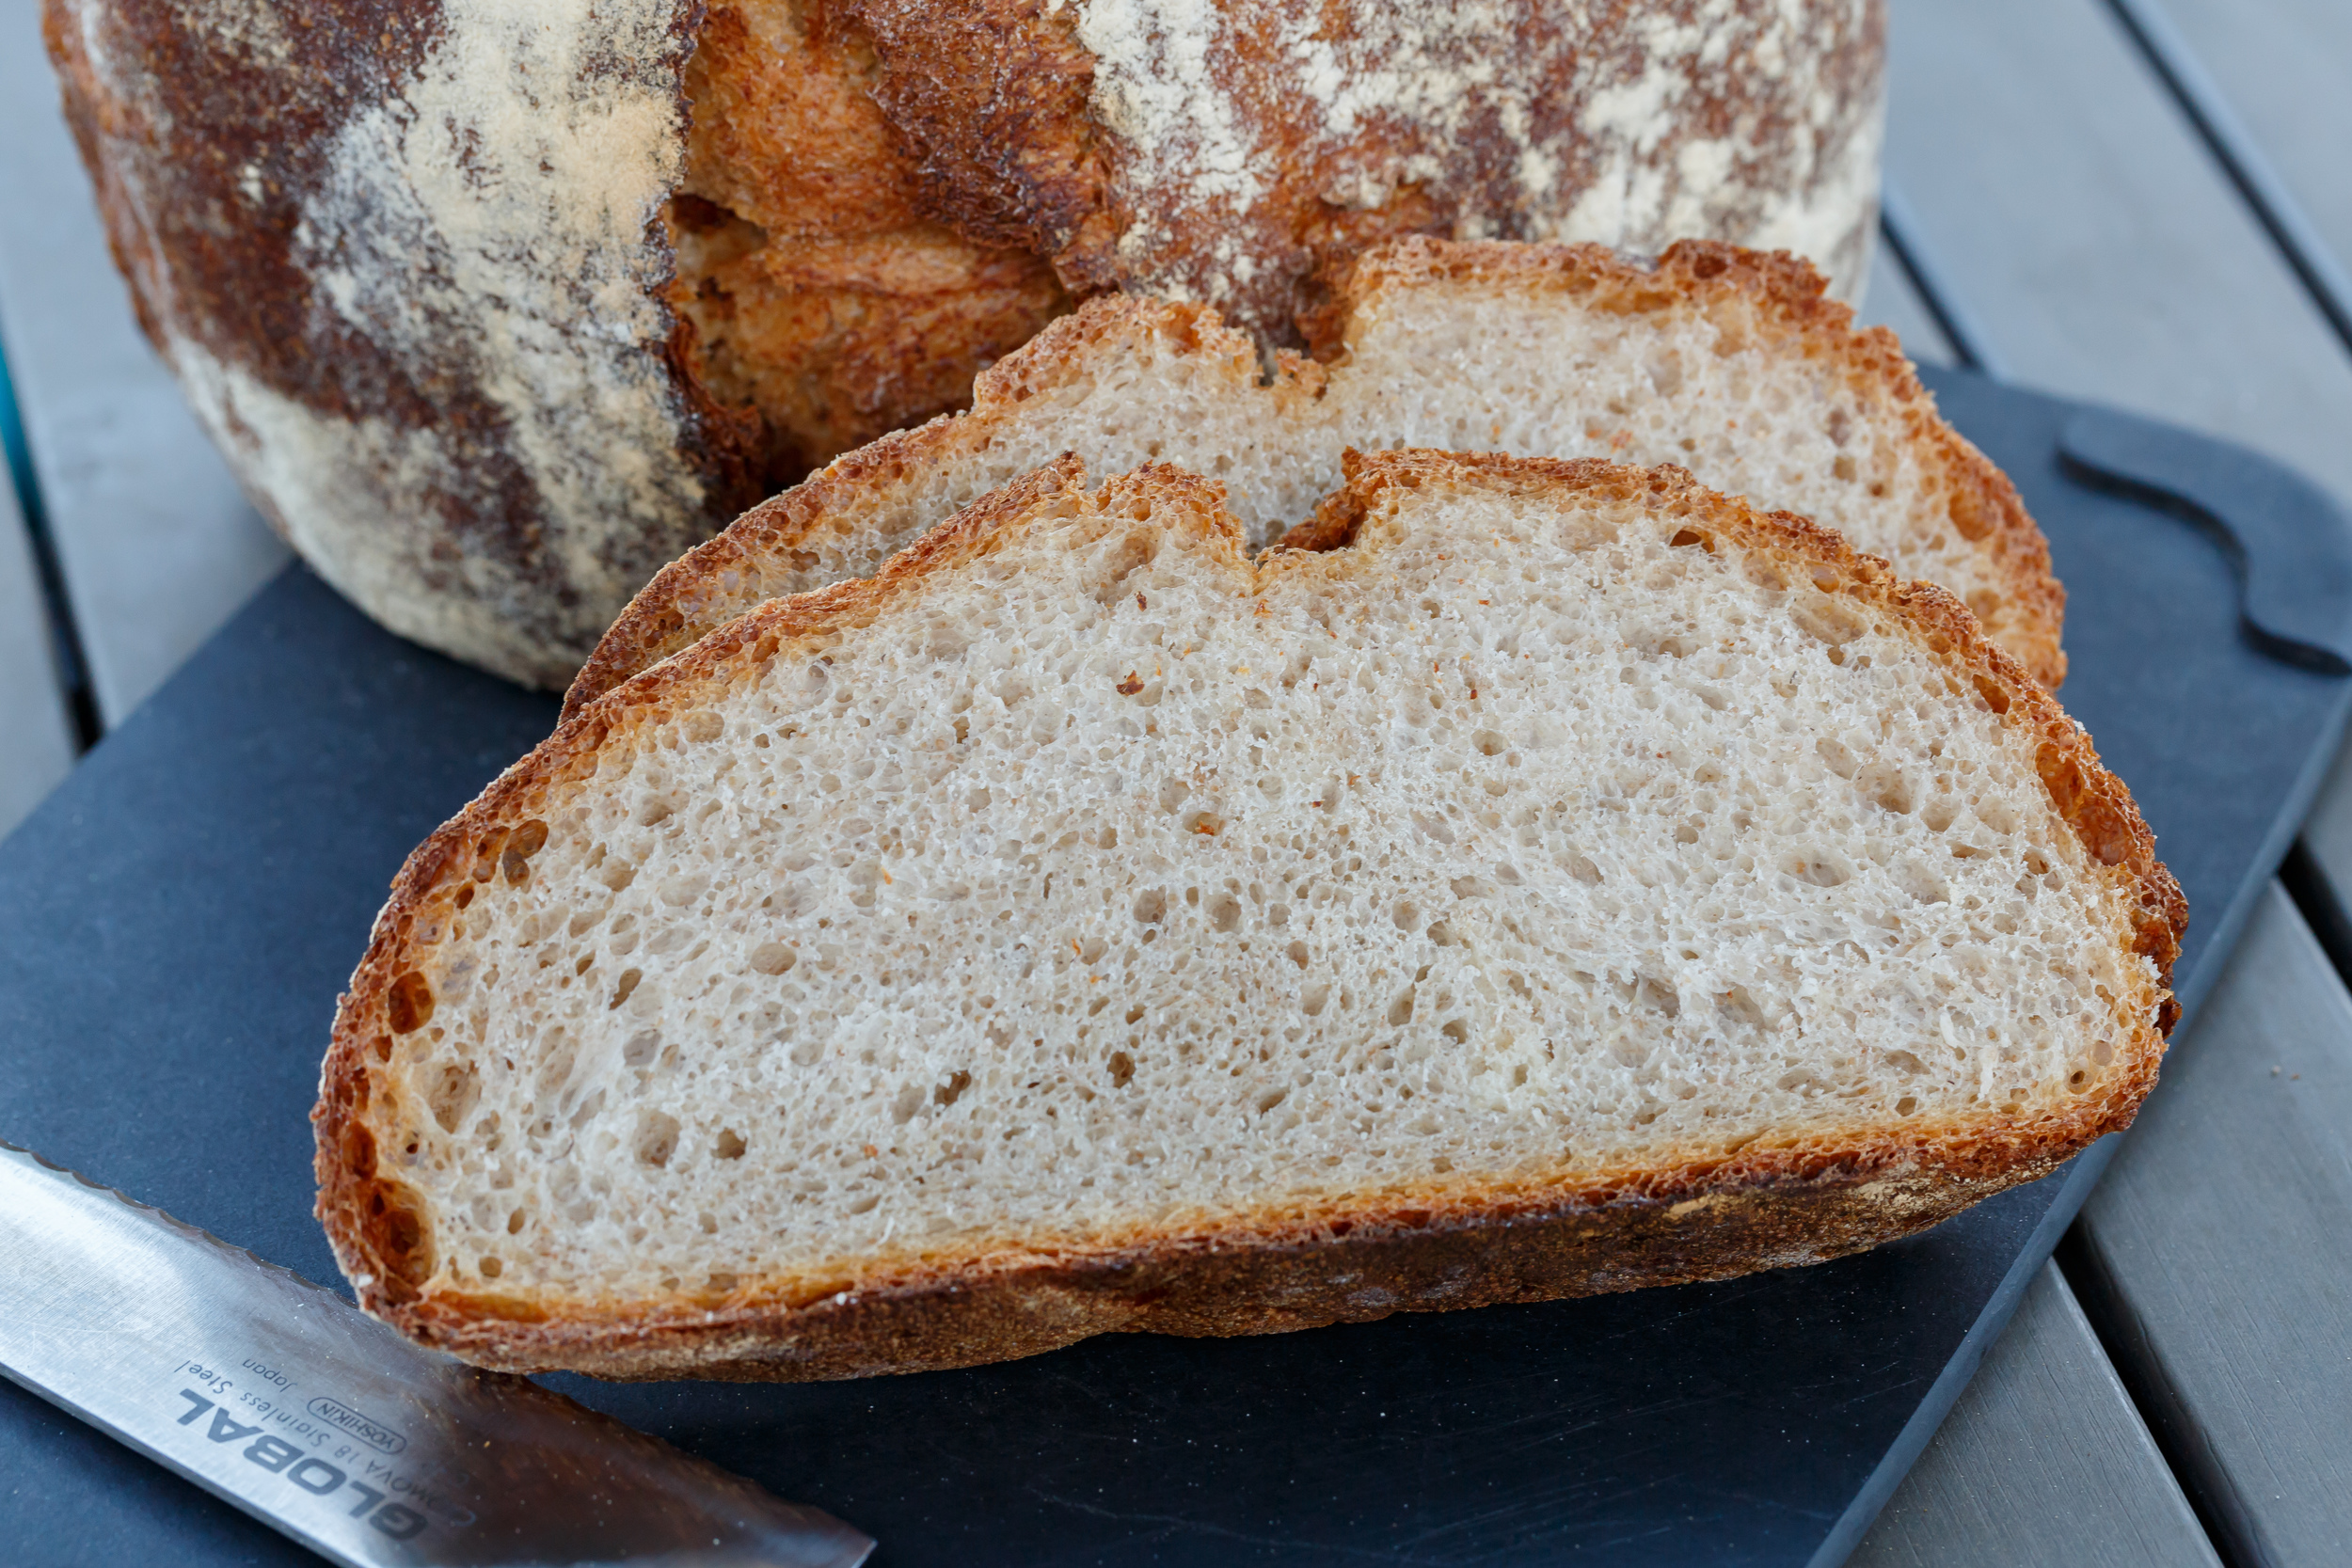
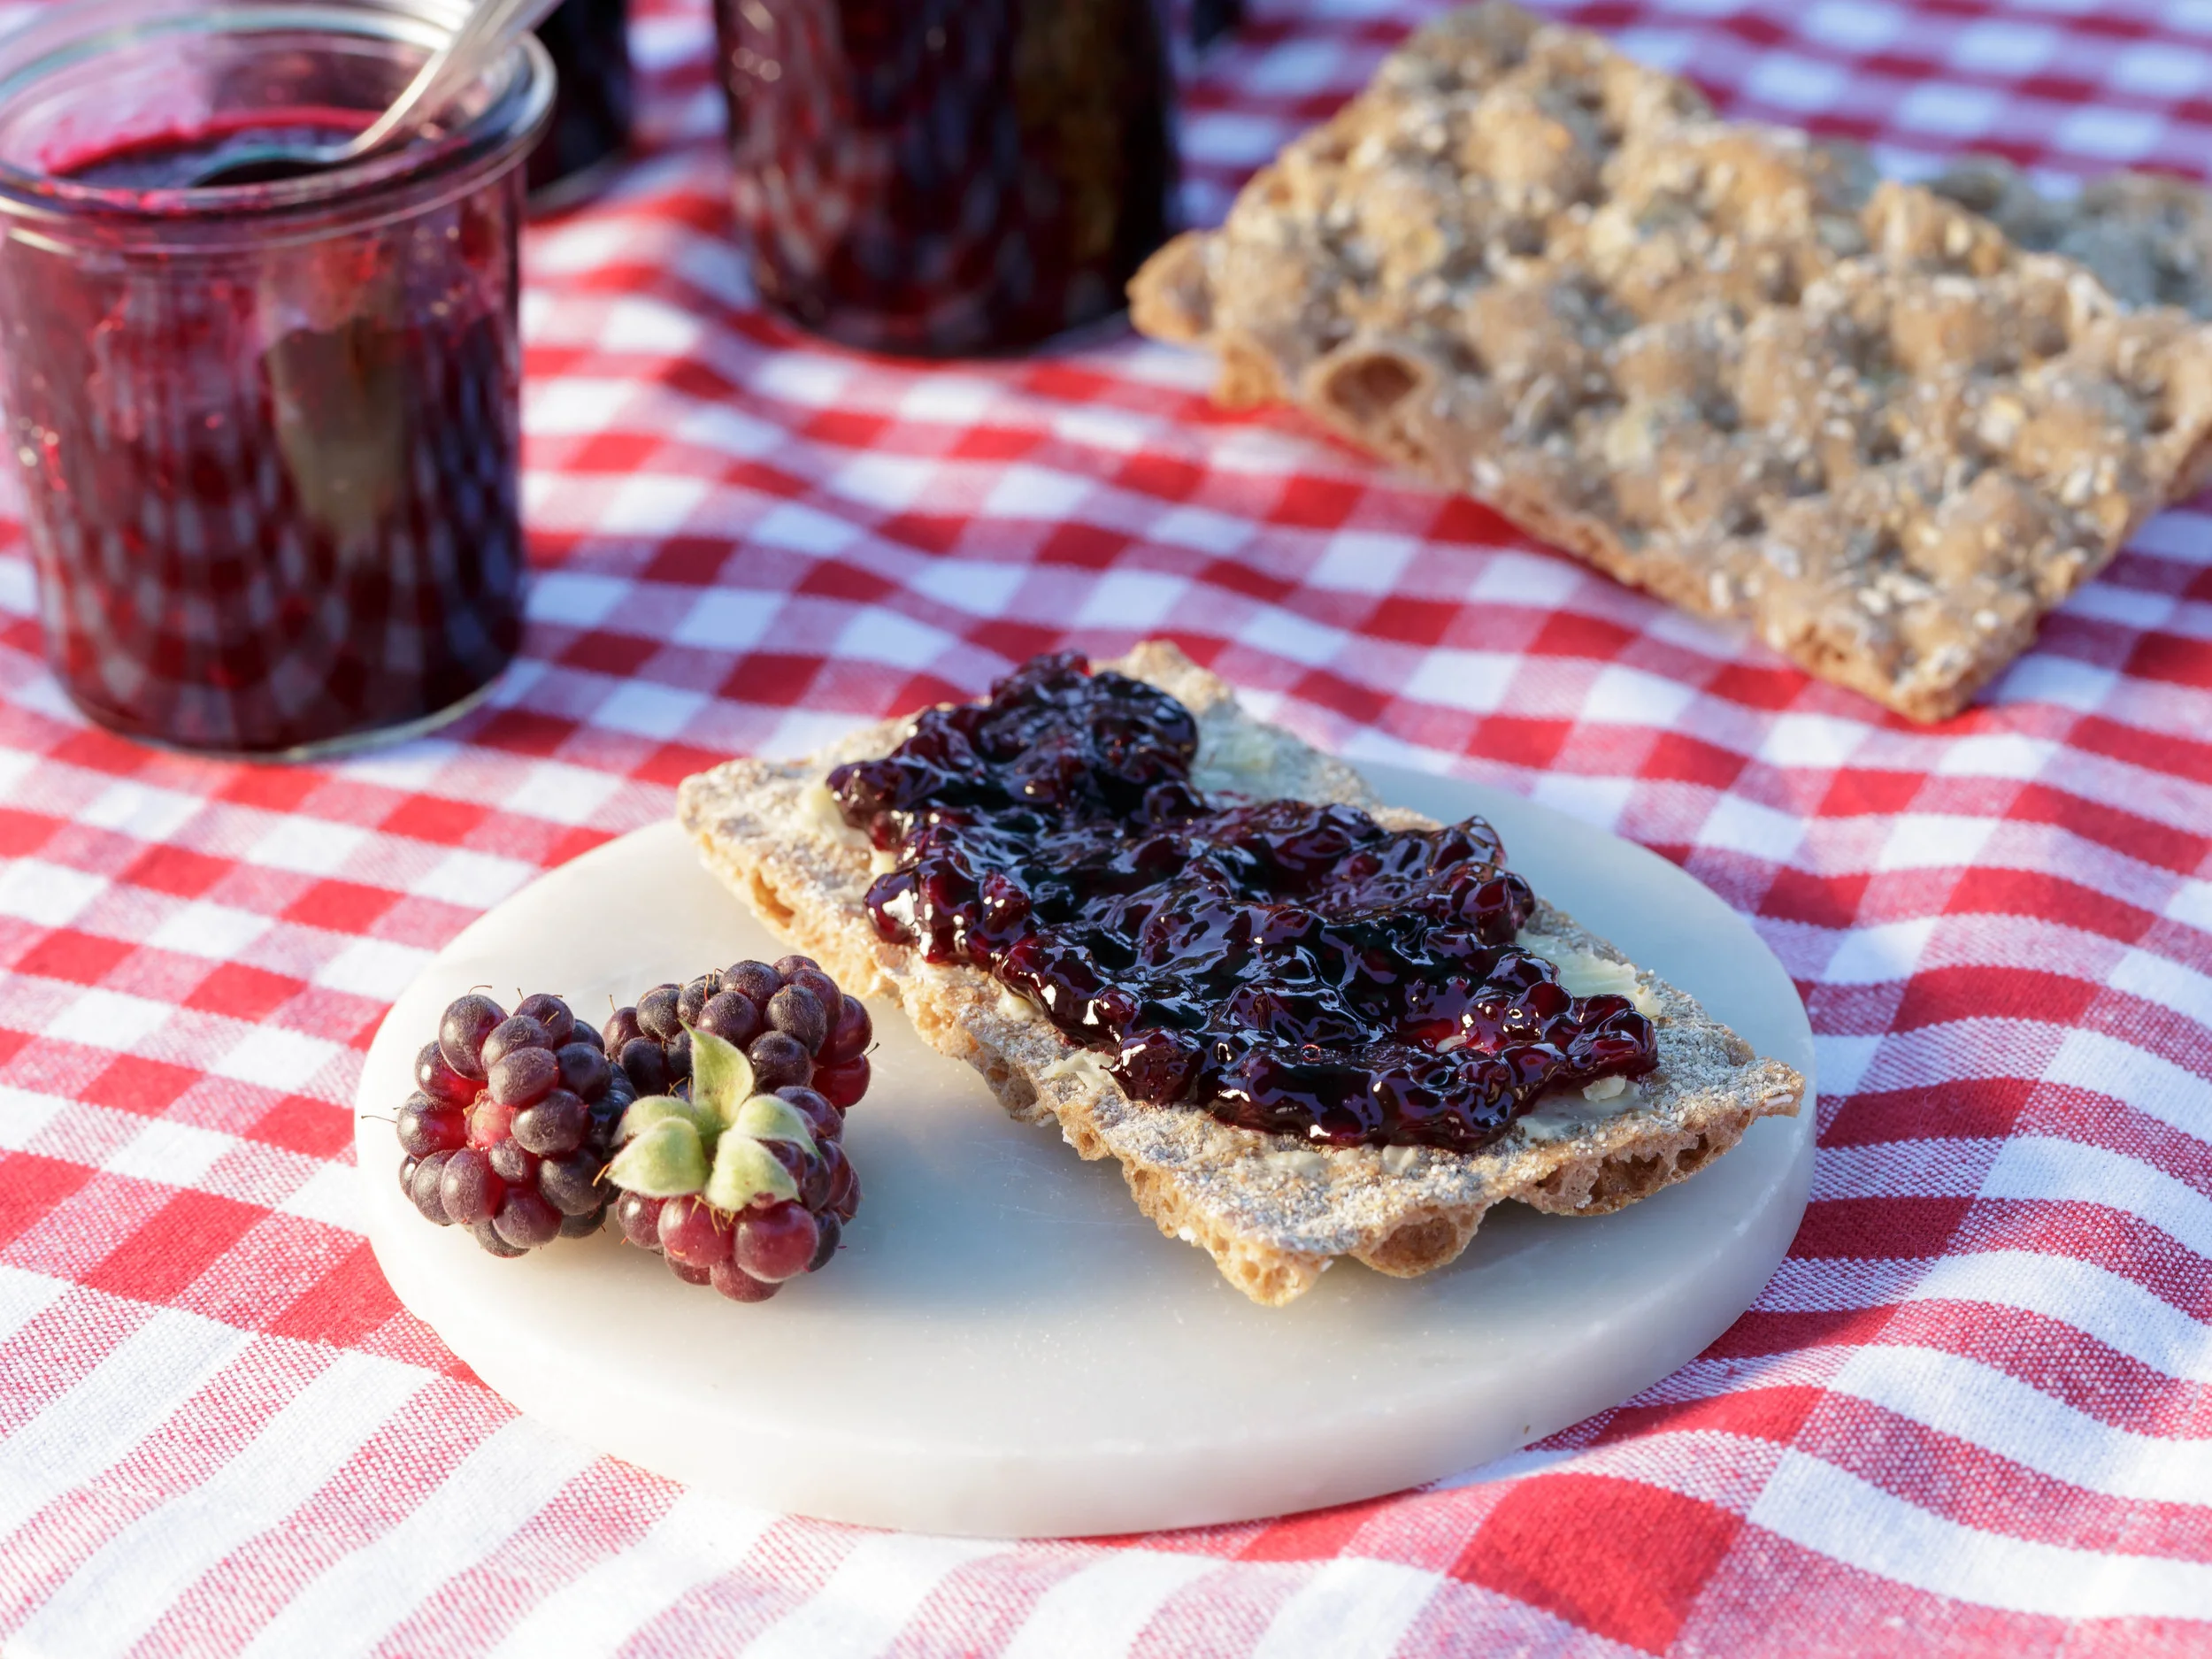
By the end of the day we opted for at small picnic by our hotel, instead of going out for dinner. I had brought some of my homemade bread and it paired perfect with the cheeses. There is nothing better than a quiet picnic with your loved one at sunset.
Serves 4.
Ingredients:
- 2-4 small camembert, with the rind on (I used petit camembert from Marin French Cheese)
- 2 eggs
- 1 cup breadcrumbs, fresh, panko or regular
- oil, for frying
- 4 slices good bread, toasted
- blackcurrant jam
Directions:
Put the breadcrumbs in a shallow bowl. Crack the eggs into another shallow bowl and whisk them together.
Dip each camembert into the egg, making sure to get it covered all over. Coat the cheeses with the breadcrumbs. Repeat with the rest of the camembert.
Heat the oil in a heavy bottomed saucepan until hot.
Gently drop two of the cheeses and fry until golden brown, turning once. Place the cheeses onto a piece of kitchen towel to remove excess oil.
Serve immediately on a slice of toasted bread with blackcurrant jam.
Enjoy!