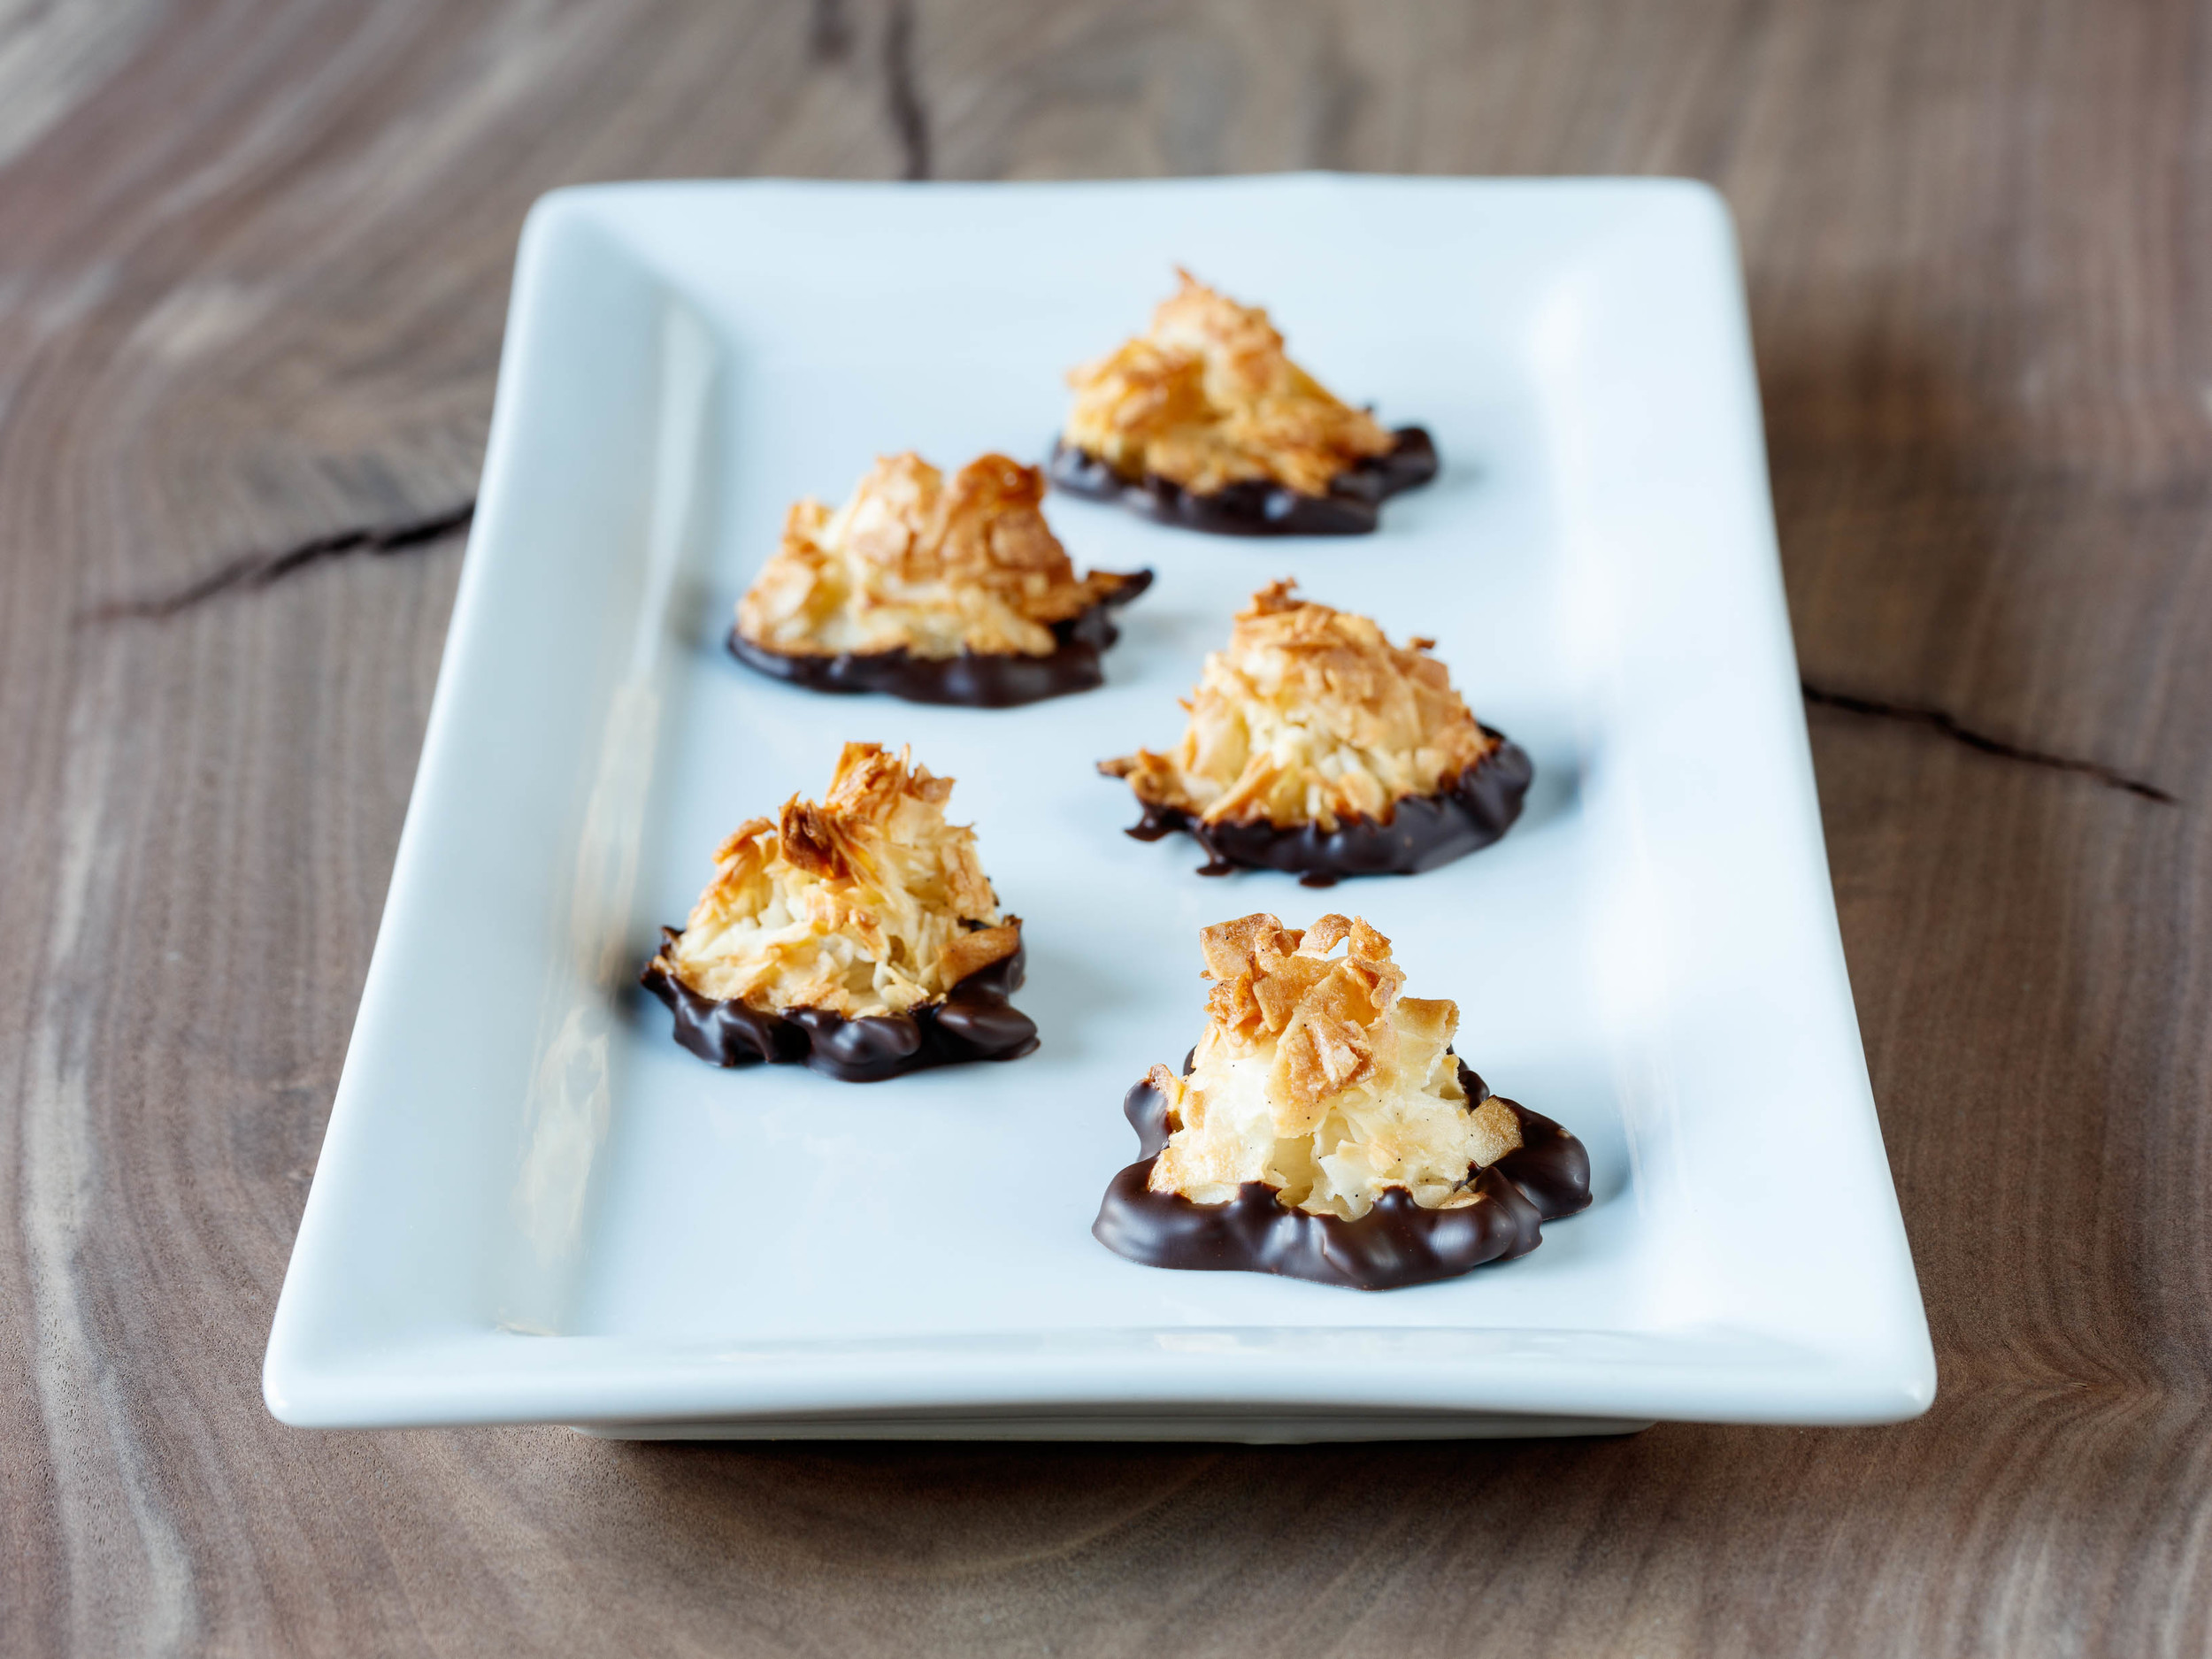
Coconut Macaroons - kokosmakroner
I love cocos macaroons aka kokosmakaroner. I love the crispy crust and the sweet soft center. And the cookie just get better when dipped in a good chocolate. Everything gets better with chocolate.
We learned to make these macaroons in home economic in school, well we learned a simpler version, but this recipe adapted from Food52, elevates the simple macaroon to a whole new level.
Makes 12-16 small cookies.
Ingredients:
Cookies:
- 2 egg whites
- 110 g unsweetened, coconut flakes
- 85 g sugar
- 1 teaspoon vanilla paste
- 1 pinch salt
Dipping:
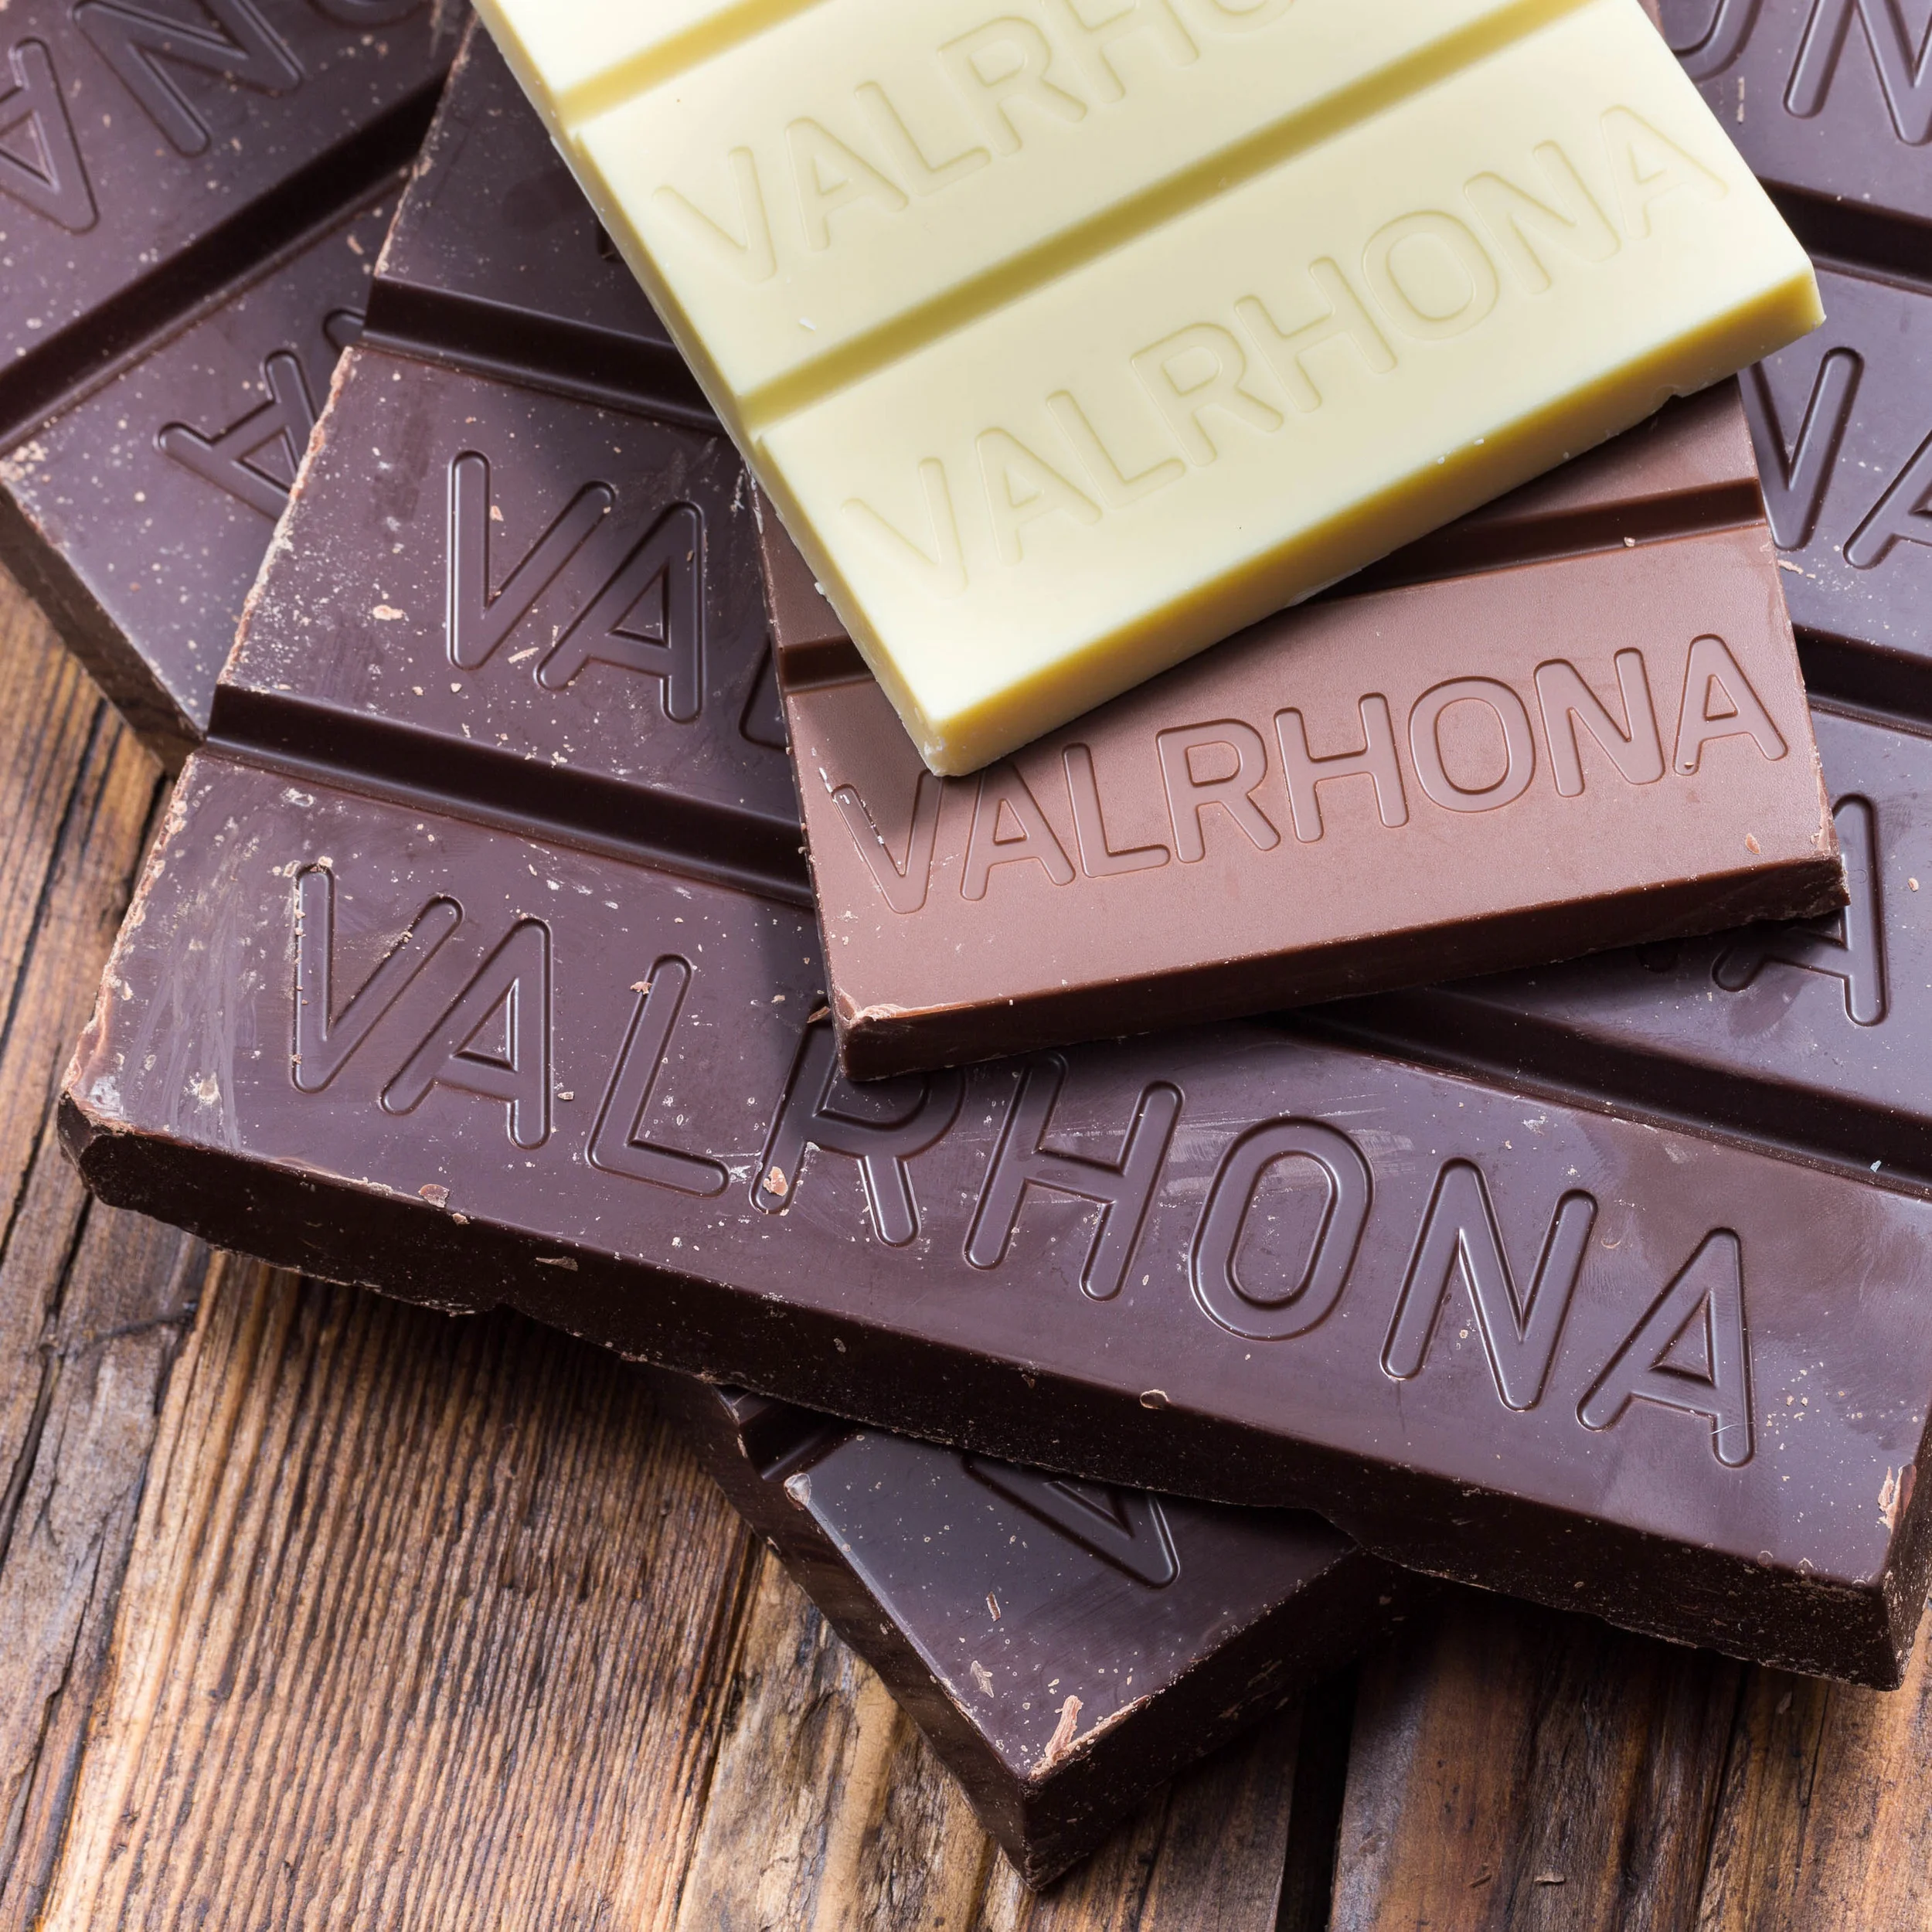
- 150 g dark chocolate (I used valrhona)
Directions:
Cookies:
Put all ingredients in a large heatproof bowl, I used a stainless steel bowl. Place it on the top of a pot with boiling water, taken off the heat. Stir the mixture until the egg starts to thicken and turn opaque. Remove the bowl from the pot, and set aside for about 20-30 minutes. This gives the coconut time to absorb the liquid.
Preheat the oven to 350℉ (180℃). Line a baking sheet with parchment paper.
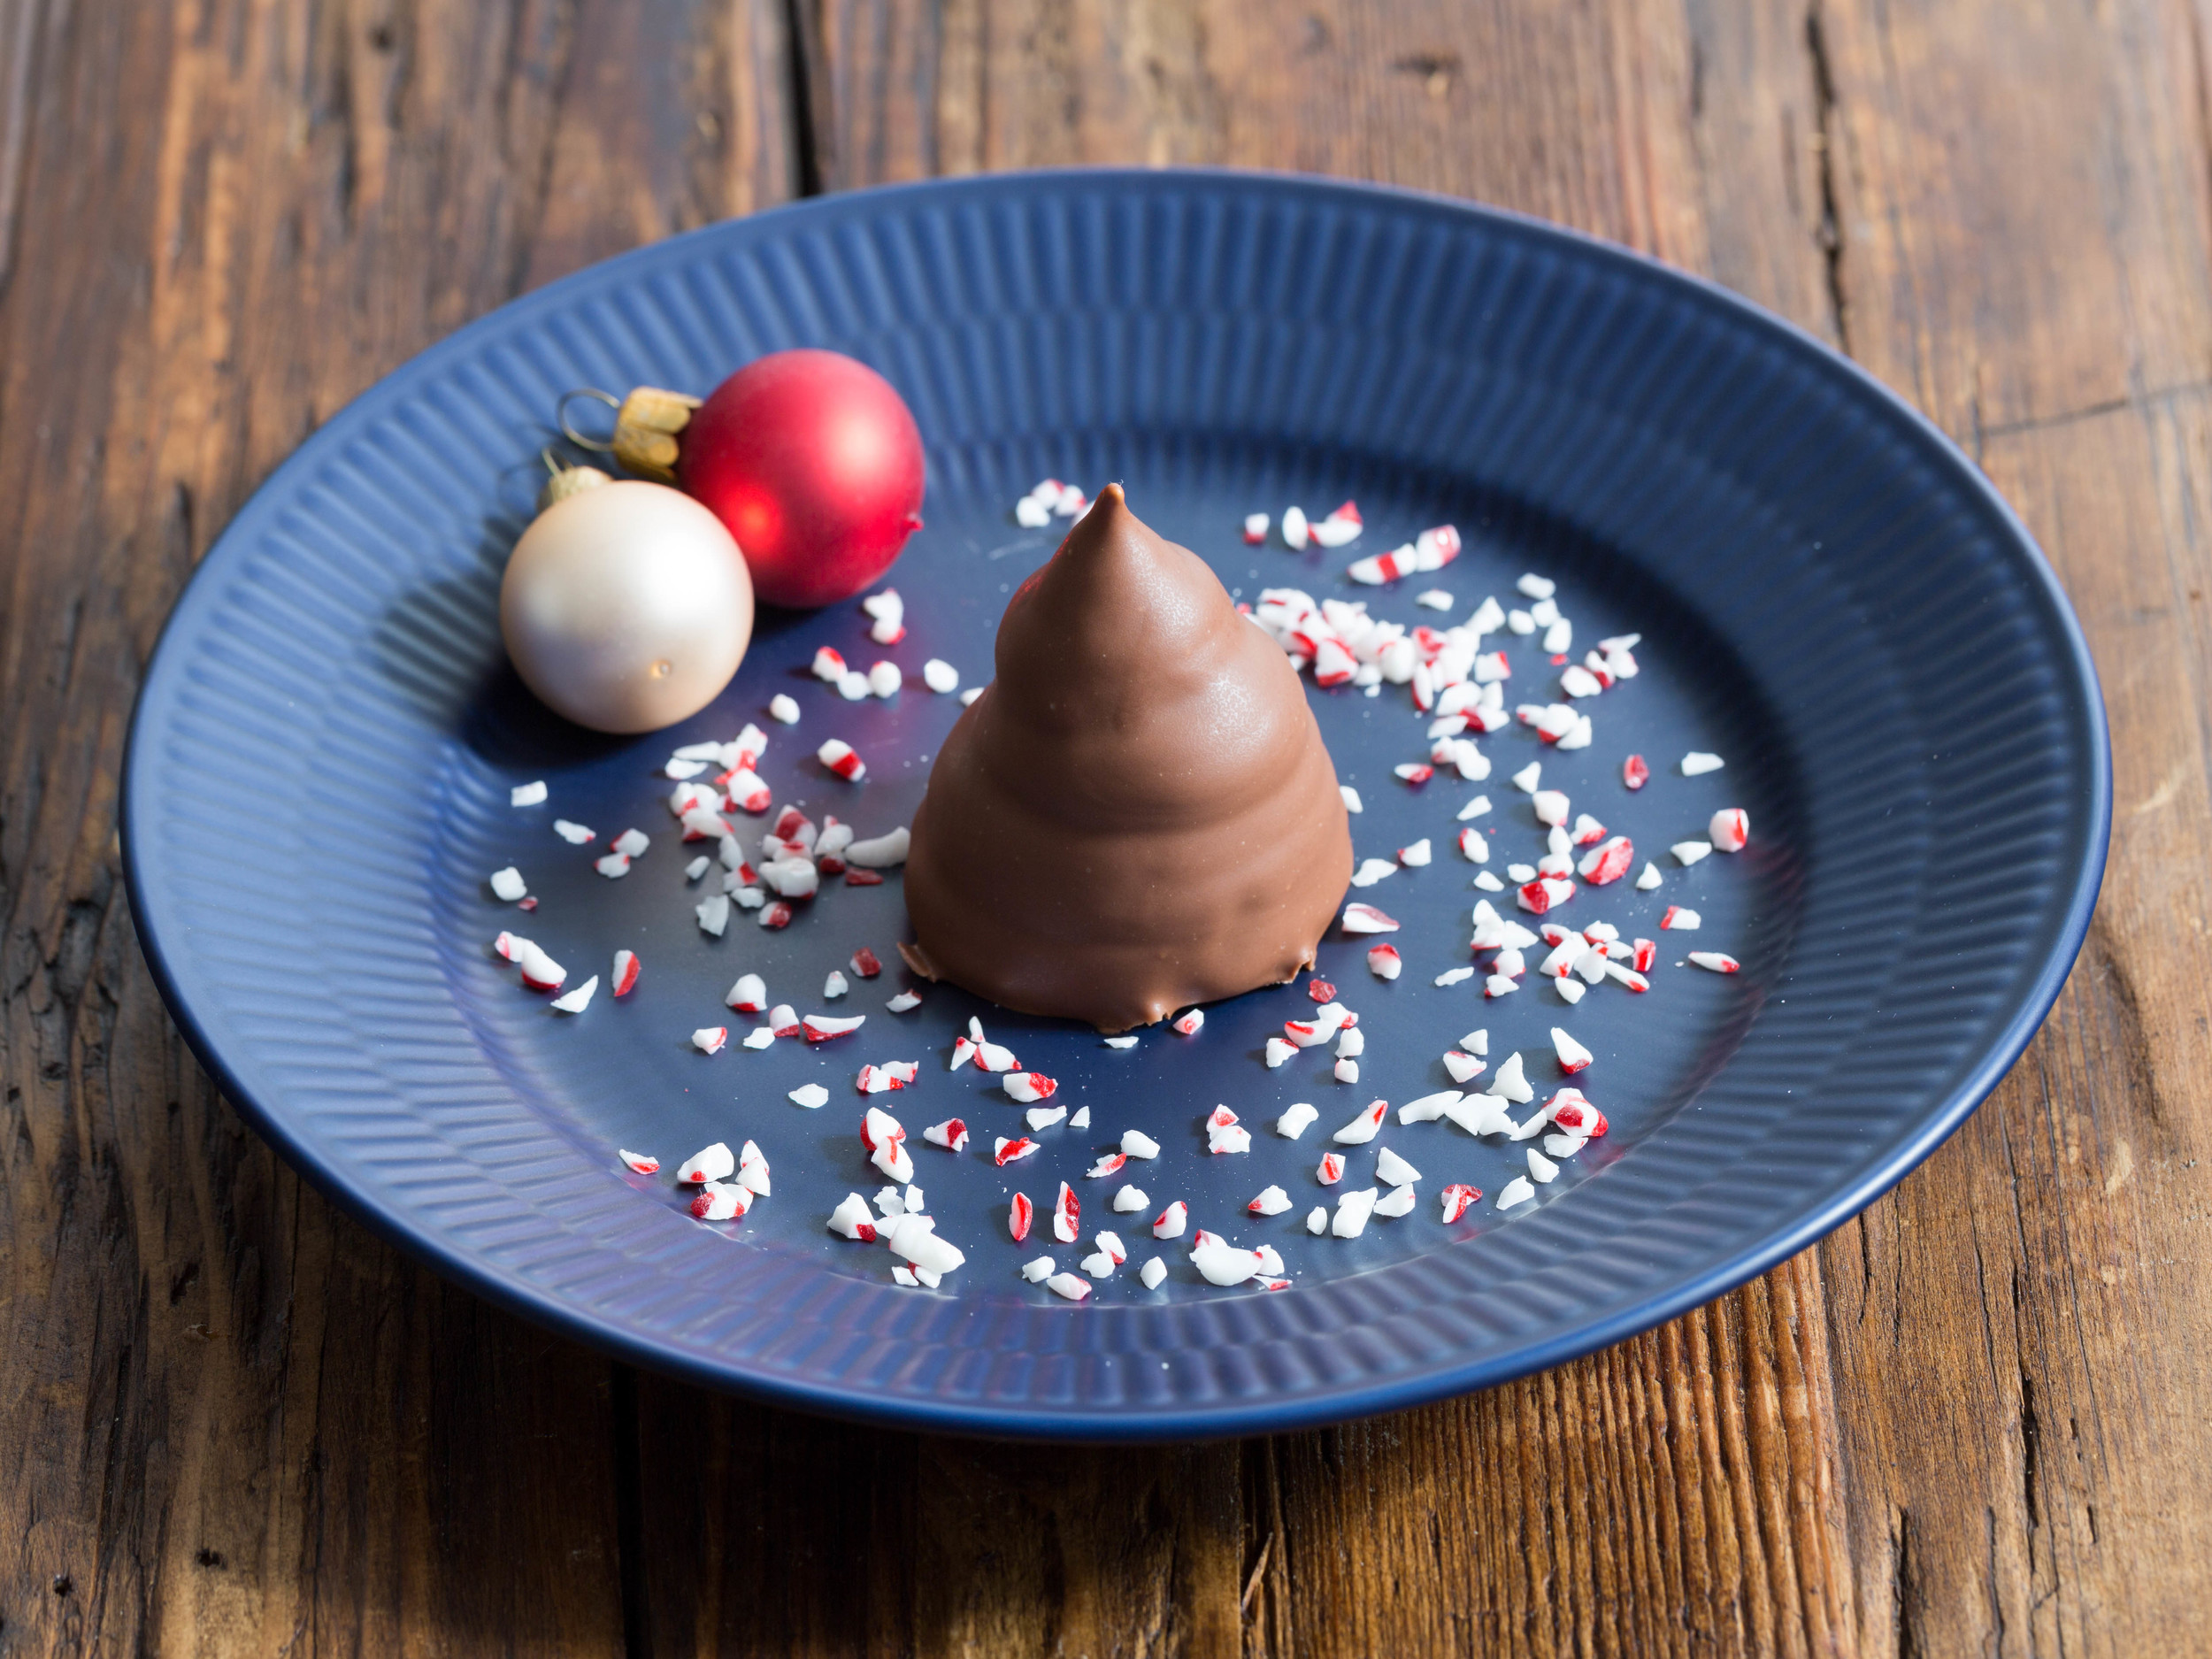
With wet hands form 10-12 ball, and place them on a parchment paper lined baking sheet. Shape the balls to peaks.
Bake the cookies for 5 minutes, you just want the tips to begin to color. Lower the heat to 325℉ (165℃). Continue to bake the cookies for another 10-15 minutes until golden brown with darker edges.
Let the cookies cool completely on a wire rack before gently removing them from the parchment paper.
Dip the macaroons in tempered chocolate. The macaroons will keep in an airtight container for up to a week.
Enjoy!