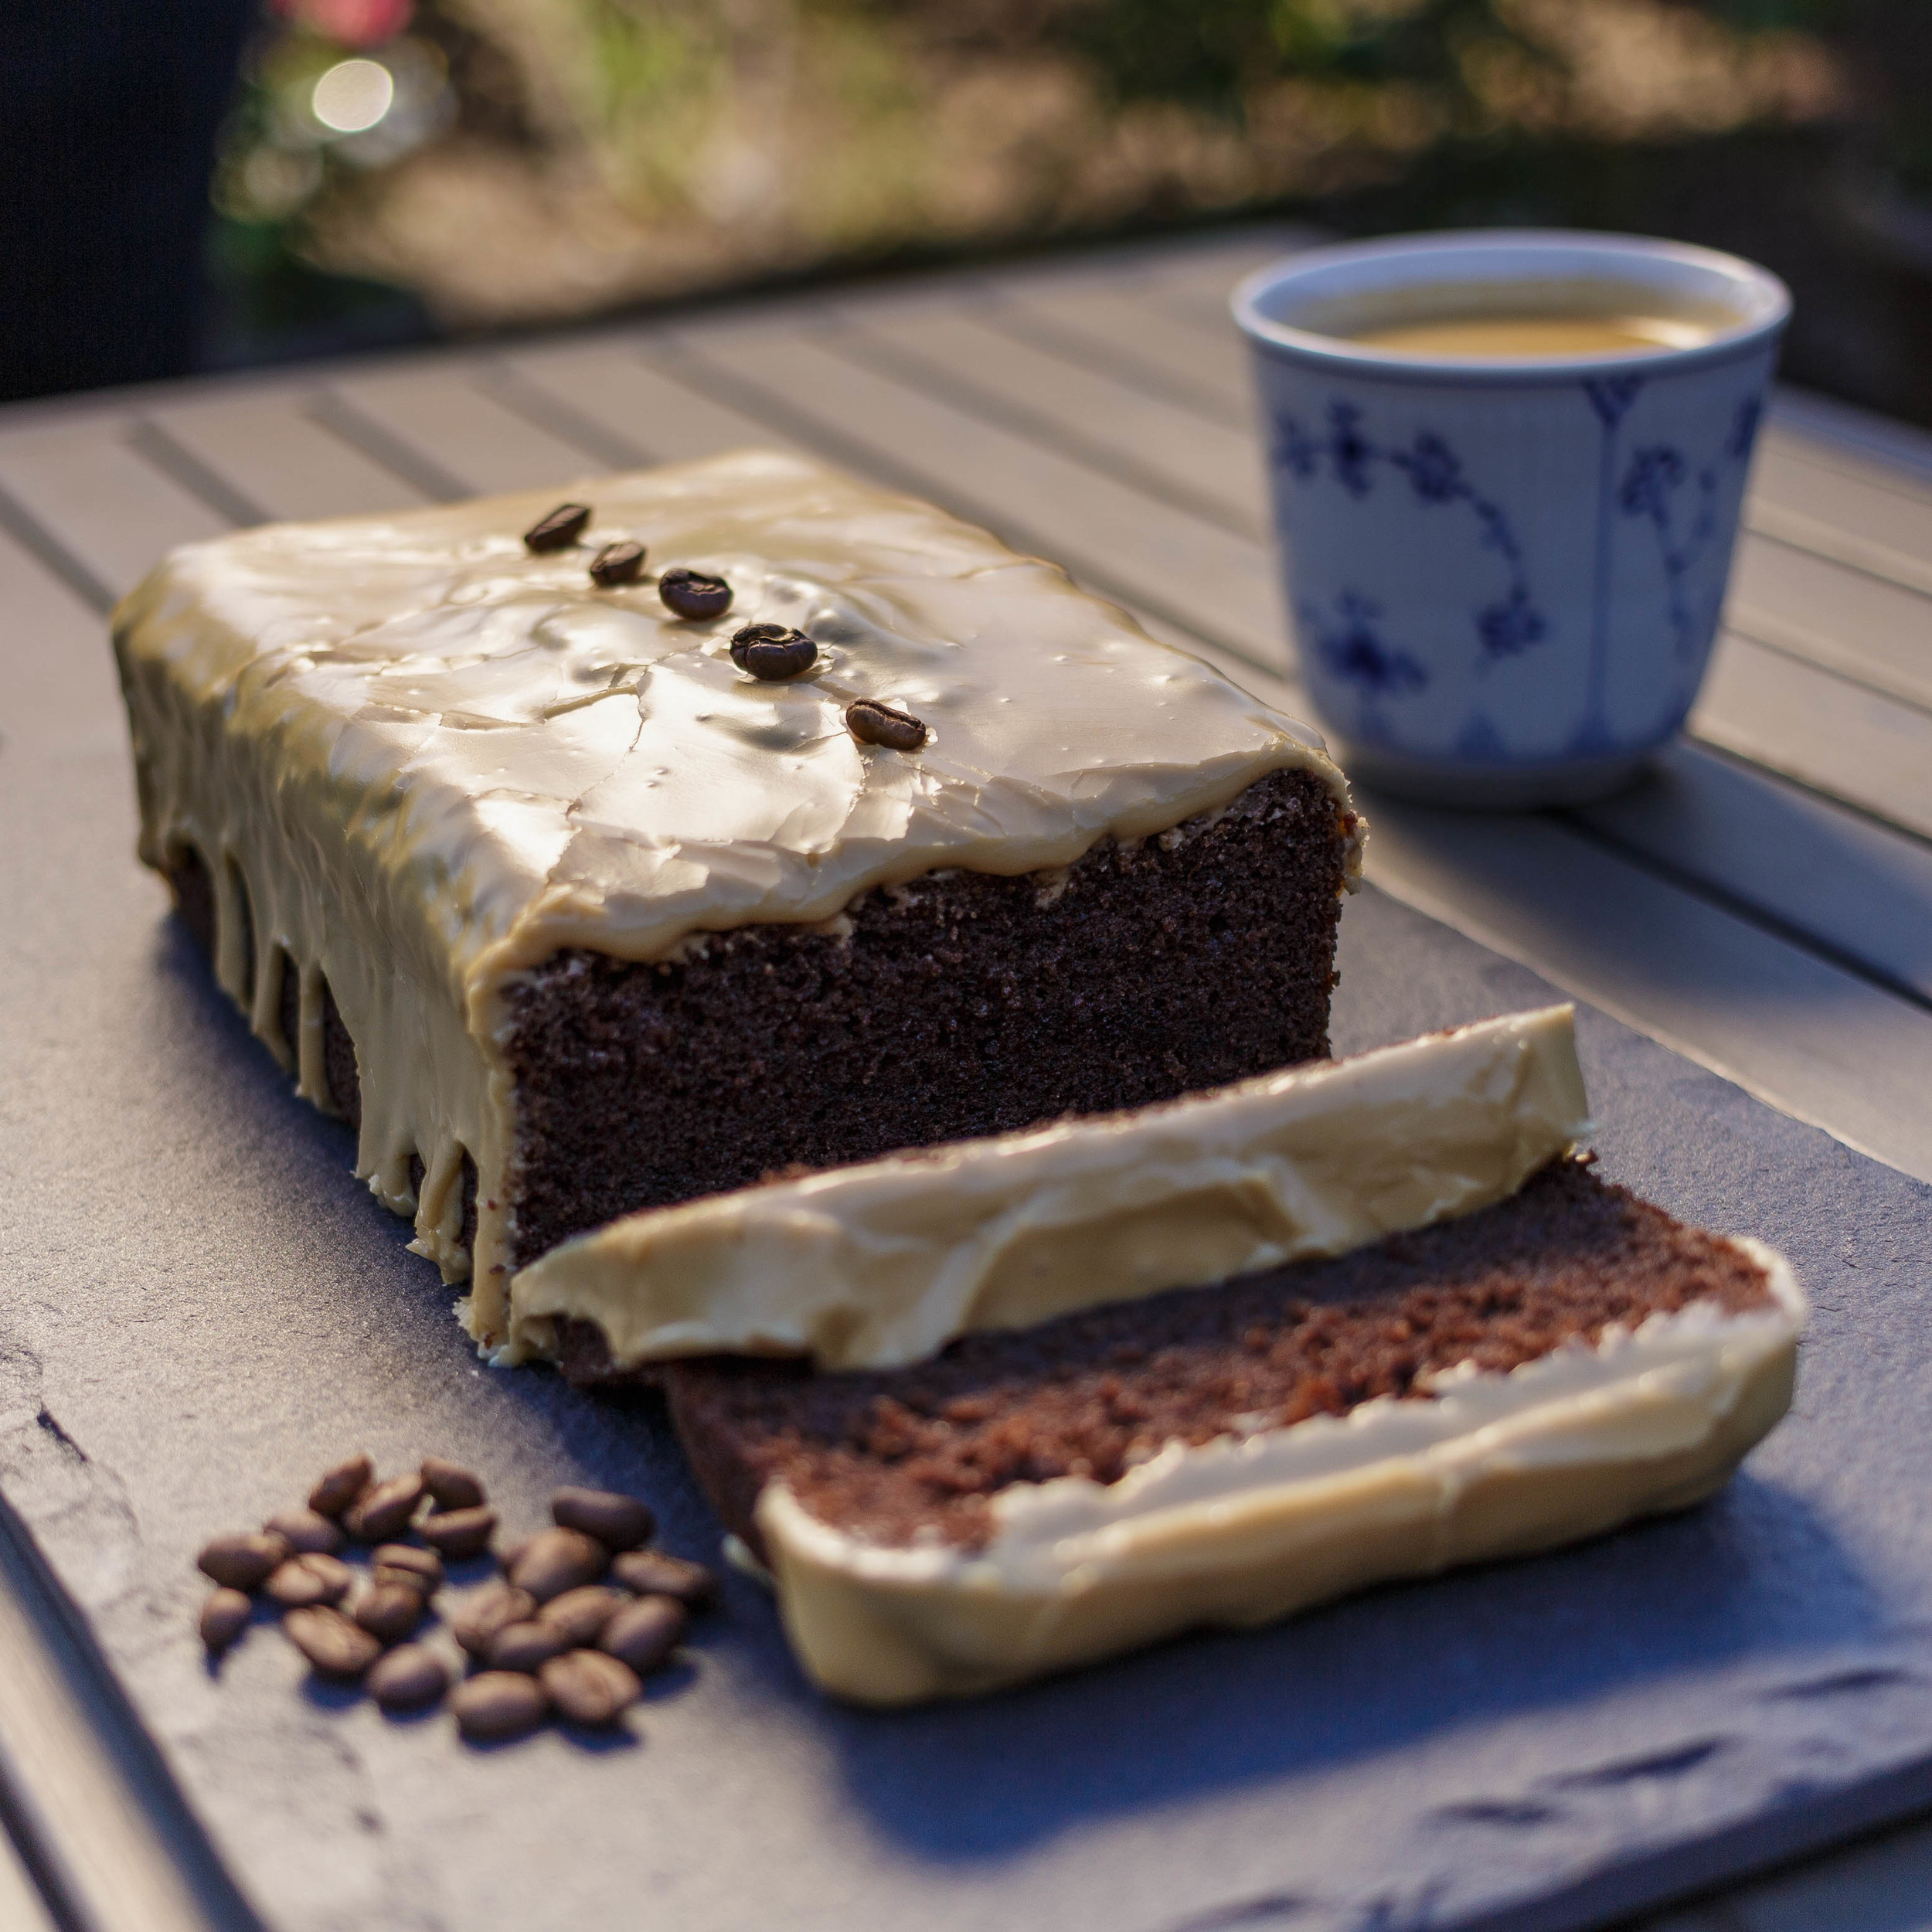
Chocolate Espresso Cake
My husband is a chocoholic, and I wanted to please him with a great cake after a hard day at work. This cake is not overly chocolaty, it has a good balanced taste with the addition of espresso coffee.
Ingredients:
Cake:
225 g all-purpose flour
1 teaspoon baking powder
30 g cocoa powder, unsweetened
1 pinch salt
175 g brown sugar
75 g sugar
250 g butter
1 teaspoon vanilla paste
4 eggs
150 g (1½ dl) whole milk
½ cup (1 dl) cold espresso
butter and sugar for the pan
Frosting:
325 g confectionary sugar
¼-½ cup cold espresso
Topping:
a few coffee beans
Directions:
Preheat the oven to 355℉ (180℃).
Butter the pan and sprinkle sugar into the pan, so it get all over the inside of the pan. pour out the excess sugar.
Sift flour, baking powder, cocoa and salt together, in a bowl.
In a large mixing bowl, cream the butter and sugars until very light and fluffy, mix in the vanilla paste. Add the eggs one at a time, and mix just until fully incorporated. Fold in alternately dry ingredients and milk. Finally fold the espresso in.
Pour the batter into the prepared pan, and bake it in the oven for about 45 minutes until a cake tester comes out clean.
Let the cake cool in the pan. When cooled, mix the frosting, and frost the cake. Decorate the cake with coffee beans and serve it with a good cup of coffee.
Enjoy!
Source: Claus Meyer.
The Danish version:
Chokolade/Espressokage
Ingredienser:
Kage:
225 g hvedemel
1 tsk bagepulver
30 g kakaopulver, uden sukker
1 knsp salt
175 g brun farin
75 g sukker
250 g smør
1 tsk vanille pasta, eller kornene fra ½ vanillestang
4 æg
1½ dl sødmælk
1 dl kold espressokaffe
smør og sukker til formen
Glasur:
325 g flormelis
½-1 dl kold espressokaffe
Topping:
lidt kaffebønner
Fremgangsmåde:
Opvarm ovnen til 180℃.
Smør formen med smør og drys den med sukker. Hæld det overskydende sukker ud.
Sigt mel, bagepulver, kakao of salt i ned i en skål.
Rør smør og sukker sammen til det er let og skummende. Tilsæt æggene et ad gangen og derefter vanillien. Rør lidt af melet i og herefter mælken. Bland resten af melet forsigtigt i dejen. Til sidst fold den kolde espresso i.
Hæld dejen i den smurte form, og bag kagen i ca. 45 minutter indtil en kødnål/strikkepind, der stikkes ned i kagen, kommer ud uden dej på.
Lad kagen køle af i formen. Når kagen er kold, blandes glasuren. Kom glasuren på toppen af kagen. Drys lidt kaffebønner på toppen.
Server kagen med en god kop kaffe.
Velbekomme!