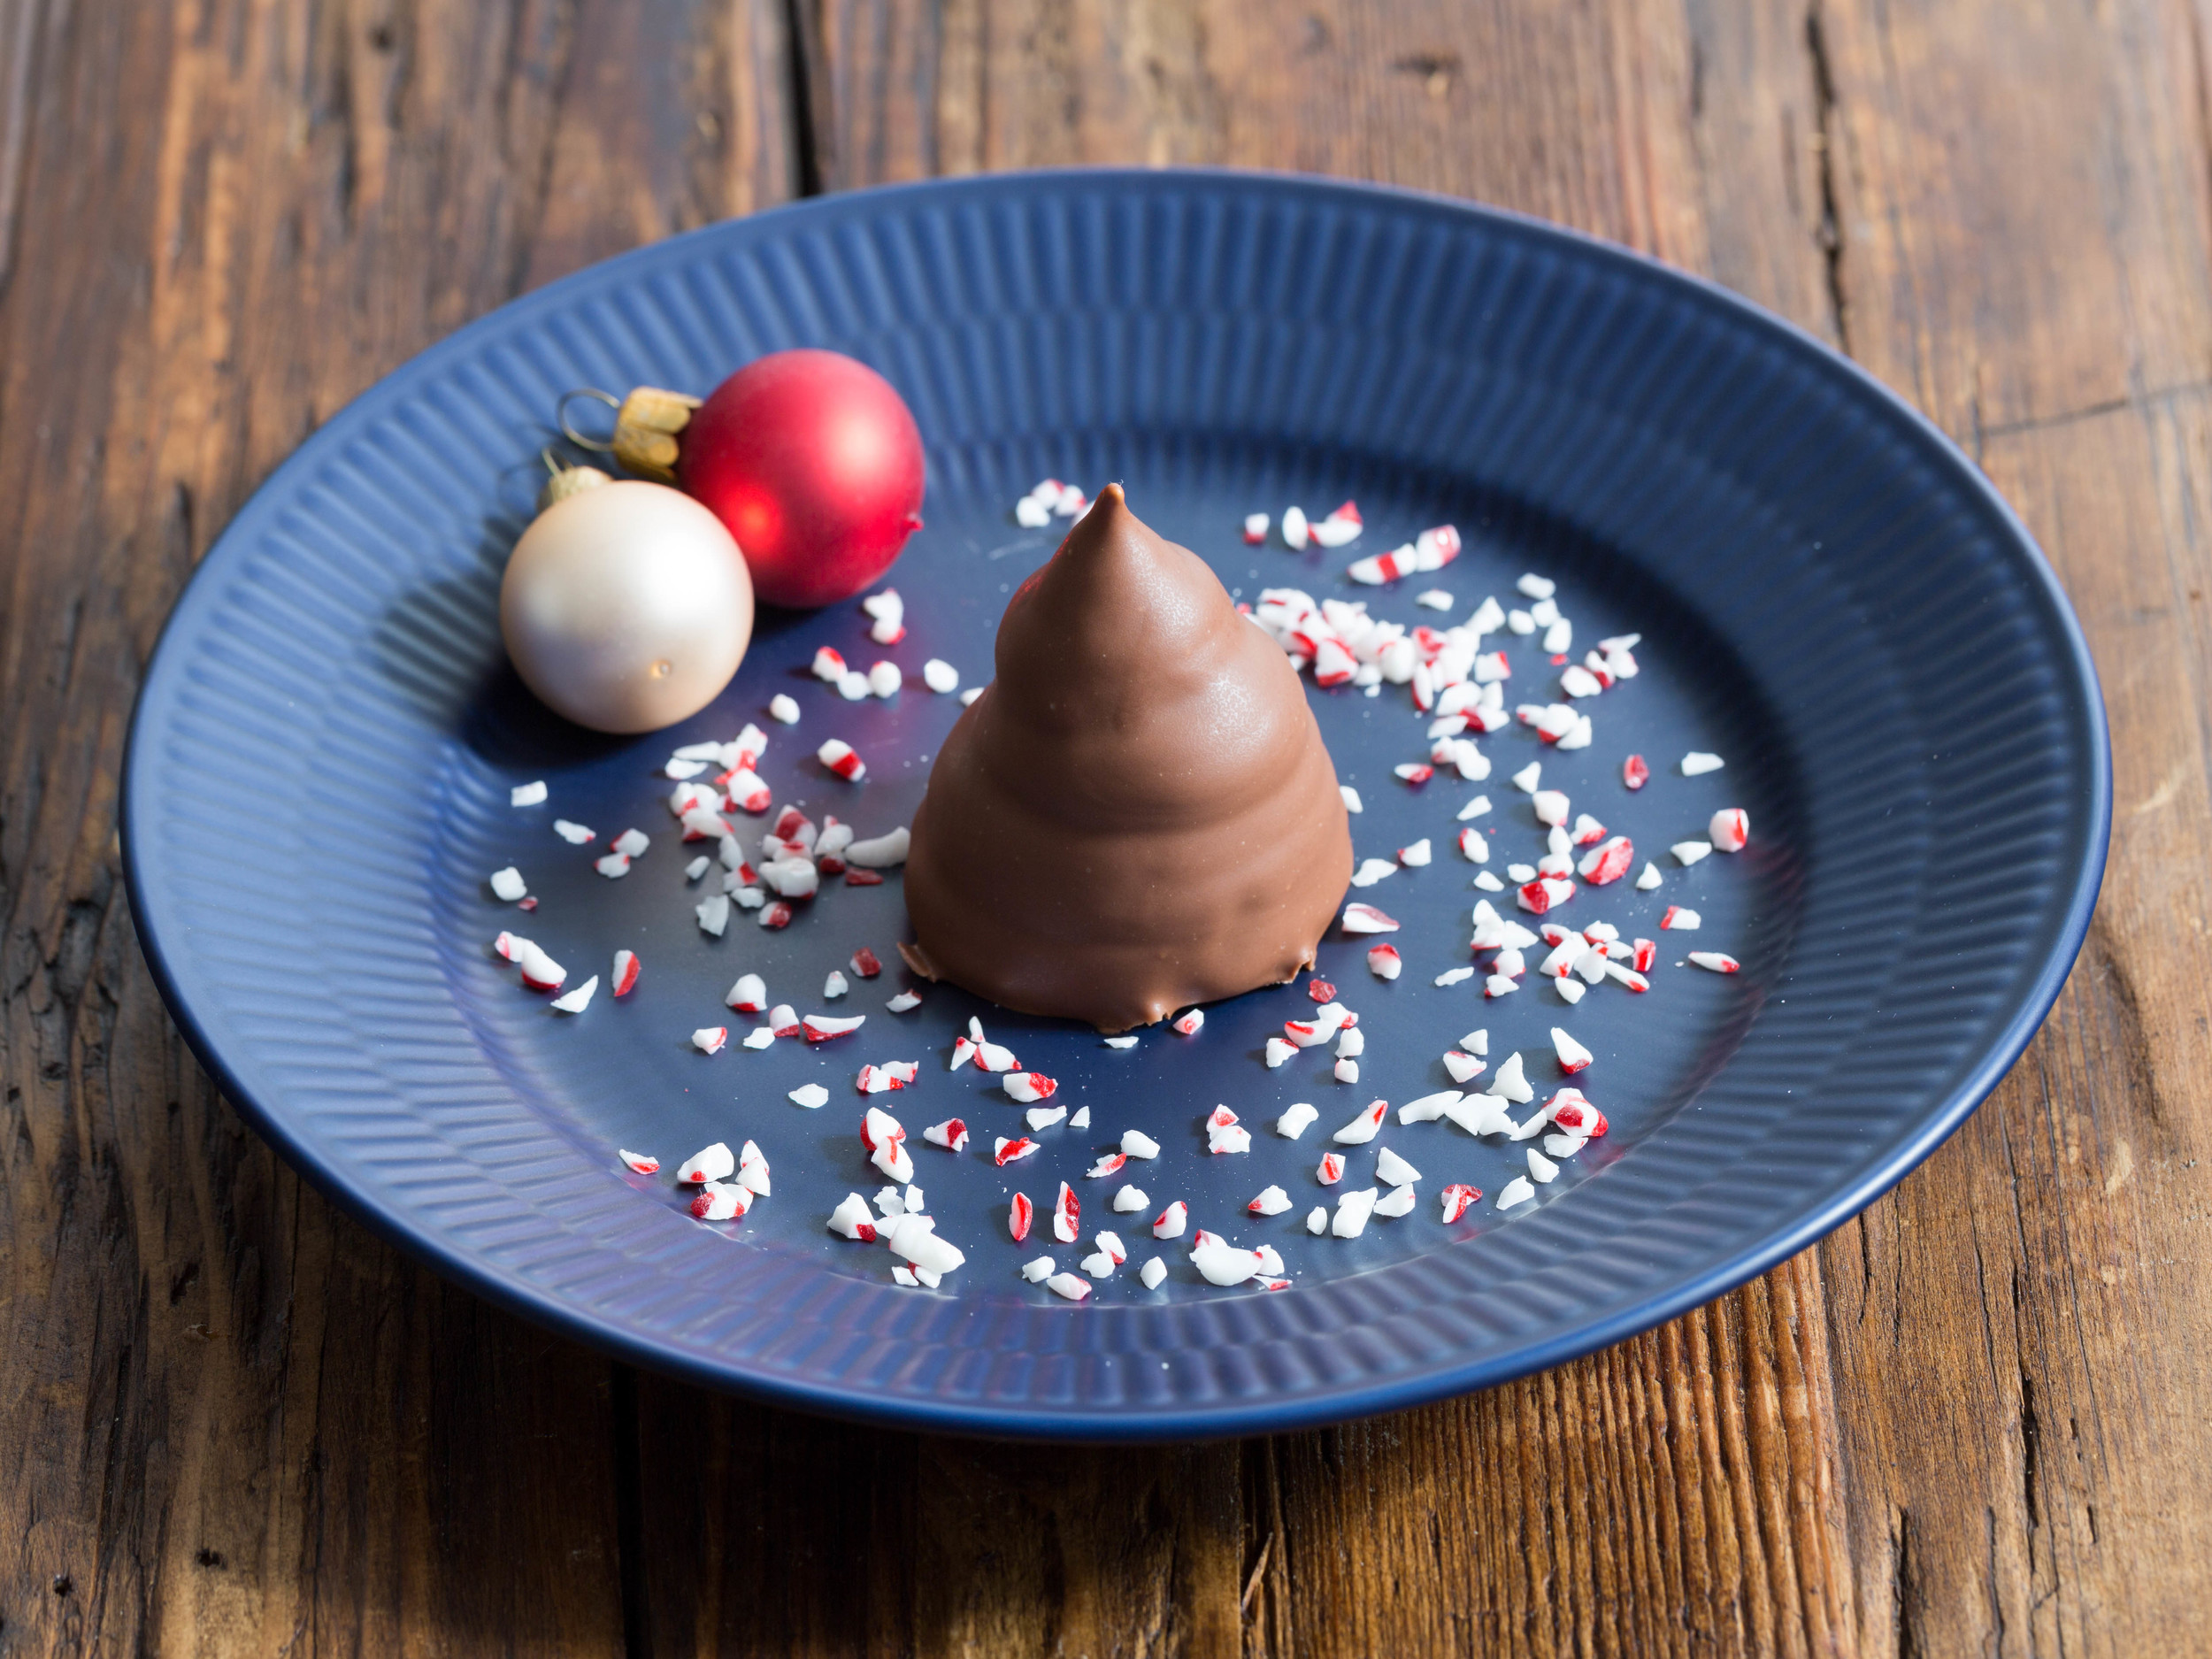
Christmas Cream Puffs - Pebermynteflødeboller
December 2nd.
Peppermint is one of the most recognized tastes of Christmas. Red and white is classic christmas colors and you see candy canes and peppermint flavored coffee and chocolate everywhere. So why not make peppermint cream puffs/flødeboller. Even though cream puffs can be eaten all year round, these are very christmasy.
Ingredients:
Makes 20.
Base:
- 200 g marzipan
Filling:
- 100 g (little over ⅓ cup) pasteurized egg whites
- 200 g (1 cup) sugar
- 50 ml (a little under ¼ cup) water
- a few drops peppermint extract
Chocolate coating:
- 200-250 g milk chocolate, a good one I used Valrhona
Directions:
Preheat the oven to 350℉ (180℃).
Cut the marzipan log into 20 slices. Place them on a baking sheet lined with parchment paper. Bake the marzipan for 5 minutes, let them cool completely.
Filling:
When making meringue it is very important that there are no fat residue on your bowl and whisk, otherwise the egg whites won't get fluffy.
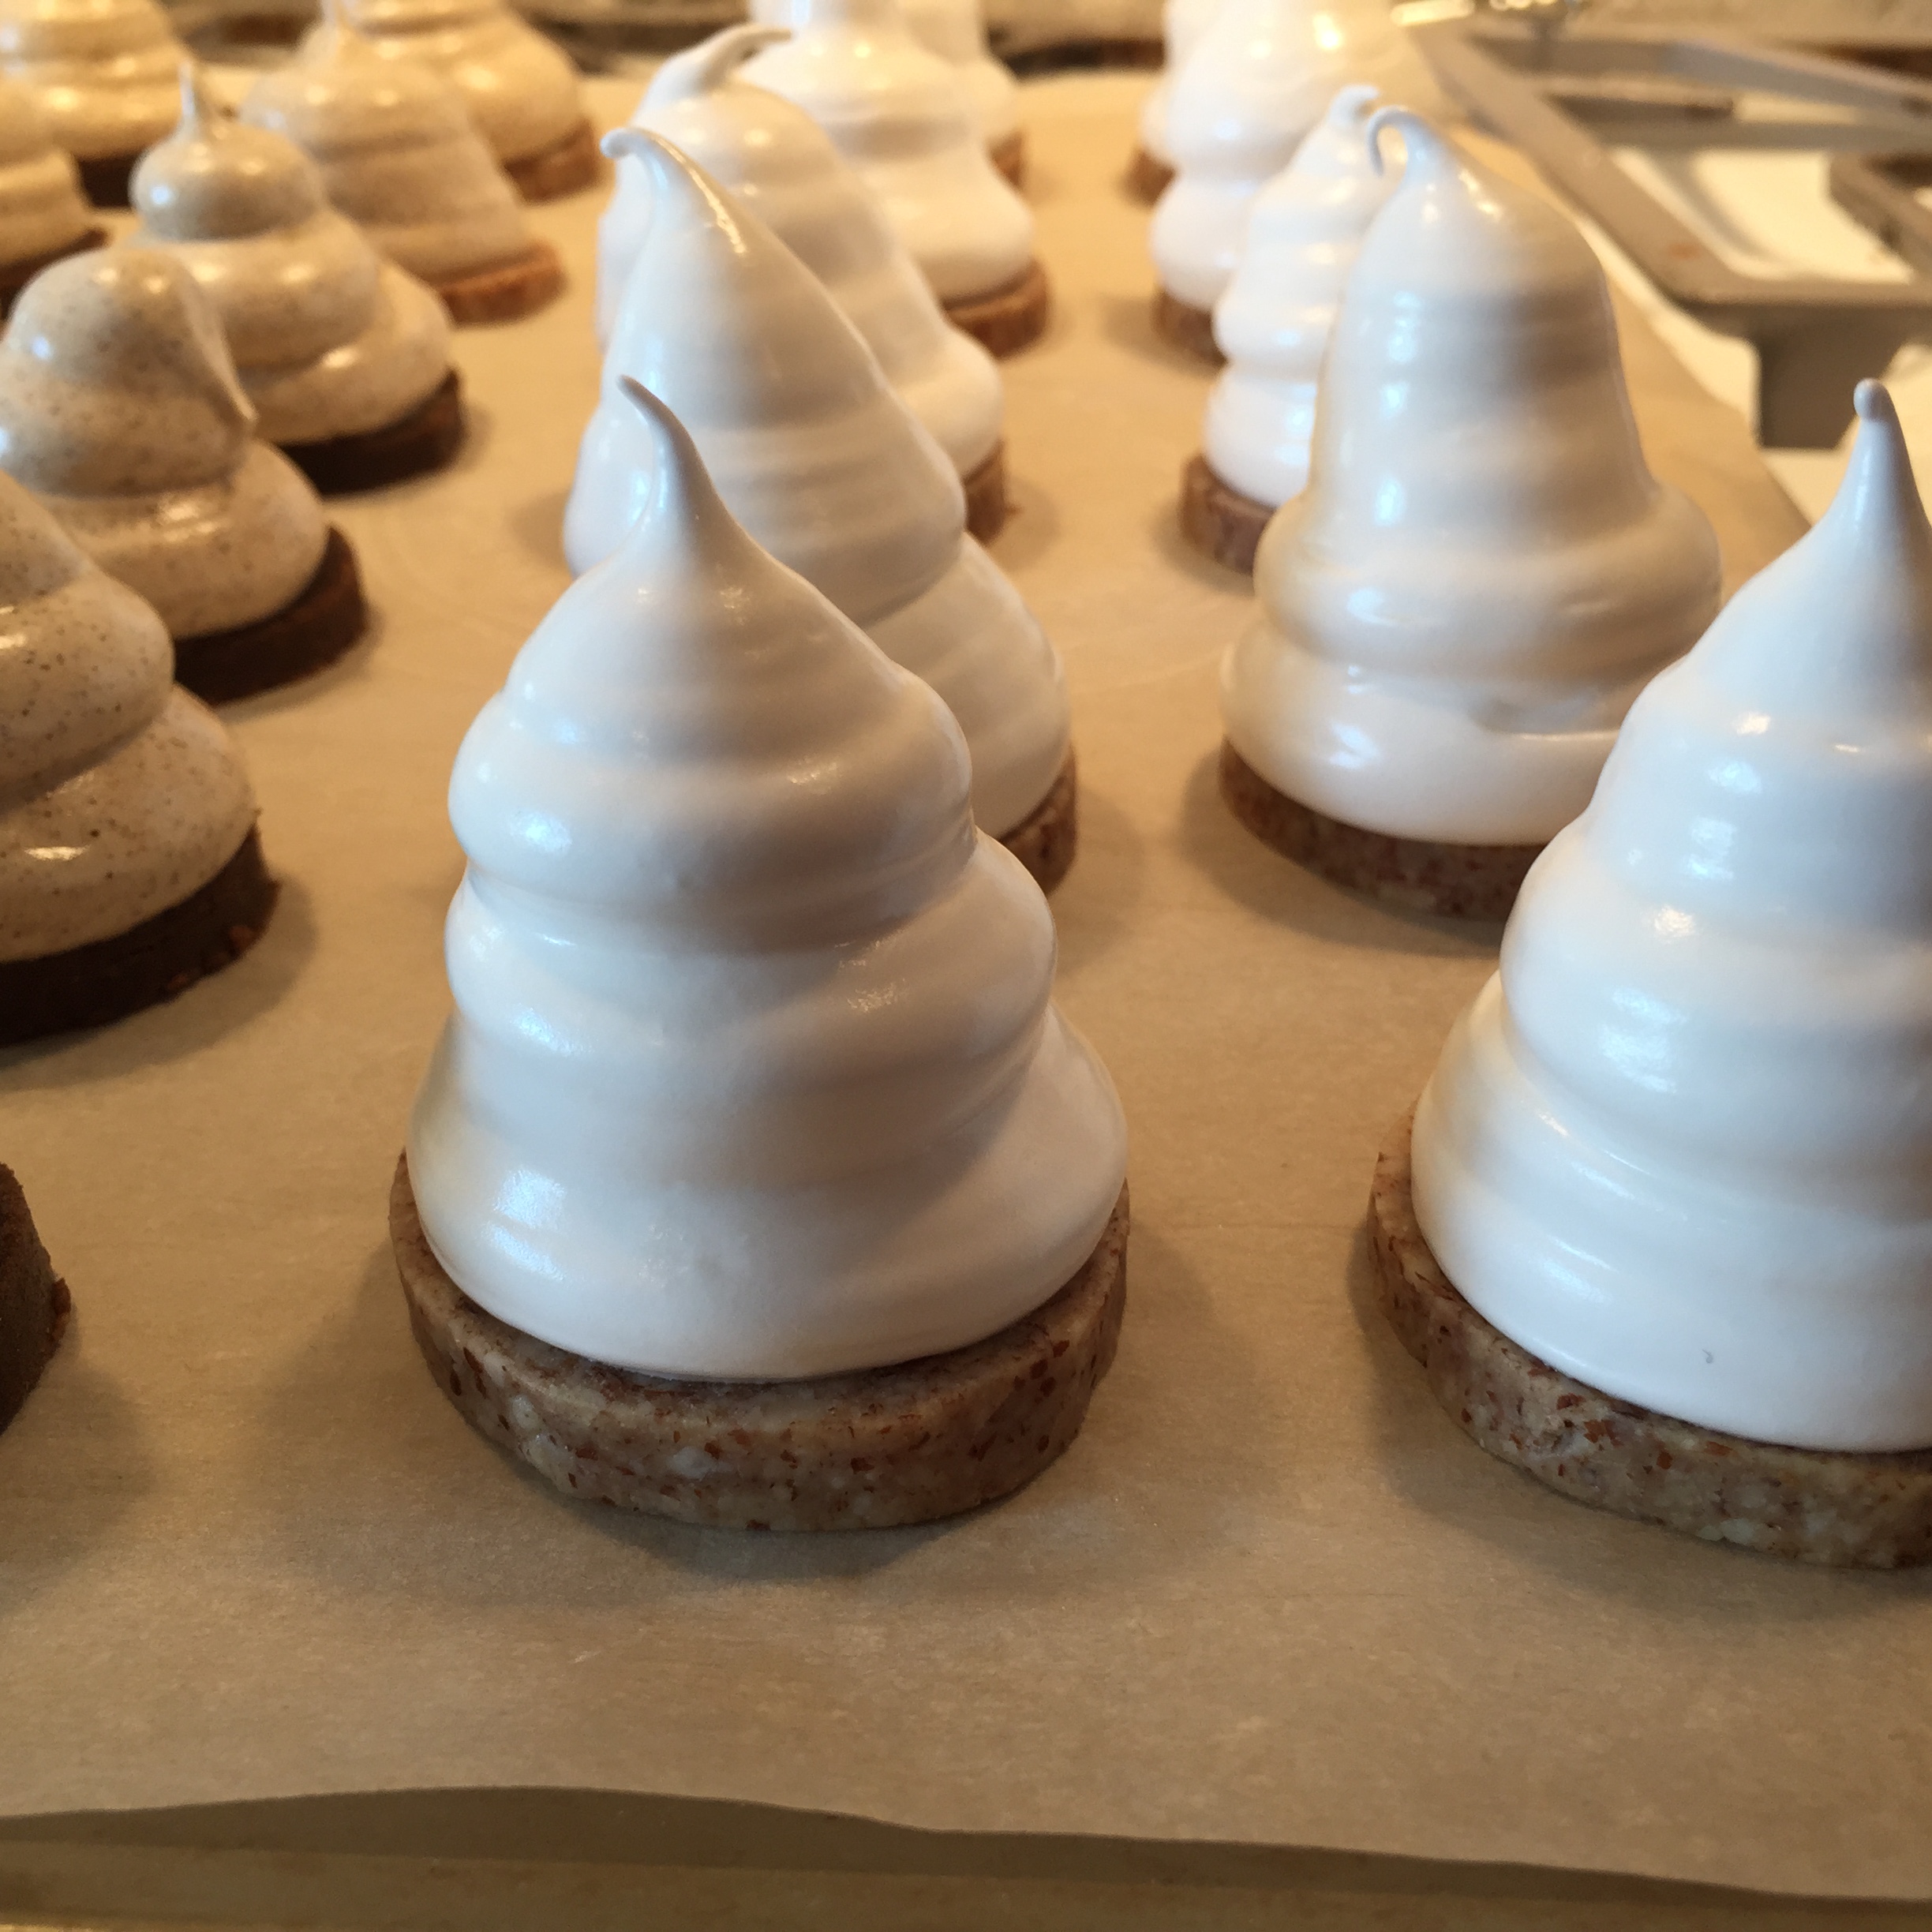
The cream puffs without coating
Whisk the egg whites until they just turn fluffy. Meanwhile heat sugar and water in a saucepan. Bring it to a boil and keep it simmering until it reaches 243℃ (117℃).
Pour in the scolding hot syrup into the egg whites while whisking. The meringue becomes pretty warm, but keep whisking for 15 minutes, until stiff peaks. Gently fold in the peppermint extract.
Add the meringue to a piping bag with a plain round tip. Pipe the meringue in a high peak.
Bake the cream puffs for 5 minutes, just until the surface sets, but haven't got any color. This makes it easier to cover in chocolate. Let the cream puffs cool completely.
Tempering the chocolate:
This is how I do it, but if you have your own way, that works for you, use that method.
Chop the chocolate finely, set just under ⅕ of the chocolate aside, and add the rest into a stainless steel bowl. Set the bowl on a saucepan with very hot water (don't let the bowl touch the water) . Let the chocolate melt while stirring. When the chocolate reaches 111℉ (44℃), take the bowl off the hot water. While stirring let the chocolate cool until it reaches 80-83℉ (27-28℃), add the rest of the chopped chocolate and stir vigorously until its all melted. Put the bowl with chocolate over hot water again, and heat the chocolate to 86℉ (30℃). Now its ready to use for coating.
Coating:
Place the cream puffs on a wire rack. Drizzle the chocolate on top until the whole peak is covered with chocolate. Tap the wire rack on the counter to get the excess chocolate to run off. Place the cream puffs in the refrigerator for a few minutes until the chocolate has set.
The cream puffs will keep 3 days a 50-54℉ (10-12℃).
Enjoy!