Sweet Potato & Lentil Salad.
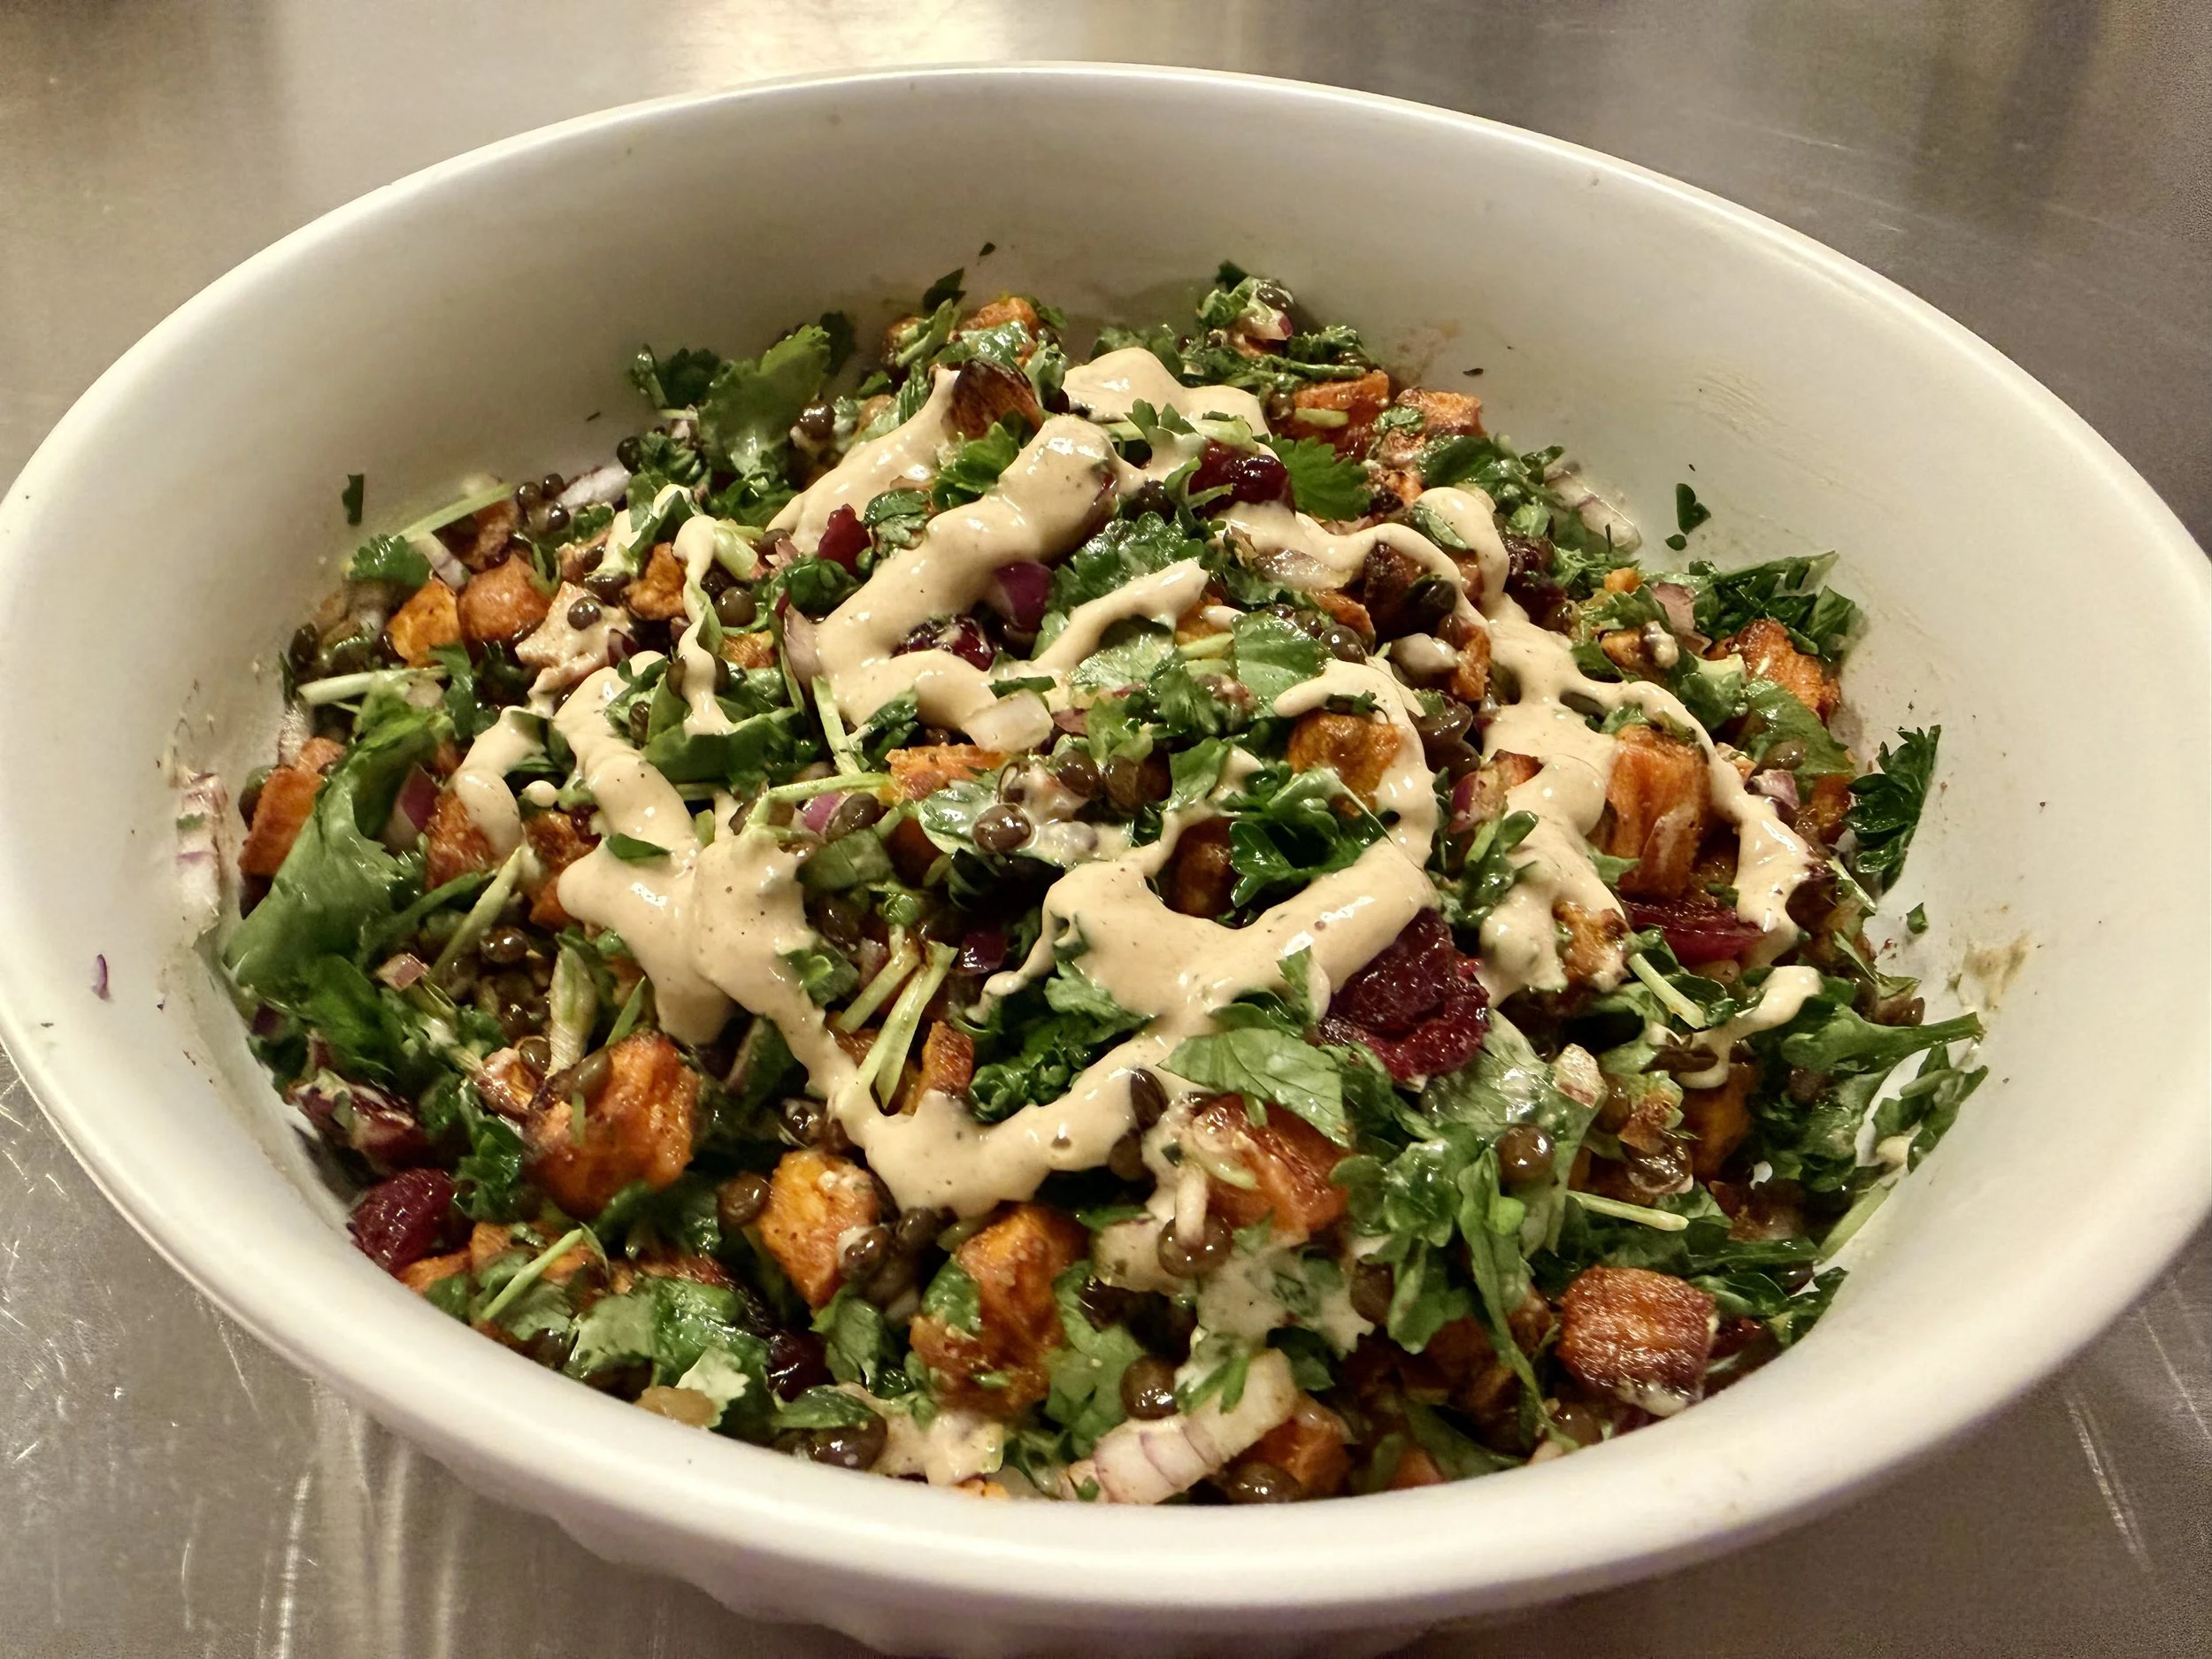
This sweet potato and beluga lentil salad is definitely going to be one of those recipes I make on repeat this winter. It’s hearty, colorful, and full of those cozy flavors I crave when the weather turns cold. The roasted sweet potatoes add sweetness, the lentils bring a lovely earthiness, and the cranberries give just the right pop of chewiness. Everything gets tied together with a creamy tahini dressing that makes the whole bowl feel extra comforting. I might even sprinkle in some nuts next time for a little extra crunch.
It’s also a great make-ahead dish, which is always a lifesaver during busy weeks. You can roast the sweet potatoes and cook the lentils in advance, then toss everything together right before serving. And while I love it for lunch or an easy dinner, it also makes a wonderful side for Thanksgiving or Christmas — festive, vibrant, and guaranteed to disappear fast.
Inspired by Downshiftology.
Serves 4.
Ingredients:
2 pounds (1 kg) sweet potatoes (2 to 3 potatoes)
2 tablespoons extra-virgin olive oil
½ teaspoon ground cumin
½ teaspoon garlic powder, or 1 garlic clove crushed
½ teaspoon paprika
salt and freshly ground black pepper, to taste
½ cup (1 dl) black beluga lentils
1 vegetable stock cube
½ cup (1 dl) dried unsweetened cranberries
¼ cup (½ dl) fresh cilantro, finely chopped (optional)
¼ cup (½ dl) italian parsley, finely chopped
¼ small red onion, finely chopped
Dressing:
¼ cup (½ dl) tahini
2 tablespoons Dijon mustard
1 tablespoon maple syrup
1 tablespoon lemon juice
2 to 3 tablespoons water
1 garlic clove, minced
kosher salt and freshly ground black pepper, to taste
Ingredients:
Preheat your oven to 425°F (200°C).
Peel the sweet potatoes and cut them into ½-inch (1-cm) cubes. Place them in a freezer bag.
Add olive oil, cumin, garlic, paprika, salt, and pepper. Shake the bag to coat the cubes evenly.
Spread the sweet potatoes in a single layer on a baking sheet.
Roast for 20–25 minutes, stirring halfway, until tender and lightly caramelized.
Set aside to cool.
Cook the beluga lentils in water with a vegetable stock cube for 20–25 minutes, or according to package instructions.
Drain, drizzle with a little olive oil, and let cool.
Mix the dressing: Whisk together tahini, Dijon mustard, maple syrup, lemon juice, minced garlic, salt, and pepper.
Add water, a little at a time, until the dressing reaches your desired consistency.
In a large bowl, combine the roasted sweet potatoes, cooled lentils, cranberries, red onion, cilantro, and parsley.
Pour about ⅓ of the dressing over the salad and toss gently.
Serve the remaining dressing on the side.
Enjoy!


