Sweet • Sour • Savory

Food blog on scandinavian style food done right.

Desserts

chocolate

Chocolate Sorbet

Desserts, Ice Cream, veganTove Balle-Pedersen1 Comment
Chocolate Sorbet

Chocolate Sorbet

Whatever the question, Chocolate is the answer!

The first time I heard about chocolate sorbet was at the Penny Ice Creamery in Santa Cruz. And even though I'm not a huge chocolate fan, I really like the flavor. This is my version of a chocolate sorbet.

Makes about 1 liter (1 quart)

Ingredients:

  • 500 ml (2 cups+1 tablespoon) water
  • 200 g (1 cup) sugar
  • 75 g (⅔ cup) unsweetened coco powder, I use Valrhona
  • 1 pinch salt
  • 160 g (5⅔ oz) dark chocolate, I use Valrhona
  • ½ teaspoon vanilla paste
  • 1 tablespoon coffee

Directions:

In a large saucepan, whisk together water with sugar, cocoa powder and salt. Bring to a boil while whisking frequently. Let it boil for about 30 seconds, then remove from the heat. Pour the mixture into an stainless steel bowl, and stir in the chocolate until it's melted, then stir in the vanilla paste and espresso. Chill the mixture before freezing. Freeze the sorbet in an ice cream maker according to the manufacturer's instructions.

Tempering Chocolate

Christmas, Desserts, Holiday, Sweets and Candy, techniqueTove Balle-Pedersen1 Comment

Dark chocolate:

Chop the chocolate finely, set just under ⅓ of the chocolate aside, and add the rest into a stainless steel bowl. Set the bowl on to a saucepan with very hot water. Let the chocolate melt while stirring. When the chocolate reaches 118-120℉ (48-49℃), take the bowl off the hot water. While stirring add the remaining chocolate in the warm chocolate. This will cool the chocolate. You need the temperature to cool to 80℉ (27℃). To make this process speed up, place the bowl in a bowl with ice-cold water for a short moment.   When the chocolate reaches 80℉ (27℃) put the bowl over the hot water again, and heat the chocolate to 88℉ (31℃), and now its ready to use for coating. It is Very important that the chocolate stays under 91.3℉ (33℃), if it does not, you need to start all over again.

TIP: If you keep an extra bowl with some warm chocolate, 118-120℉ (48-49℃), you can add small amounts of this, to the tempered chocolate if the temperature is getting to low while you are working with the chocolate.

Milk chocolate:  

You need to do the same steps with milk chocolate, as for the dark chocolate.

Heat to 116-118℉ (47-48℃)

Cool to  80℉ (27℃)

Reheat to 86℉ (30℃)

White chocolate:

You need to do the same steps with white chocolate, as for the dark chocolate. White chocolate is per definition not a real chocolate, 

Heat to 116-118℉ (47-48℃)

Cool to  80℉ (27℃)

Reheat to 84℉ (29℃)

How-to videos:

How to temper chocolate? Here is a video from CHOW, on how to do it. I also like this video, that gives you the science behind tempering chocolate. This warms a food chemists heart. ❤️

Hvordan temperer man chokolade? Her er en video fra Mette Blomsterberg, der viser hvordan hun gør. Blomsterberg køler ikke chokoladen til 27℃, for igen at opvarme chokoladen, til arbejdstemperaturen 31-33℃, som jeg ellers har lært. Men man må tro på at hun ved hvad hun gør. + jeg kan lide at hun har den lune chokolade klar, til at tilsætte lidt, for at holde temperaturen konstant, mens du arbejder med den.

Chocolate Mousse

Desserts, Frostings & FillingsTove Balle-Pedersen2 Comments
Chocolate Mousse

Chocolate Mousse

Easy, no eggs chocolate mousse, perfect in layer cakes.

Adapted from piskeriset.dk

Ingredients:

  • 300 ml heavy whipping cream
  • 220 g milk chocolate, I used Valrhona
  • 2 sheets of gelatin (husblas), about 3.5 g

Directions:

Place the gelatin (husblas) in cold water to bloom for 5-10 minutes. Melt the chocolate over at double boiler with 50 ml of the cream. 

Whip the remaining cream to medium hard peaks. (You don't want it to become grainy.)

Melt the gelatin in a small ball over a double boiler. (I just place a bowl as a lid on a saucepan with water I just boiled in a kettle. I don't put the saucepan over the heat.) Mix the gelatin in the melted chocolate. Let the chocolate cool to finger-warm. Gently fold the whipped cream in the chocolate. Pour the Mousse in small serving sized bowls, one large bowl if served family style or use it as filling in a cake. 

Now the chocolate mousse has to set. Let the mousse set for a minimum of 2 hours in the refrigerator.

Enjoy!

Irish Brownie Dessert

Cake, Desserts, HolidayTove Balle-PedersenComment
Irish Brownie Dessert

Irish Brownie Dessert

There's a little bit of Irish in everyone on St. Patrick's Day.

Try this decadent, rich dessert.

Serves 4-6

Ingredients:

Irish Brownie:

  • 50 g all-purpose flour
  • 1 tablespoon cocoa powder, unsweetened
  • 125 g chocolate
  • 50 g butter, salted
  • 50 ml Guinness stout
  • 1 teaspoon vanilla paste
  • 1 tablespoon espresso, or another strong coffee
  • 2 eggs
  • 200 g sugar

Bailey's Mousse:

  • 300 ml heavy whipping cream
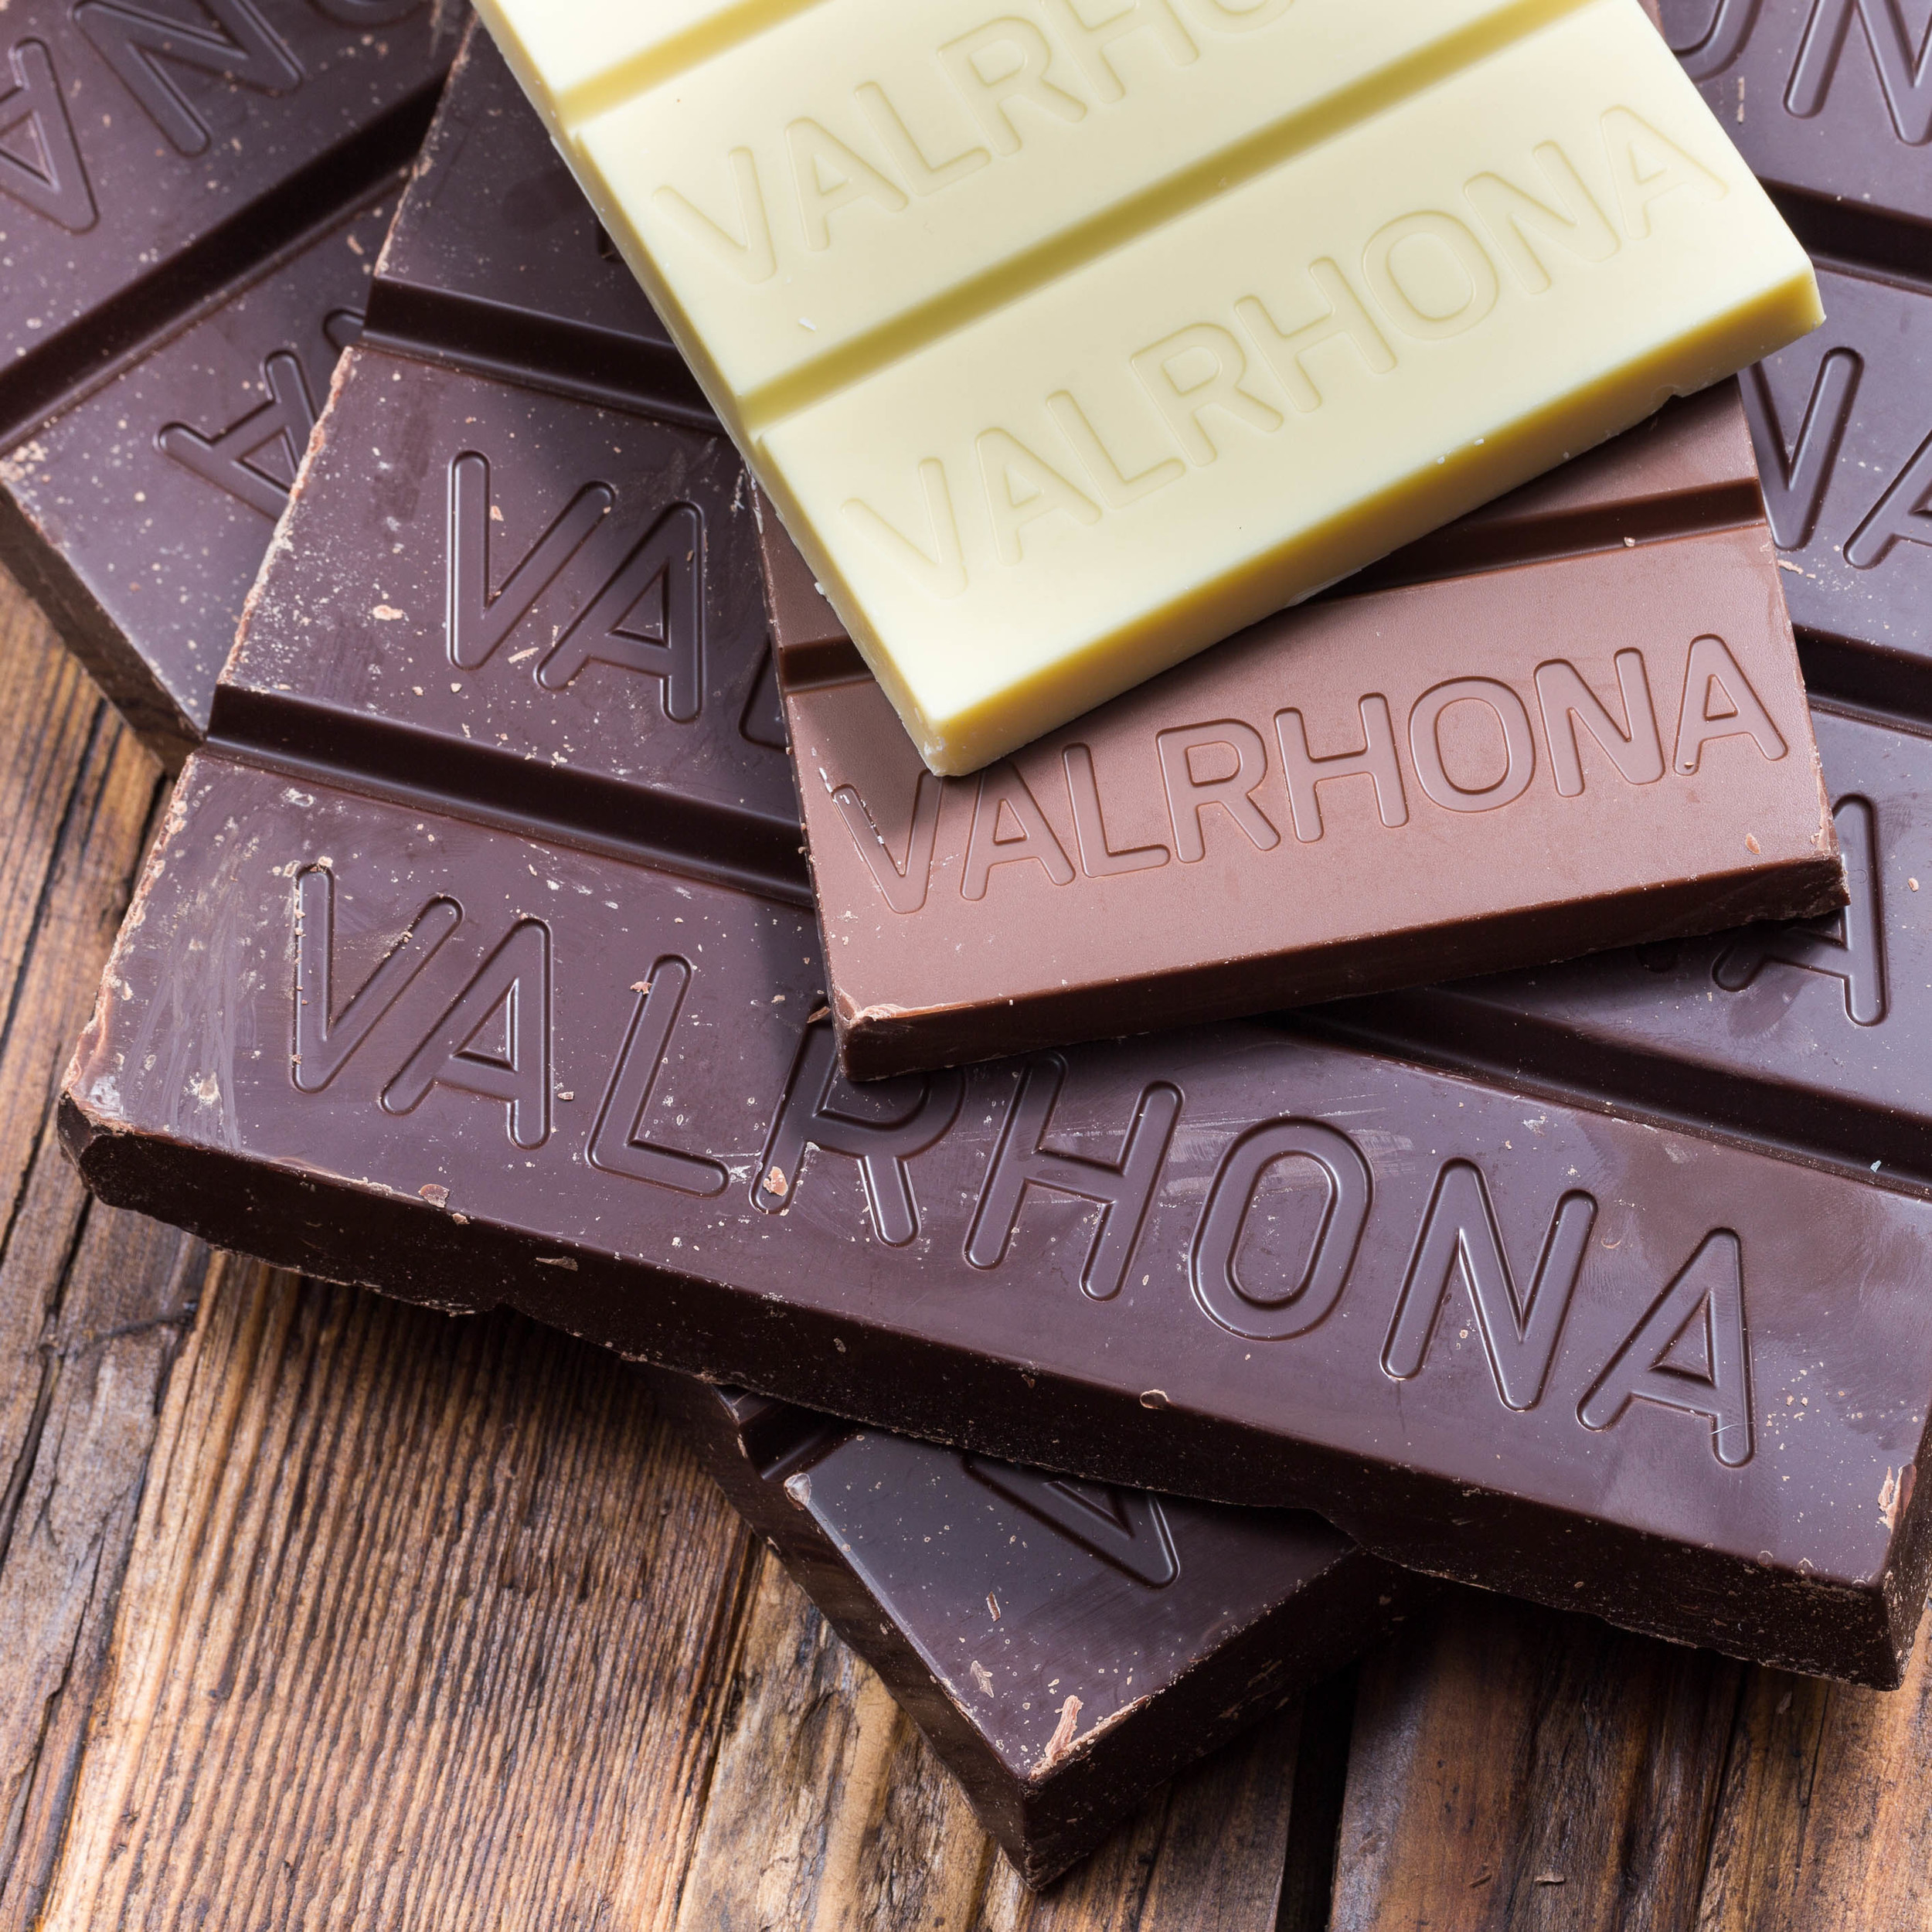
  • 165 g dark chocolate, I used Valrhona
  • 50 g good milk chocolate, I used Valrhona
  • 85 ml baileys

Topping:

  • Whipped cream
  • 4-6 mini bailey's

Directions:

Irish Brownie:

Preheat the oven to 350 ℉ and line a 8 x 8-inch baking pan with parchment paper, and spray it with cooking spray. Set aside.

Combine flour and cocoa powder in a bowl.

Melt chocolate and butter in a small saucepan over low heat, stir until smooth.  Remove from heat and stir in beer, coffee and vanilla.

Whisk eggs and sugars, in a large bowl until it’s thick pale yellow, about 2 minutes. Whisk in the chocolate mixture. Add flour and cocoa and mix until just incorporated. 

Pour batter into the prepared pan and bake for 30-35 minutes or until the edges are firm and the center is set. Remove from the oven and allow to cool completely.

Bailey's Mousse:

Chop the chocolates finely and put it in a bowl, set aside.

Heat the cream to a small simmer, pour it over the chopped chocolate. Let it sit for 20 seconds before stirring. Stir until you get a homogenous, shiny mixture. Let the mixture cool for at least 4 hours in the refrigerator.

Stir in the Bailey's and whip it with a hand mixer until light and thick. Be careful not to over mix, this will make it grainy. Place mousse in a piping bag.

Whip some heavy whipping cream until medium soft peaks, this will be the whipped cream for the topping.
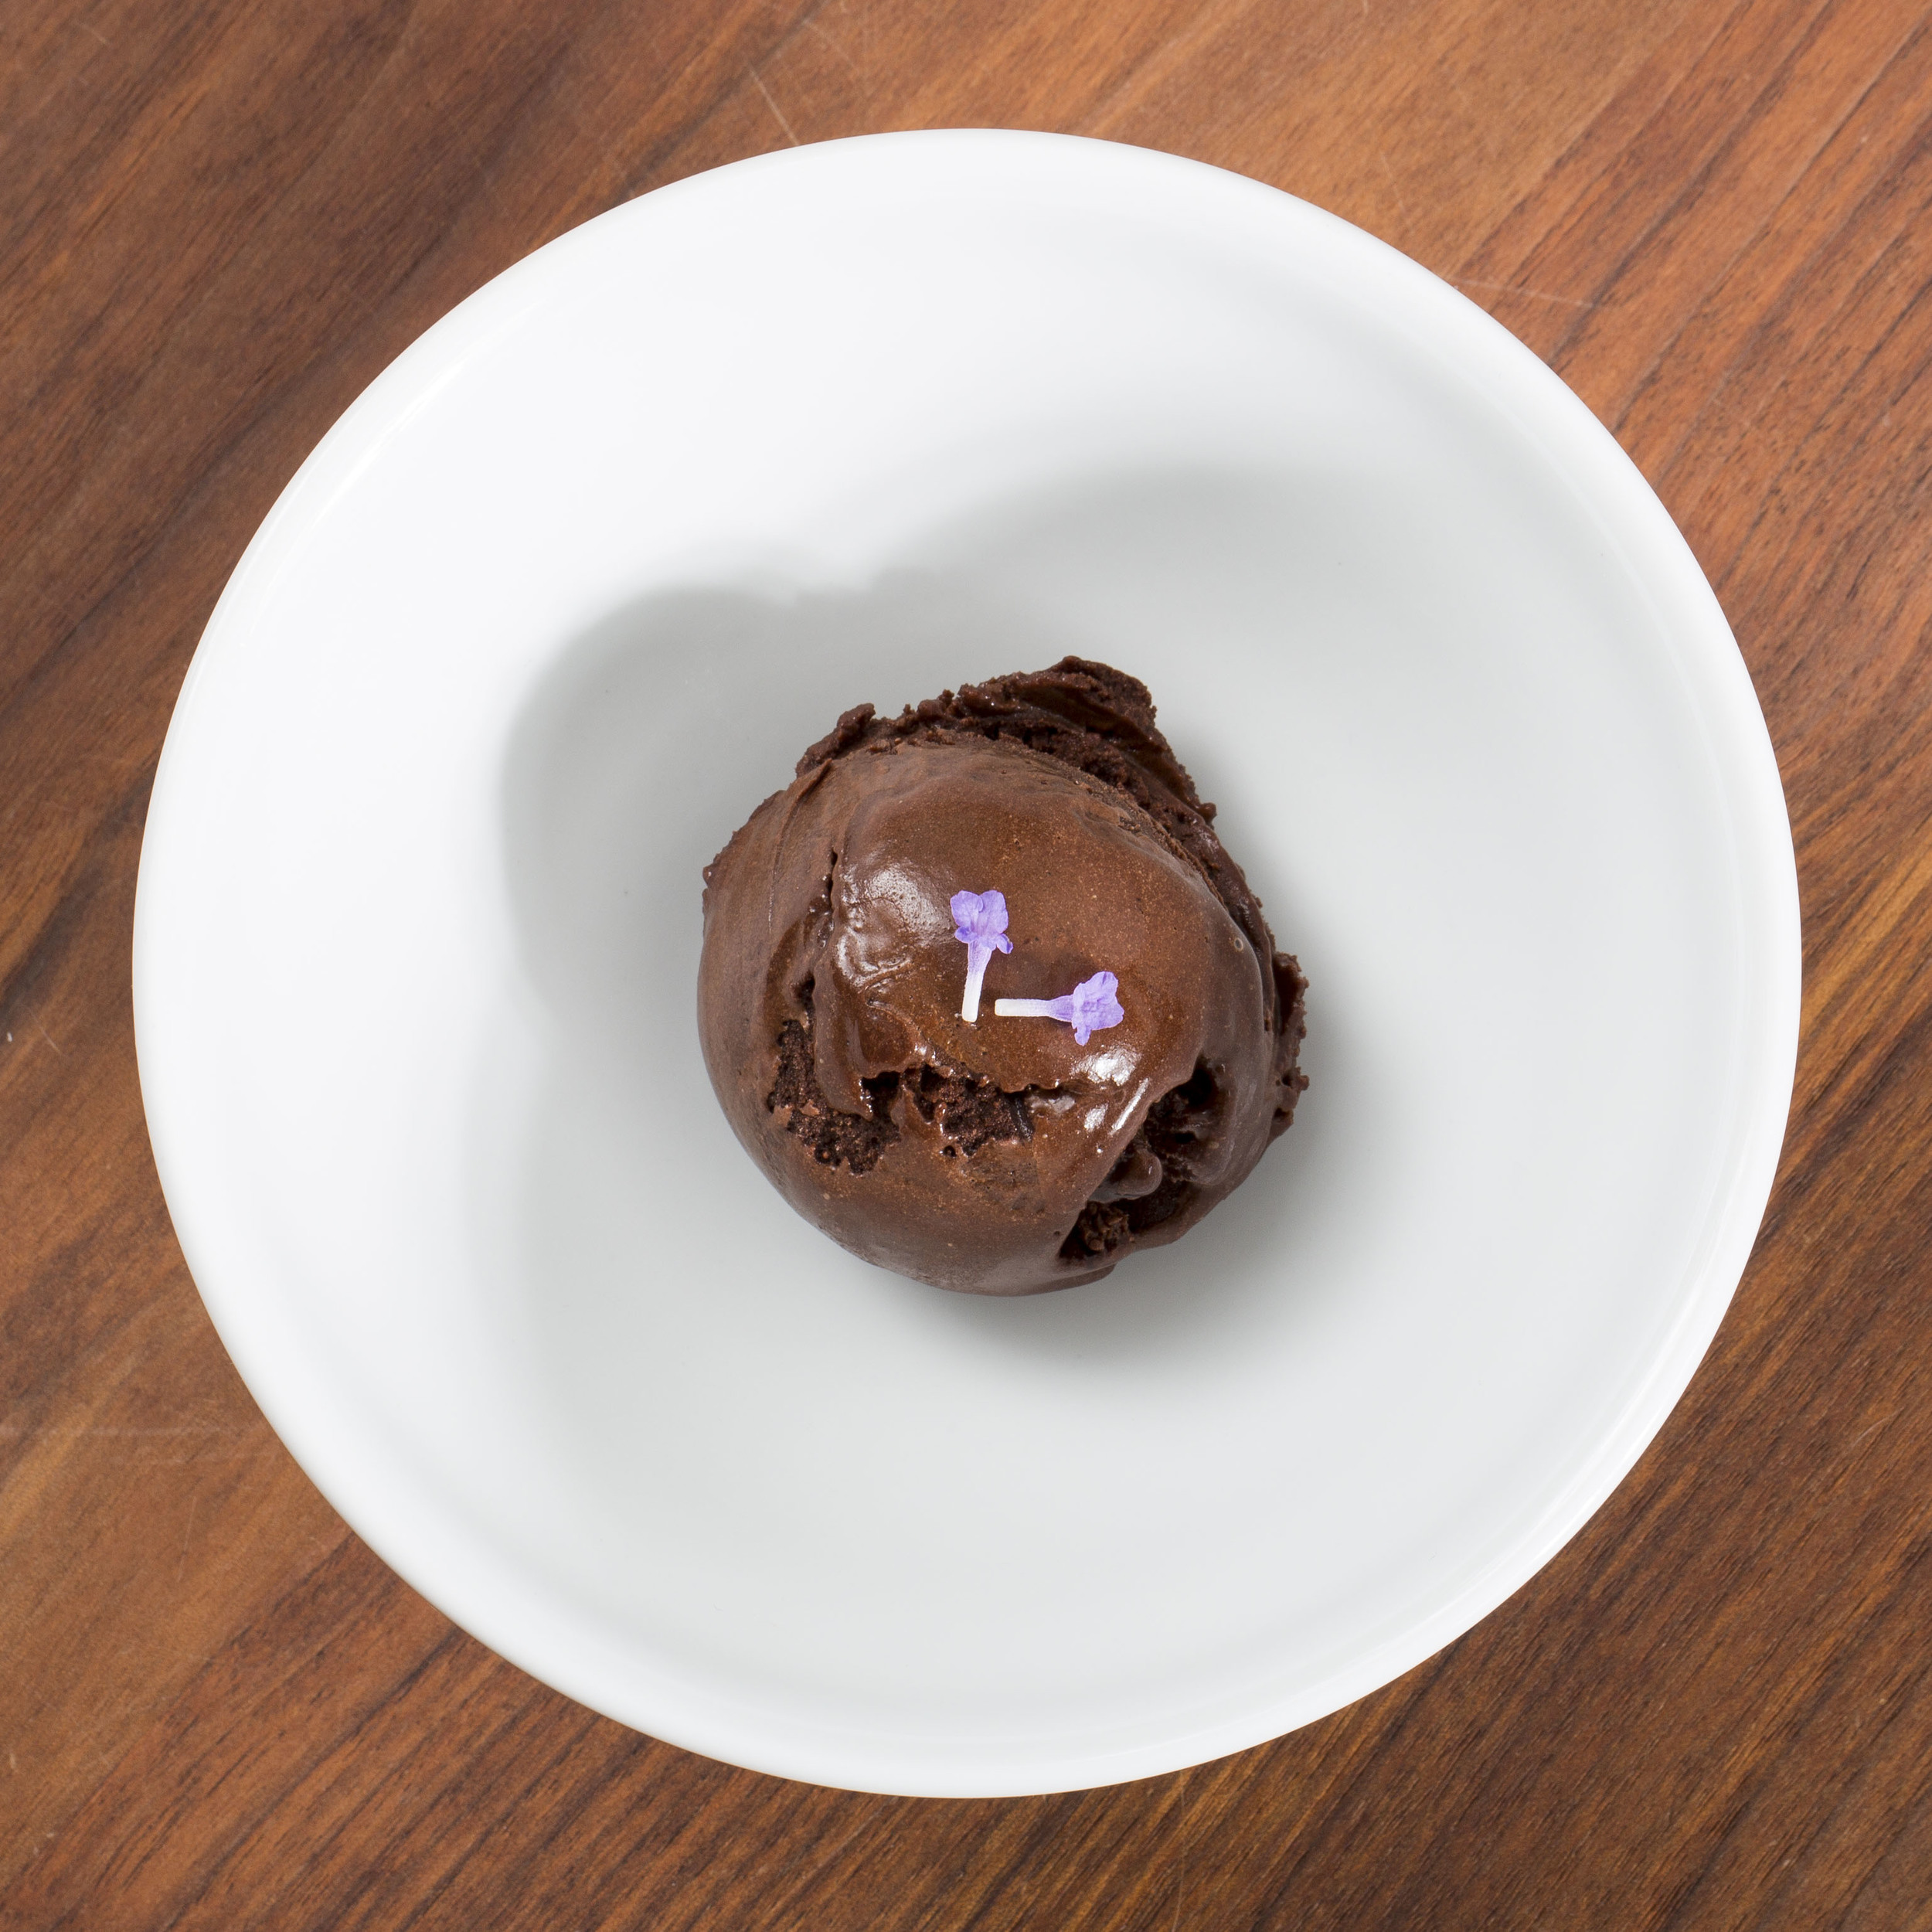
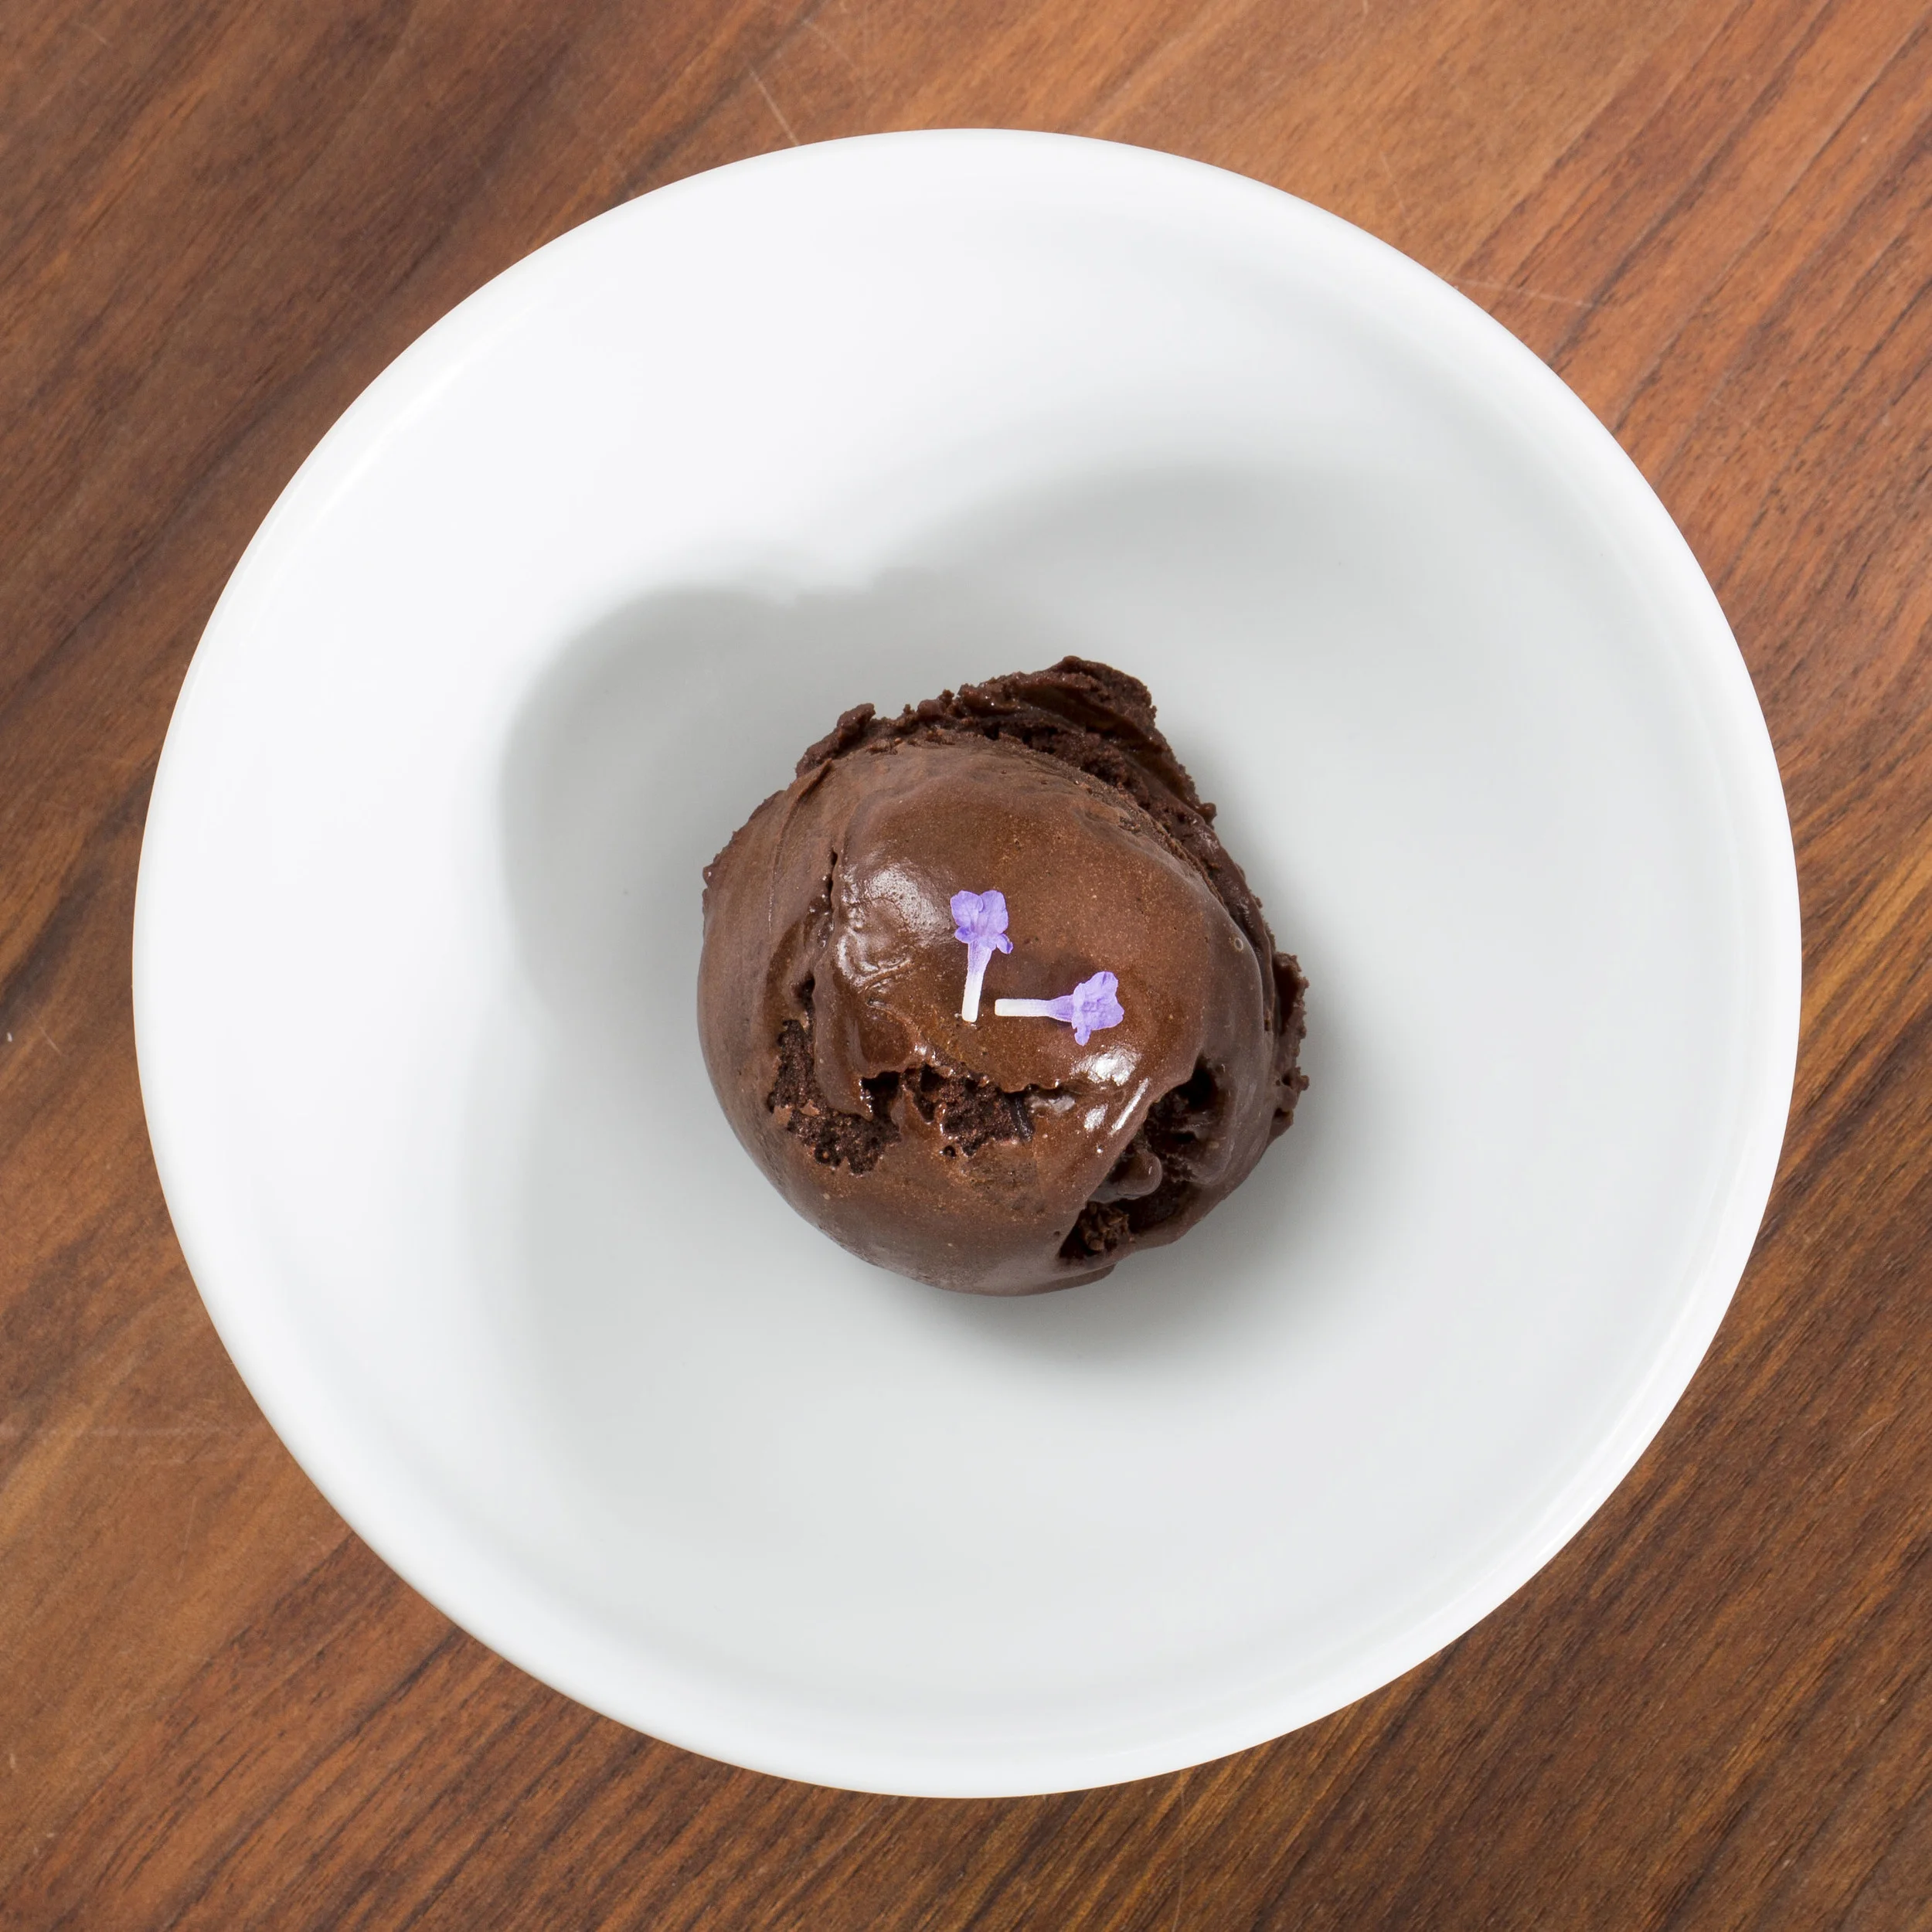
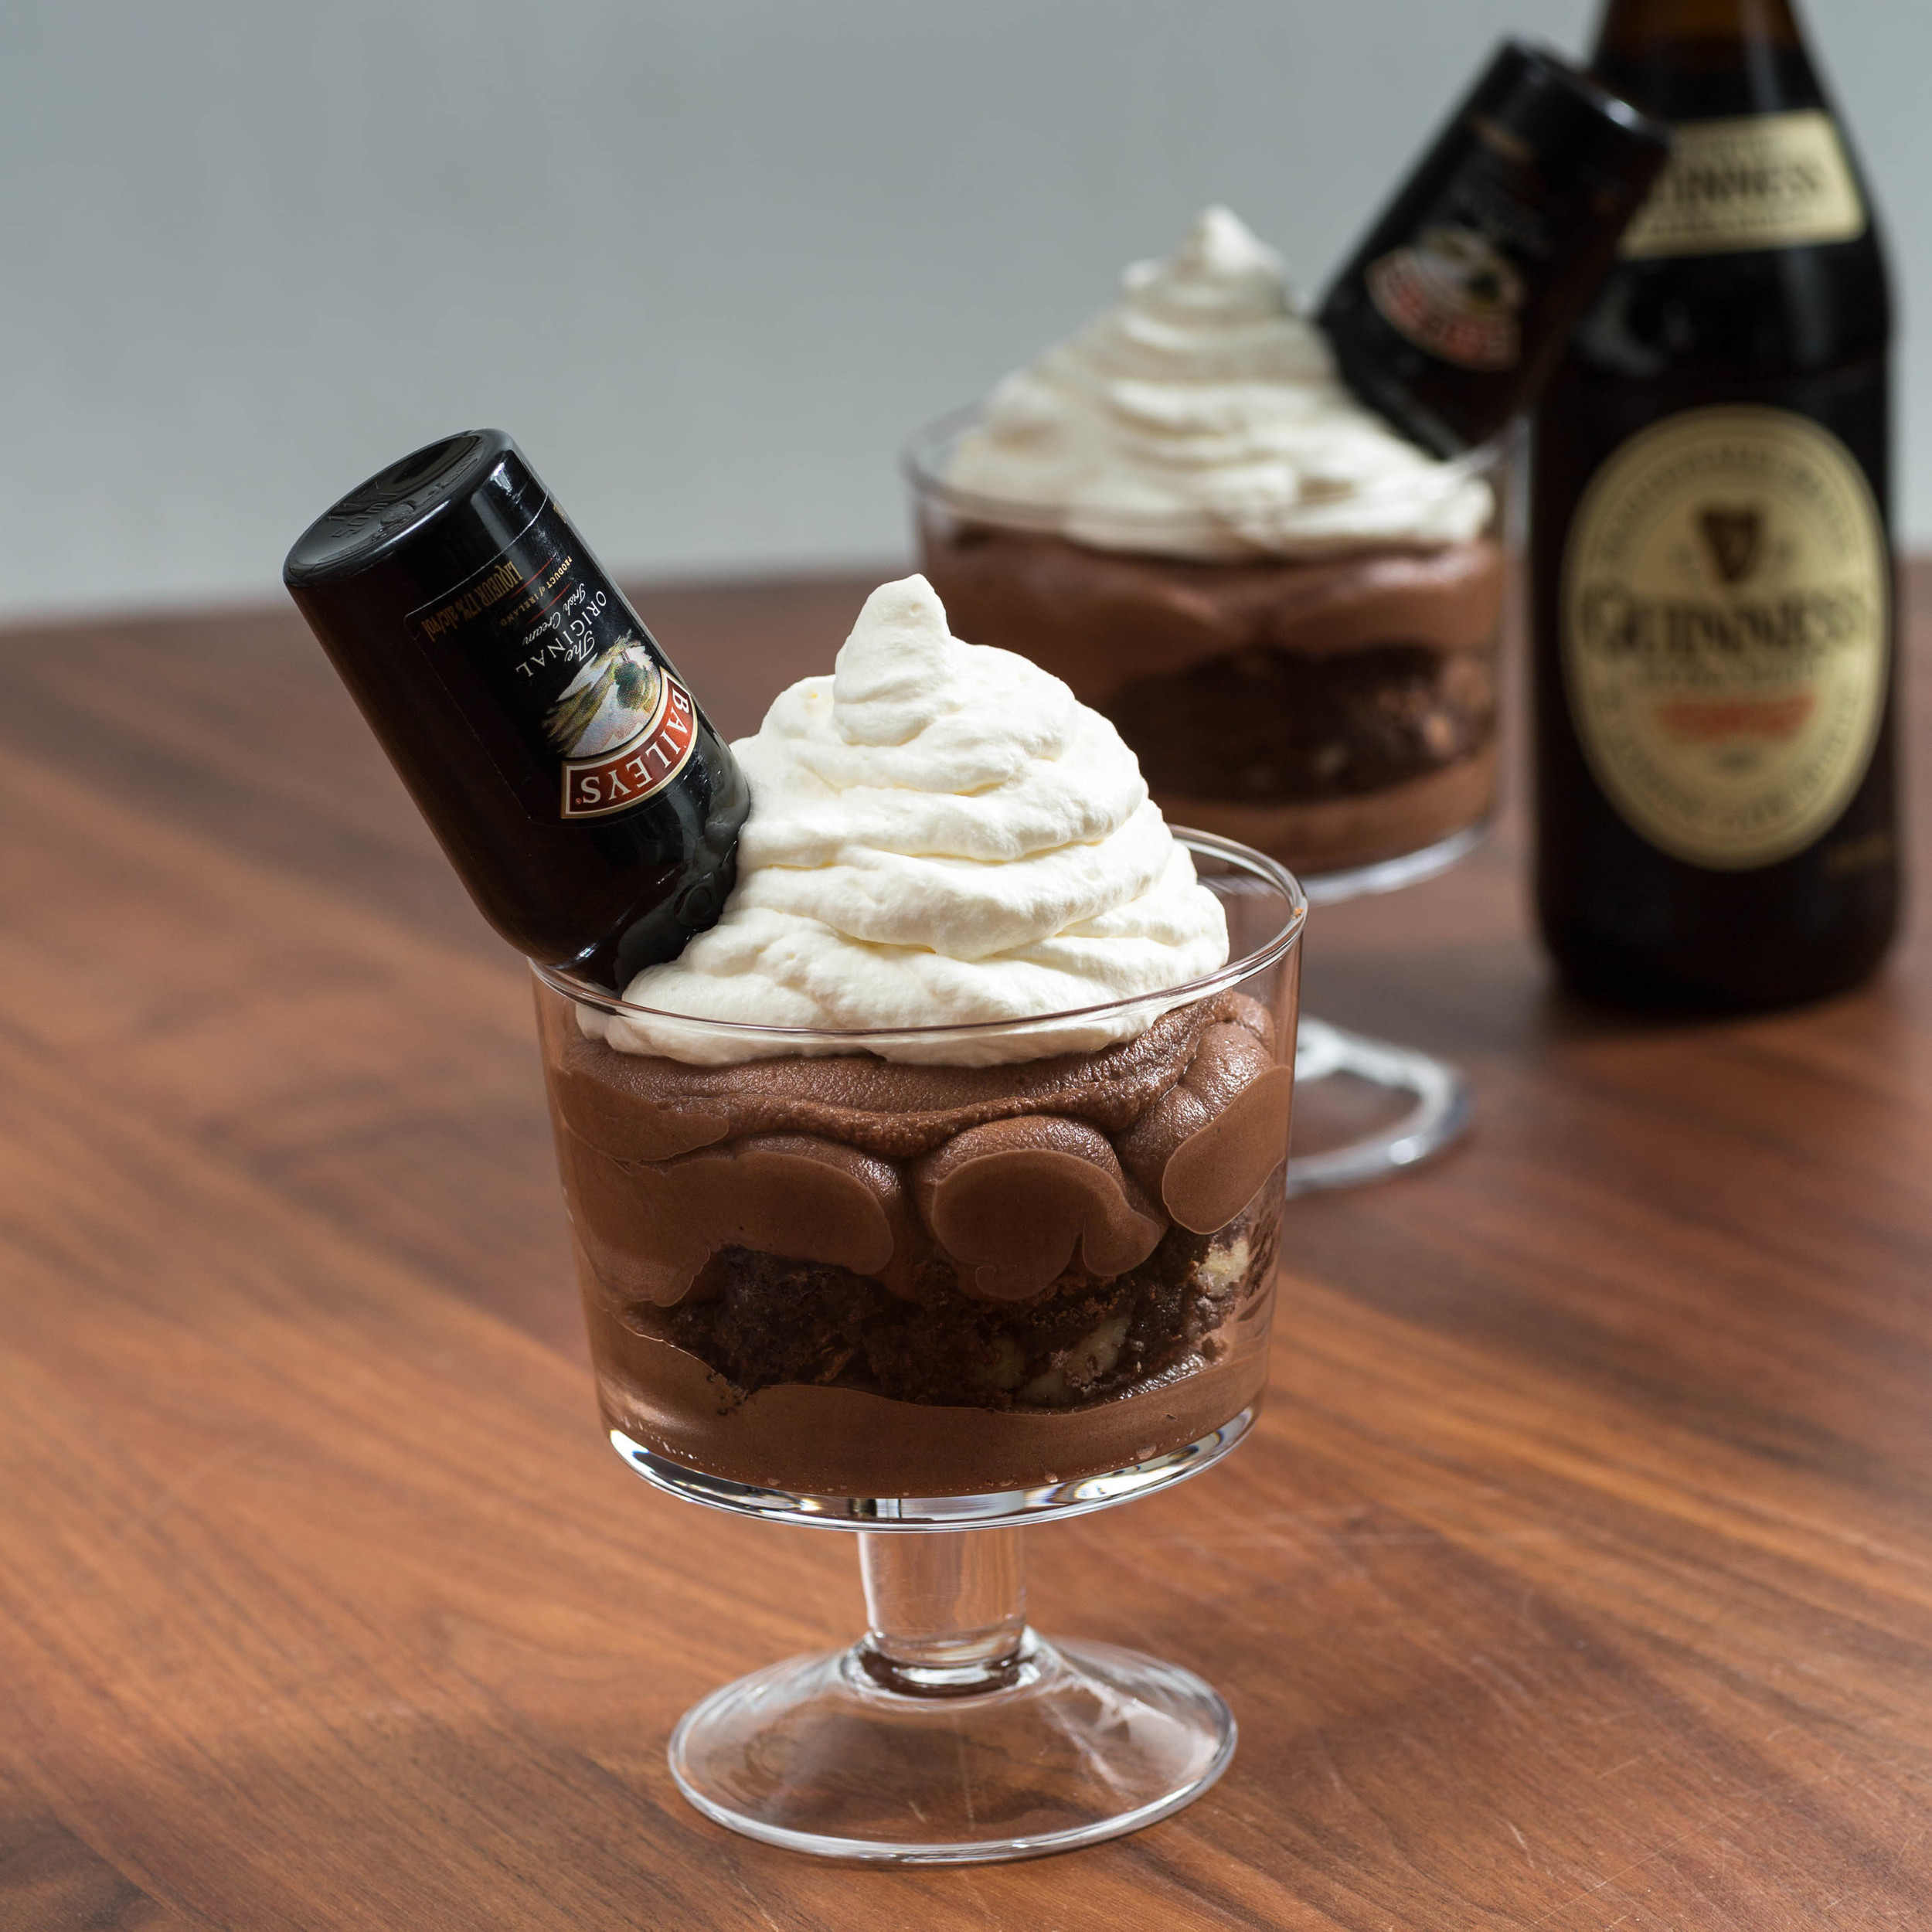
Assembly:

Pipe some mousse in a small serving vessel. Place some of the brownie on top, pipe more mousse on top. Finish the dessert up with a scoop of whipping cream and place a small bailey's upside-down in the top. 

Enjoy!

The Danish Version:

Irsk Brownie Dessert med Bailey's Mousse

Ingredienser:

Irsk Brownie:

  • 50 g hvedemel
  • 1 spsk usødet kakao
  • 125 g mørk chokolade
  • 50 g smør, saltet
  • 50 ml Guinness stout
  • 1 tsk vanilje pasta /korn fra en vaniljestang 
  • 1 spsk espresso, eller anden stærk kaffe
  • 2 æg
  • 200 g sukker

Bailey's Mousse:

  • 300 ml piskefløde
  • 165 g mørk chokolade, jeg brugte Valrhona
  • 50 g god mælke chokolade, jeg brugte Valrhona
  • 85 ml Bailey's

Topping:

  • flødeskum
  • 4-6 mini Bailey's

Fremgangsmåde:

Irsk Brownie:

Forvarm ovnen til 180℃. Smør en 20x20 cm bradepande og læg et stykke bagepapir i bunden, og smør også det.

Blandmel og kakao i en skål.

Smelt chokoladen, smør i en gryde og rør det sammen til en skinnende masse. Tag gryden af varmen og tilsæt øl, kaffe og vanilje. 

Pisk æggene med sukker indtil du har en bleggul tyk masse. Bland chokoladeblandingen i, og fold derefter forsigtigt melet i. 

Kom dejen i bradepanden og bag kagen i 30-35 minutter. Du skal gerne ende op med en blød kage med sprøde kanter. Afkøl kagen helt før du bruger den i desserten.

Bailey's Mousse:

Hak chokoladen fint, og kom det i en skål.

Varm fløden op i en gryde indtil kogepunktet. Hæld den varme fløde over chokoladen. Vent ca 20 sekunder før du begynder at røre. Bliv ved at røre indtil massen er homogen. Dæk skålen til og lad det køle i mindst 4 timer i køleskabet.

Rør bailey'en i og pisk massen med en håndmikser til den er tyk og luftig. Pas på ikke at overpiske massen, da det gør moussen grynet. Kom moussen i en sprøjtepose, og opbevar den på køl indtil du skal bruge den.

Pisk flødeskum til at toppe desserten af med.

Samling:

Sprøjt lidt mousse i bunden af en portionsskål, kom et stykke brownie ovenpå. Kom endnu et lag mousse ovenpå og top desserten af med en god klat flødeskum og sæt en mini Bailey's flaske ned i desserten. 

Velbekomme!

Christmas Cream Puffs - Pebermynteflødeboller

Christmas, Desserts, Holiday, Sweets and CandyTove Balle-PedersenComment
Christmas Cream Puffs - Pebermynteflødeboller

Christmas Cream Puffs - Pebermynteflødeboller

December 2nd.

Peppermint is one of the most recognized tastes of Christmas. Red and white is classic christmas colors and you see candy canes and peppermint flavored coffee and chocolate everywhere. So why not make peppermint cream puffs/flødeboller. Even though cream puffs can be eaten all year round, these are very christmasy.  

Ingredients:

Makes 20.

Base:

  • 200 g marzipan

Filling:

  • 100 g (little over ⅓ cup) pasteurized egg whites 
  • 200 g (1 cup) sugar 
  • 50 ml (a little under ¼ cup) water
  • a few drops peppermint extract

Chocolate coating:

  • 200-250 g milk chocolate, a good one I used Valrhona

Directions:

Preheat the oven to 350℉ (180℃).

Cut the marzipan log into 20 slices. Place them on a baking sheet lined with parchment paper. Bake the marzipan for 5 minutes, let them cool completely.

Filling:

When making meringue it is very important that there are no fat residue on your bowl and whisk, otherwise the egg whites won't get fluffy.

The cream puffs without coating

The cream puffs without coating

Whisk the egg whites until they just turn fluffy. Meanwhile heat sugar and water in a saucepan. Bring it to a boil and keep it simmering until it reaches 243℃ (117℃). 

Pour in the scolding hot syrup into the egg whites while whisking. The meringue becomes pretty warm, but keep whisking for 15 minutes, until stiff peaks. Gently fold in the peppermint extract.

Add the meringue to a piping bag with a plain round tip. Pipe the meringue in a high peak.

Bake the cream puffs for 5 minutes, just until the surface sets, but haven't got any color. This makes it easier to cover in chocolate. Let the cream puffs cool completely.

Tempering the chocolate:

This is how I do it, but if you have your own way, that works for you, use that method.

Chop the chocolate finely, set just under  of the chocolate aside, and add the rest into a stainless steel bowl. Set the bowl on a saucepan with very hot water (don't let the bowl touch the water) . Let the chocolate melt while stirring. When the chocolate reaches 111℉ (44℃), take the bowl off the hot water. While stirring let the chocolate cool until it reaches 80-83℉ (27-28℃), add the rest of the chopped chocolate and stir vigorously until its all melted. Put the bowl with chocolate over hot water again, and heat the chocolate to 86℉ (30℃). Now its ready to use for coating.

Coating:

Place the cream puffs on a wire rack. Drizzle the chocolate on top until the whole peak is covered with chocolate. Tap the wire rack on the counter to get the excess chocolate to run off. Place the cream puffs in the refrigerator for a few minutes until the chocolate has set. 

The cream puffs will keep 3 days a 50-54℉ (10-12℃).

Enjoy!