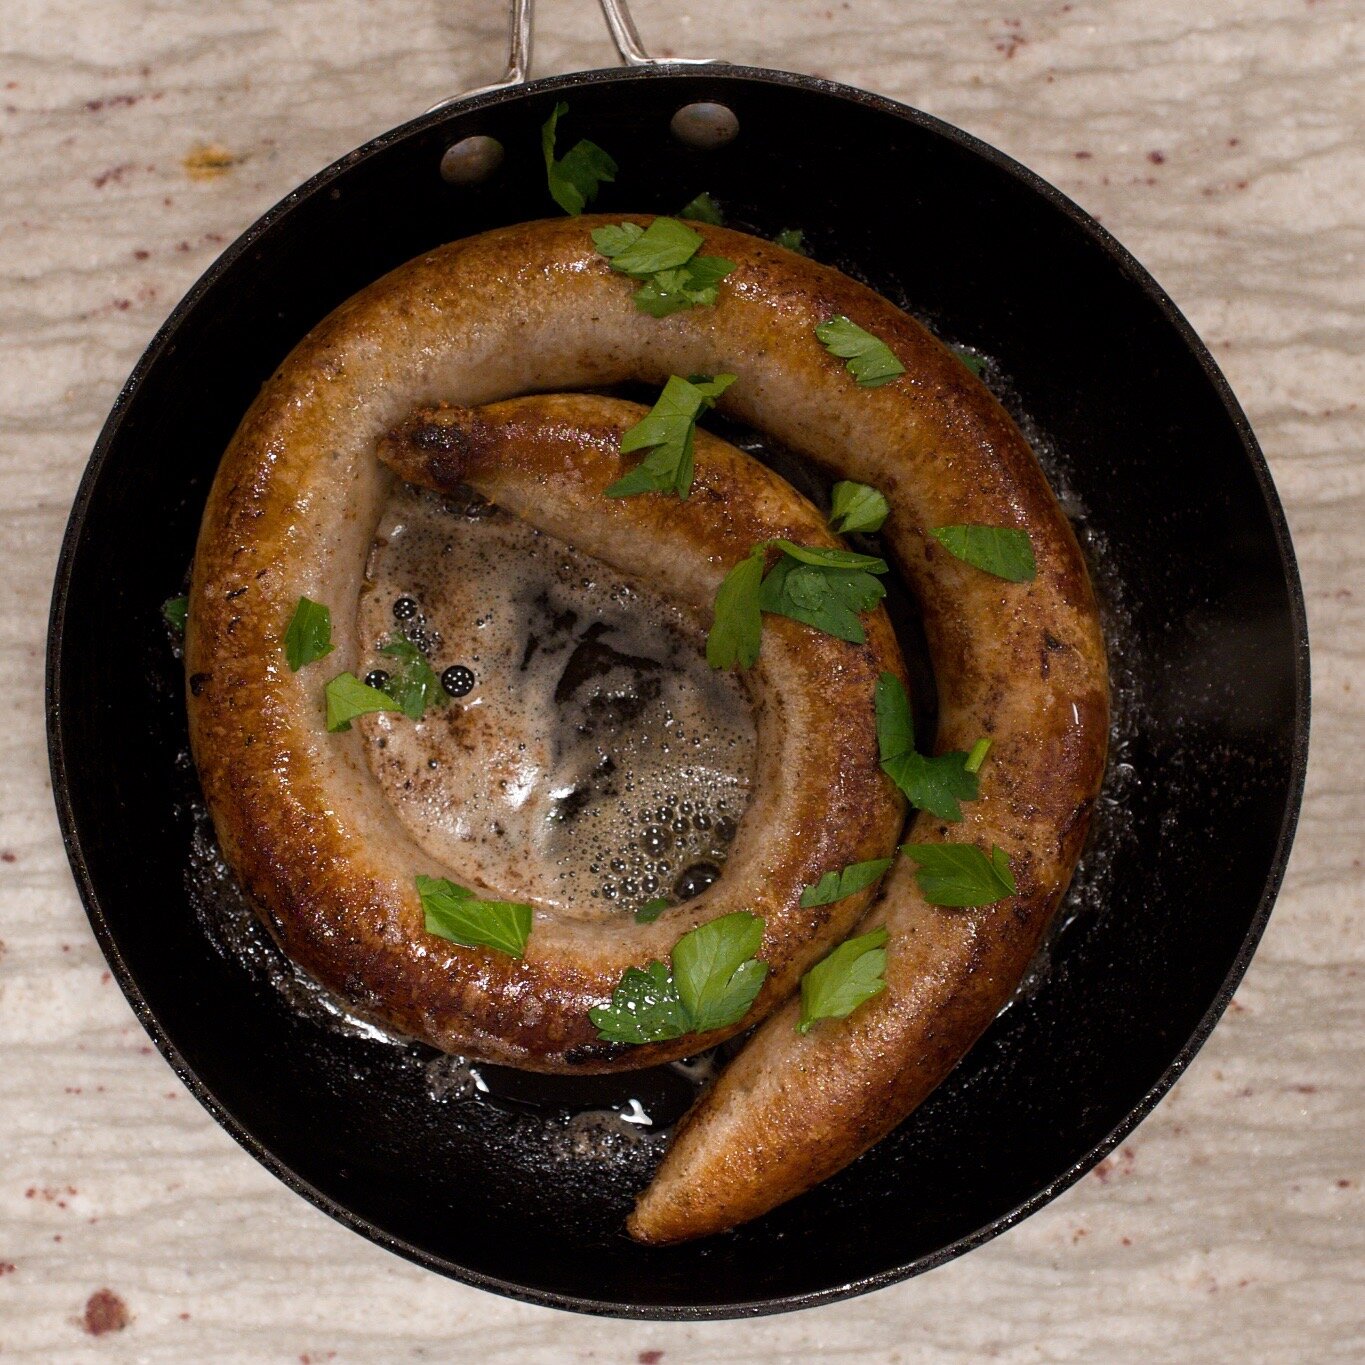
Fried Medisterpølse - Danish Pork Sausage
Happy First Friday in December. I better start upping my game. Normally I get stuff ready for the blog for December. But this year have been different. Somehow the holidays sneaked up on me - again. But this time we have guest staying here for the past few weeks. So yet again I’m late to the Christmas preparations. But I will be posting christmasy stuff as I get to it.This medisterpølse have been on my blog - to-do list for the longest time. So with this happy December from me to you. 🎄
Medisterpølse/julemedister/christmas medister or Danish pork sausage is something I had very often for weeknight dinners. I was easy to make, and its was on the cheaper end of meats. During November and December the sausage get another seasoning, adding cloves making it more christmasy. This is what I was aiming for here, and I think I’ve succeeded.
Christmas medister is served warm on an open-faced sandwich with pickled red cabbage on Danish rye bread at Danish Christmas luncheons.
Making sausages is a labor entensive process, but the final product is well worth it. Another pro is that you know what's in the sausage.
Makes 3-4 medisterpølser.
Ingredients:
1 kg (2¼ pound) pork (could be a cheaper cut like shoulder)
200 g (½ pound) fatty pork belly
1 onion
1¼ teaspoon salt
1 teaspoon ground cloves
1 teaspoon ground nutmeg
2 teaspoons ground allspice
½-1 teaspoon fresh ground black pepper
3 tablespoons potato starch
2 egg whites
about 300 ml chicken stock, ice cold
2-3 meter (yards) sausage casing.
Directions:
Make sure that all your ingredients are cold.
Cut meat, pork belly and onion in pieces that can go into the meat grinder. Grind it all 2 time on the corse setting. Add all the spices, potato starch and egg whites and mix it well. Start adding the cold chicken stock a little at a time. You want the mixture to be soft but by no means runny. Put the mixture into the refrigerator to rest for 30-40 minutes.
Rinse the casings in plenty of cold running water. Let tap water run through the casing. This way you’ll fine any holes in the casing.
Take a little dollop of the mixture and fry it on a small skillet, and tast it, when its cooked completely. This way you can taste the mixture, without tasting the raw meat. Season the mixture with salt, pepper and other spices.
Use a sausage filler to fill up the casing. There are many different model on the marked, but follow the instructions for the one you have.
But here is some general TIPS:
Use nozzle that fits your casings.
Wet the tip of the nozzle with a tiny amount of meat mixture, this will help you getting the casing onto the nozzle.
Put all the casing onto the nozzle
let the casing sit close to the tip, this will ease your sausage making.
Do NOT tie a knot on the casing, this will just trap a lot of air.
Gently pull and squeeze the casing while filling it with the meat mixture.
Do NOT fill the casing too much, you are aiming for a soft sausage, the mixture will expand when heated.
Traditionally medisterpølse is made as one big sausage, but of course you can make smaller sausage links. Let the sausage rest for about 30 minutes in the refrigerator before cooking.
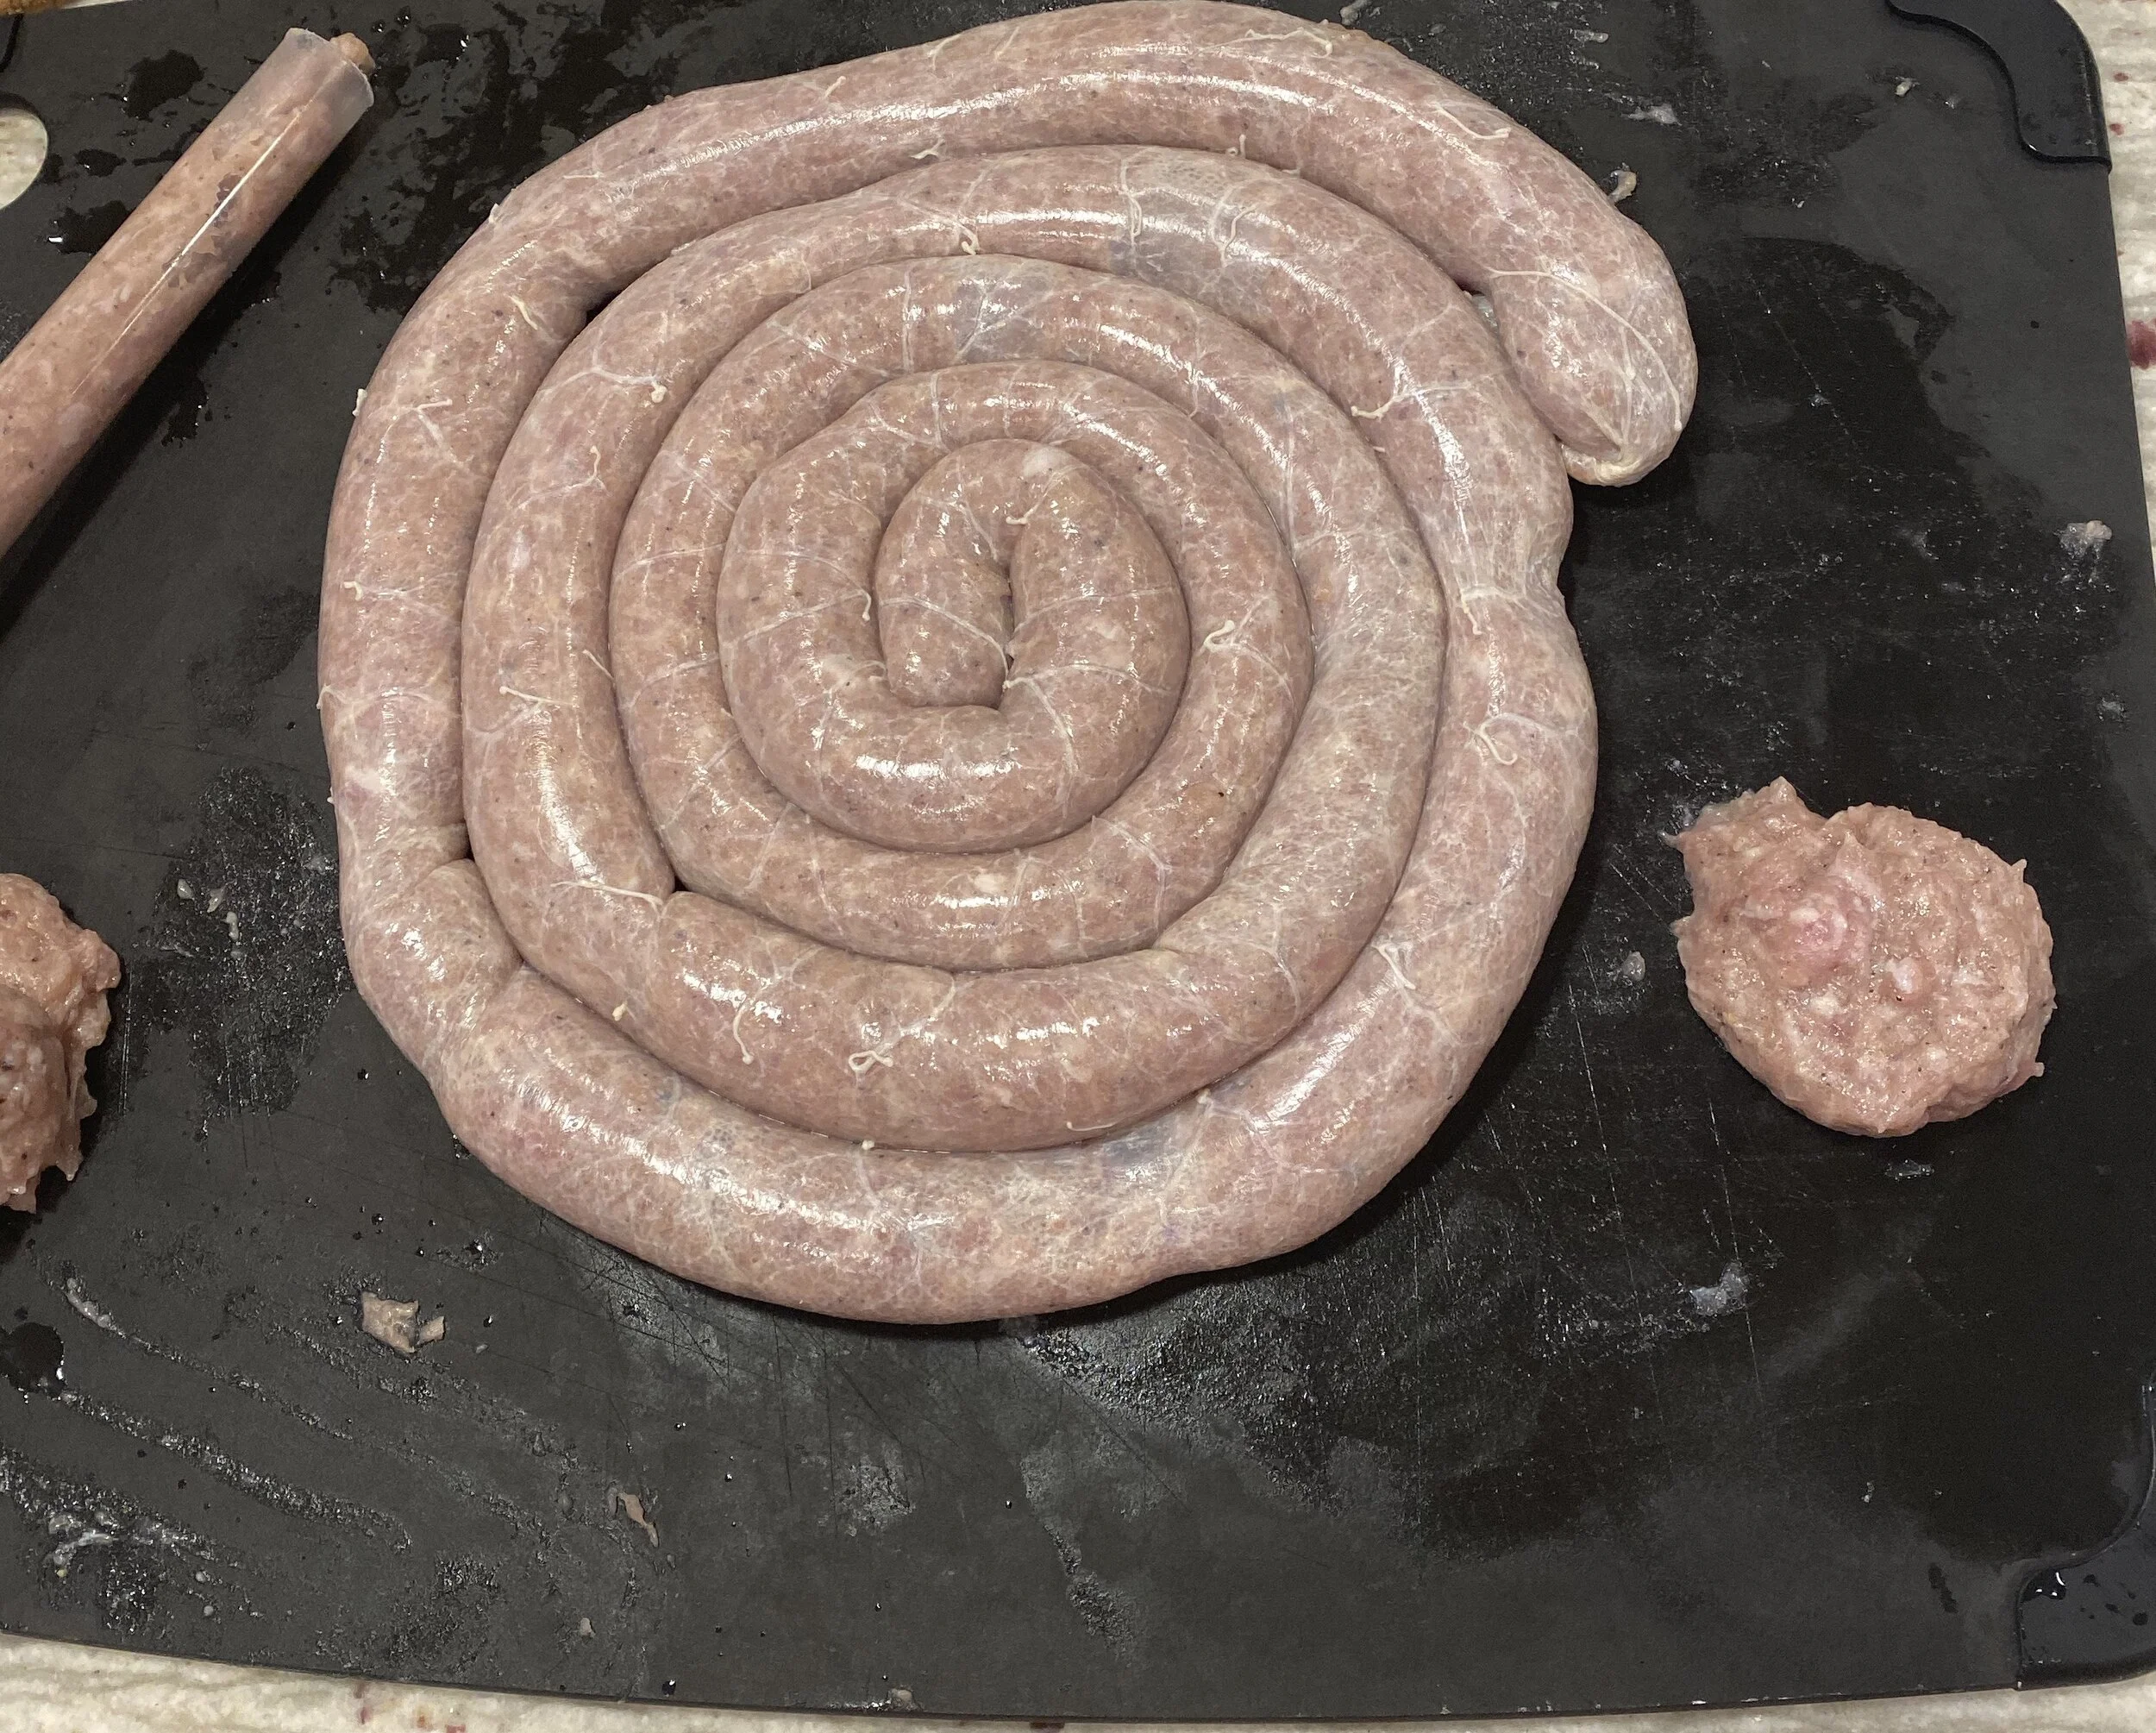
Raw Merdisterpølse - Danish Pork Sausage
How to cook a medisterpølse? This is a matter og taste or believes. Some would boil or lite simmer the sausage for about 10 minutes before pan-frying it. My mom never did that. She pan-fried it directly, and it worked just fine. The casing rarely split open.
I pan-fried it directly in butter on medium heat for 15-18 minutes until fully cooked, turnip the sausage a few times.
Another option is to put some water and butter in the pan, and place the raw sausage in the pan and then heat the whole thing up. Turning the sausage ones before the water evaporate, and the frying starts. This way you are pre-boiling and frying the sausage in 1 step, and no need for additional pots and pans.
Serve medisterpølse/pork sausage with boiled potatoes, pickled red cabbage and maybe even some pan-gravy. (Pan-gravy is made in the pan where you cooked the sausage, by adding some stock (water used to boil potatoes) and some milk/cream, then thickend, seasoned and colored with gravy browning).
Enjoy!


